Managing Payment Requests custom templates
You can use a custom message template in Cleverific when you send a payment request to your customers. This article will show you how to create and manage your Payment request custom templates.
Create a new message template
You can create new Payment Requests with custom templates via your Cleverific's in-app settings.
Steps
- Open an order in Shopify and click More Actions > Edit Order, or start a new order or draft order via Cleverific.
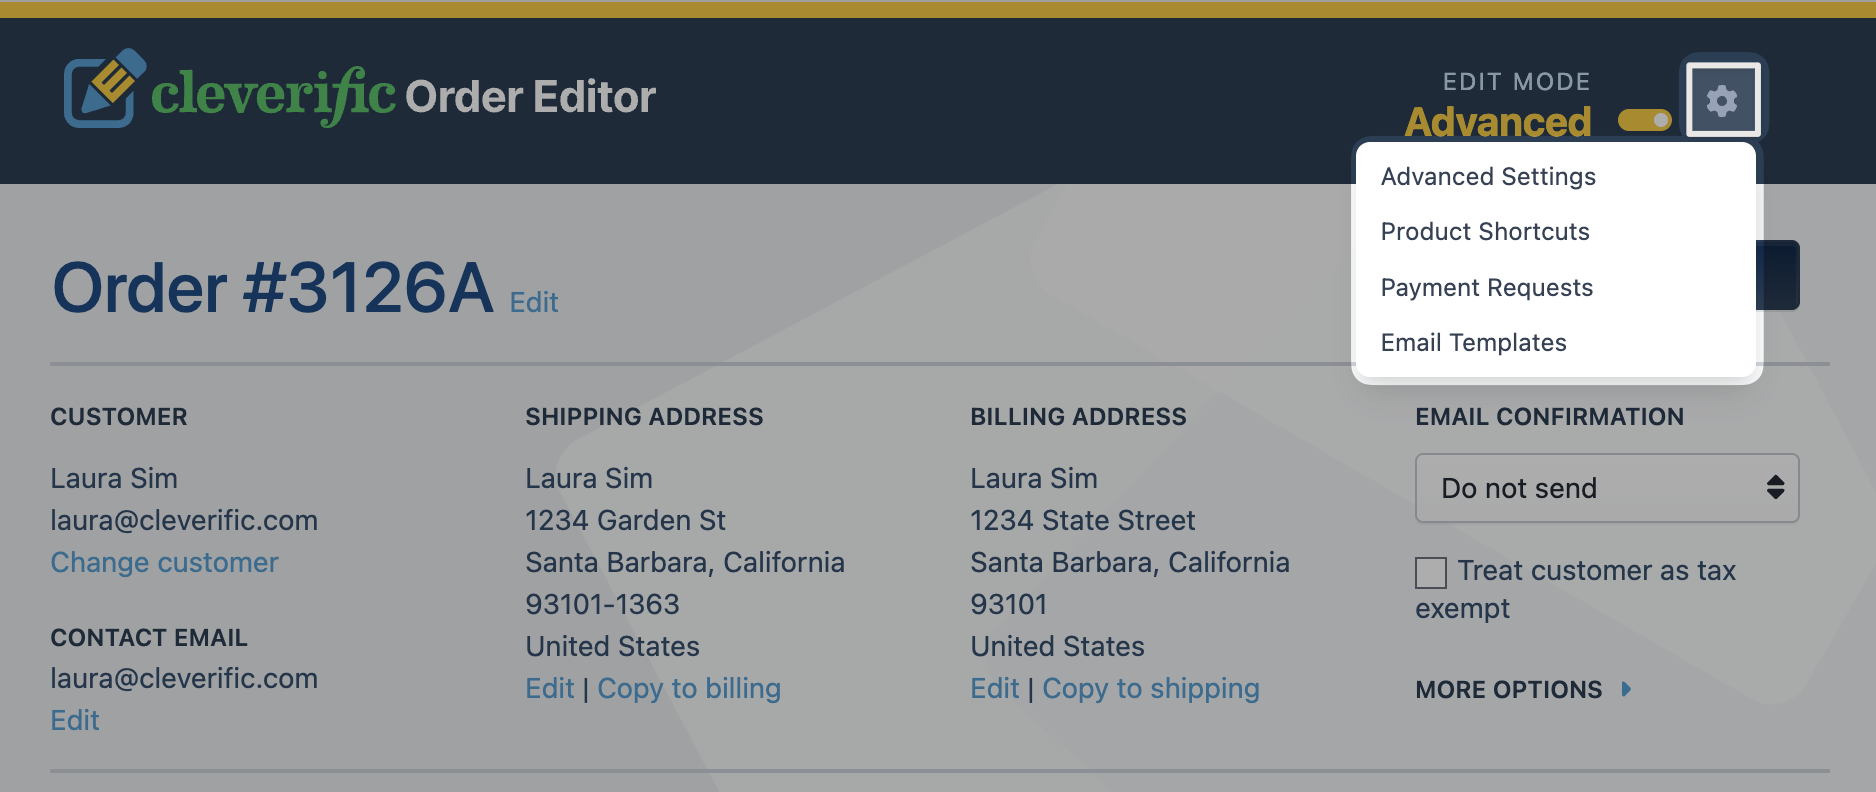
- In the editor header, click the wheel icon in the upper right corner.
- Select Payment Requests from the dropdown menu.
- Click New Template.

-
Fill out all the following fields.
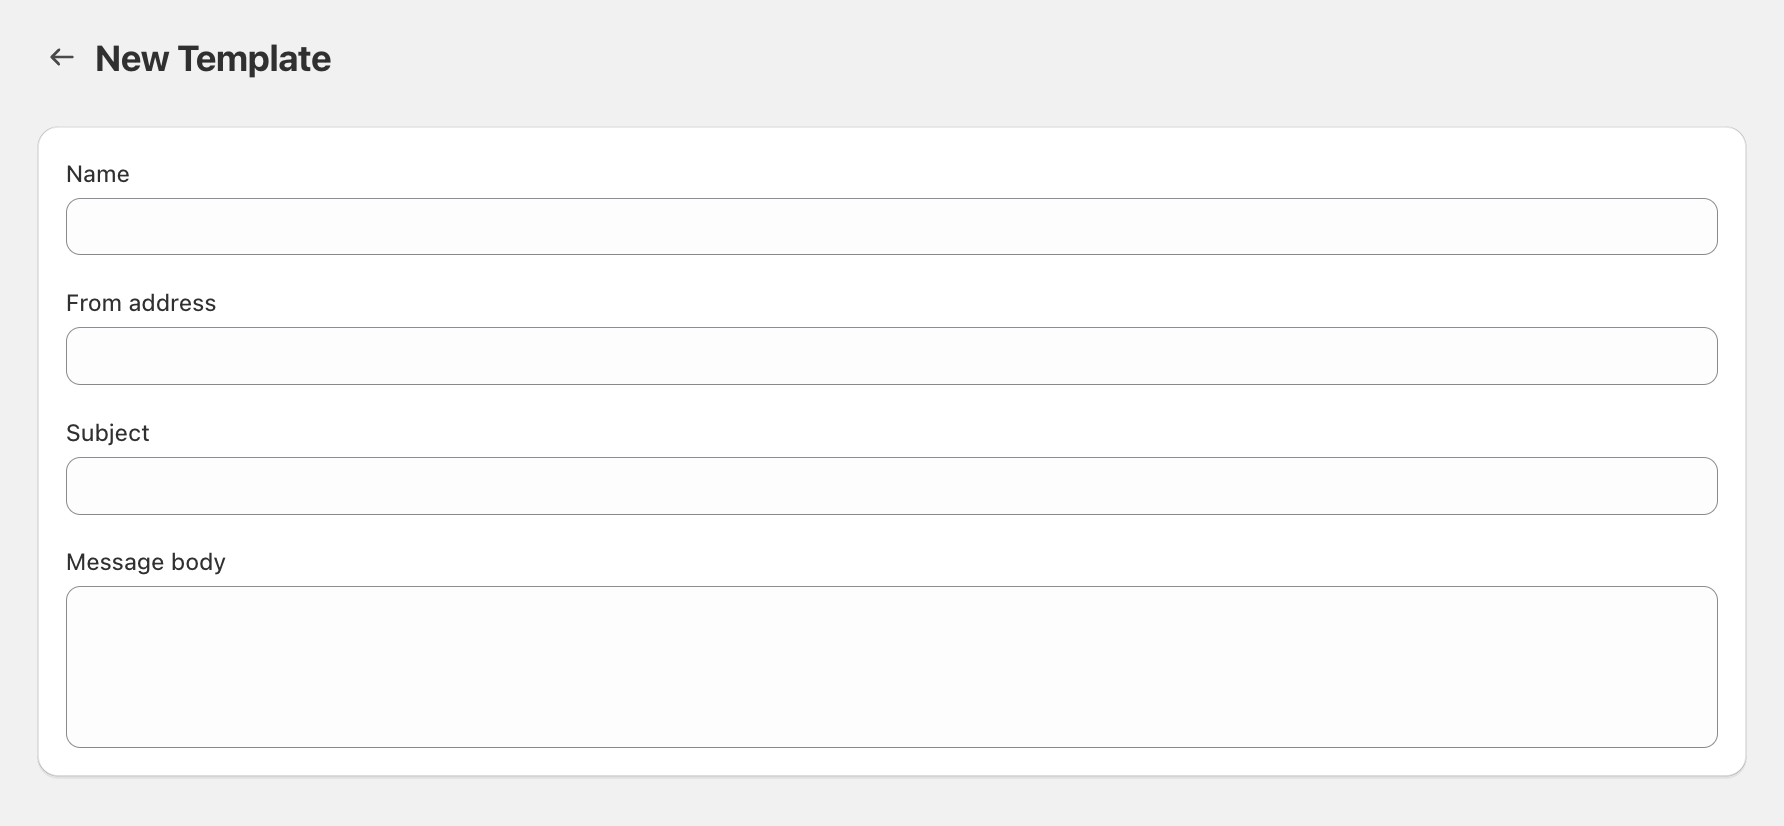
- Name: This is the template name you'll see in your options when deciding which template to use when sending a payment request. The default name for all templates is "Untitled." You can edit the name by clicking on the template's current name in the upper left-hand area of the page.
- From address: The email address from which the payment request will be sent. This currently defaults to your store's customer service email address.
- Subject: The subject of the email
- Message body: The body of your message for the payment request sent to your customers. This section doesn't support HTML code or liquid variables. This requires manually entering your message.
- Click Save in the top bar.

Manage Payment requests with custom messages
You can manage your Payment requests with custom templates in your Cleverific dashboard.
Steps
- Open an order in Shopify and click More Actions > Edit Order, or start a new order or draft order via Cleverific.
- In the editor header, click the wheel icon in the upper right corner.
- Select Payment Requests from the dropdown menu.
- On the Payment Request Settings page, you can edit or delete existing templates.

Need help? Contact us at support@cleverific.com.