Troubleshooting items not returned to stock after editing an order in Advanced Mode
When you edit an order in Advanced Mode, items from the cancelled original order are always restocked by default. If you notice that your items still appear as committed in your adjustment history, the "Do not return to stock" setting may be enabled in your Cleverific settings.
Verify your Cleverific settings
- Open an order in Shopify and click More Actions > Edit Order, or start a new order or draft order via Cleverific.
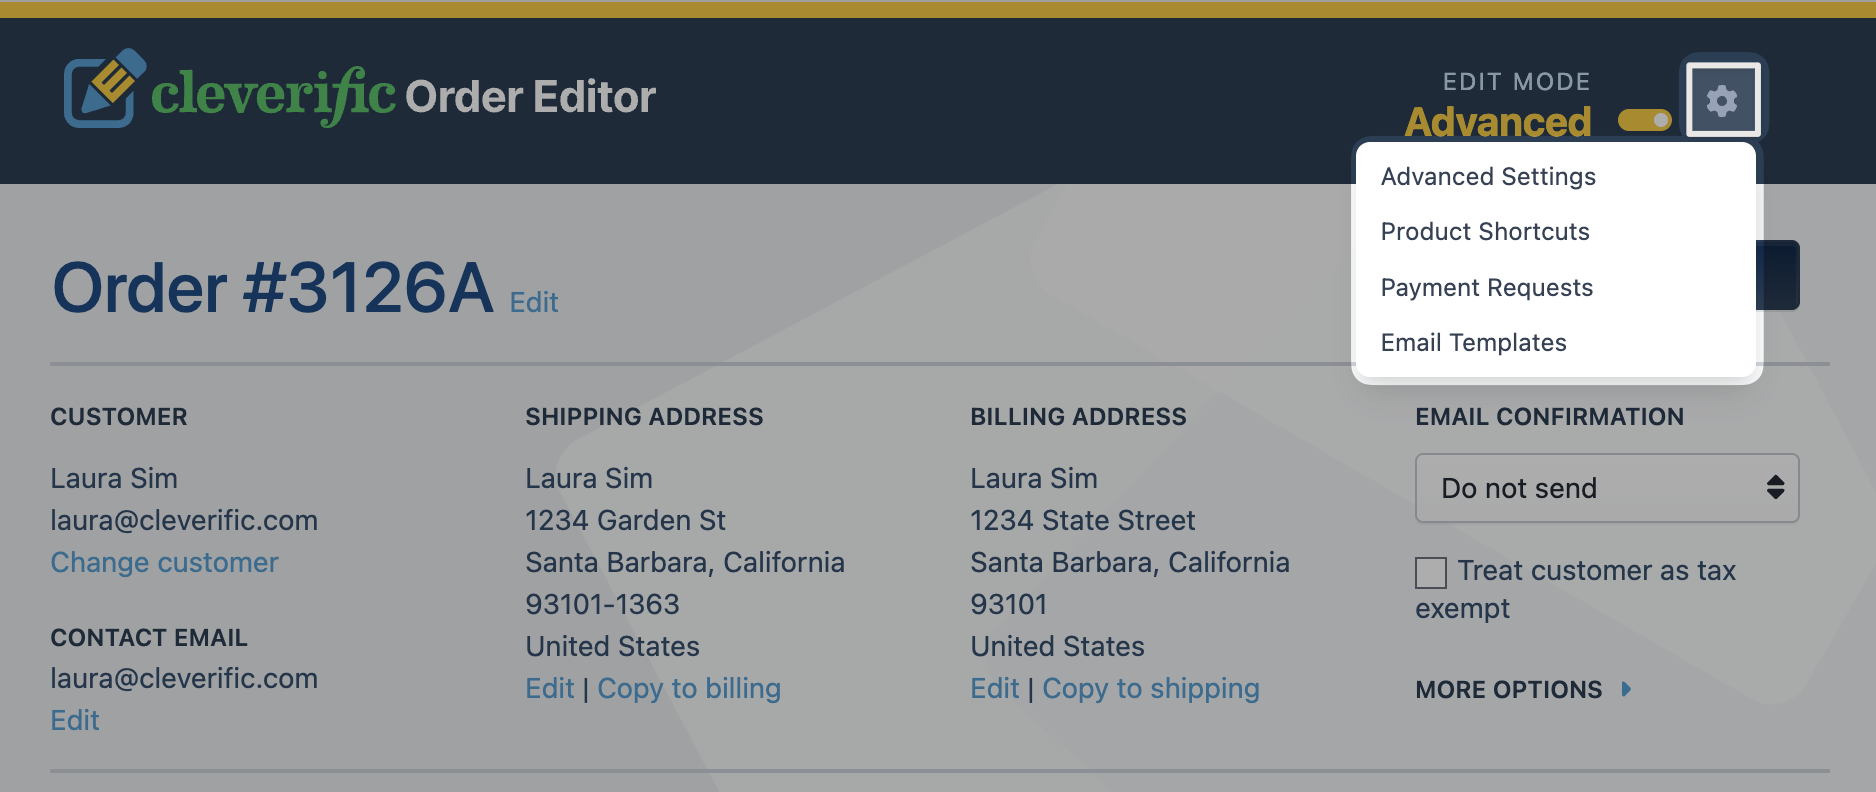
- In the editor header, click the wheel icon in the upper right corner.
-
Select Advanced Settings from the dropdown menu.
- Locate the Do not return to stock setting and disable it.
- Click Save at the top right of the page.

This setting is disabled by default. Once disabled, items are automatically restocked when you edit an order in Advanced Mode.
You can find more information on how this setting works in the following article: Do not return to stock setting.
Restock items from a previous order
If an order was already edited without restocking, you can correct the inventory manually through Shopify:
- Navigate to the original order in Shopify Admin.
- Click Refund.
- Select the item(s) to restock.
- Check the Restock items box.
- Set the refund amount to $0.
- Uncheck Send notification to customer.
- Click Refund $0.

Important notes
- Make sure the refund amount is set to $0 before clicking Refund. This corrects inventory without issuing a refund to the customer.
- This manual step applies to the original order only. Future edits will restock automatically once the setting is disabled.
Feel free to reach out at support@cleverific.com if you'd like us to verify that this setting was enabled during a specific edit.