

Adding preset custom fields (note attributes) to your orders
Updated 2 weeks ago
In Cleverific, you can add additional structured information about your orders by adding custom fields (or note attributes). Custom fields can be useful for giving instructions to fulfillment, assigning commissions to sales representatives, adding a delivery date, and more. This article will show you how to set up preset custom fields for Quick Mode, Advanced Mode, and draft orders.
Preset custom fields are available upon request. Interested in this feature? Feel free to email us at [email protected], and we'll enable it for you!
Overview
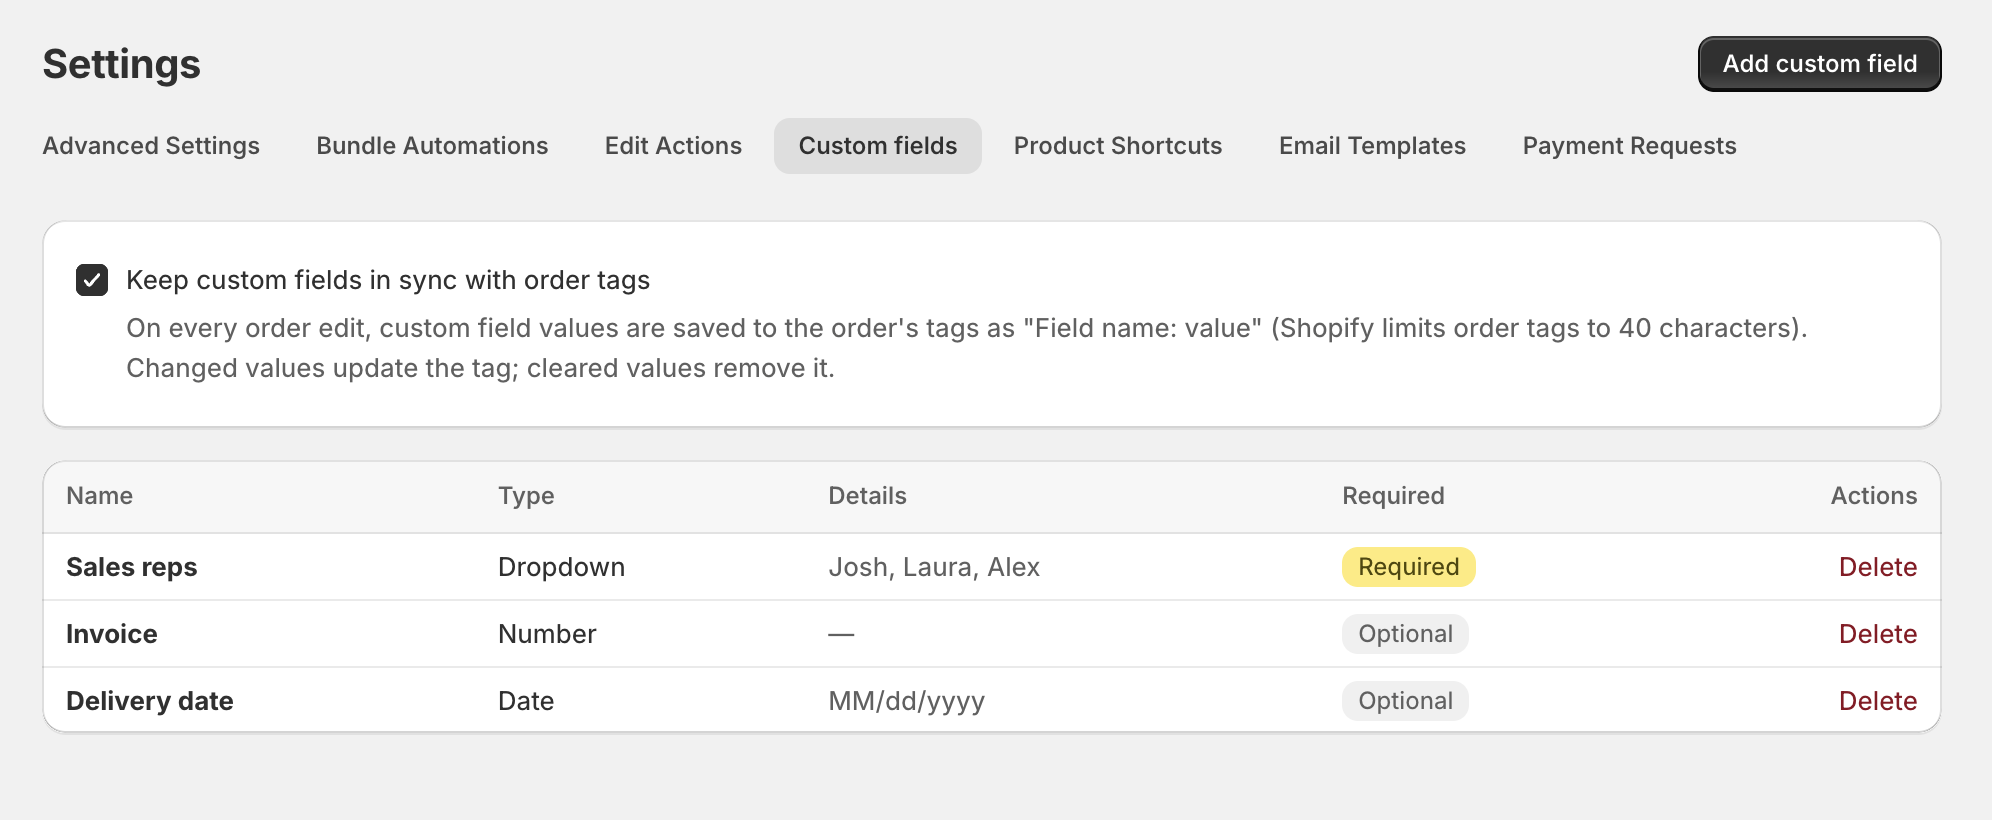
Preset custom fields are available in Cleverific’s Draft Orders, Quick Mode, and Advanced Mode. You can create and manage them either from your Cleverific Dashboard or directly within an order.
There are 7 field types to choose from: Date, Dropdown, Number, Text, Yes/No, Time, and Boolean.
You can update your preset custom fields anytime; changes will be applied immediately to your orders.
These values will be displayed in the Additional details section of your order page.
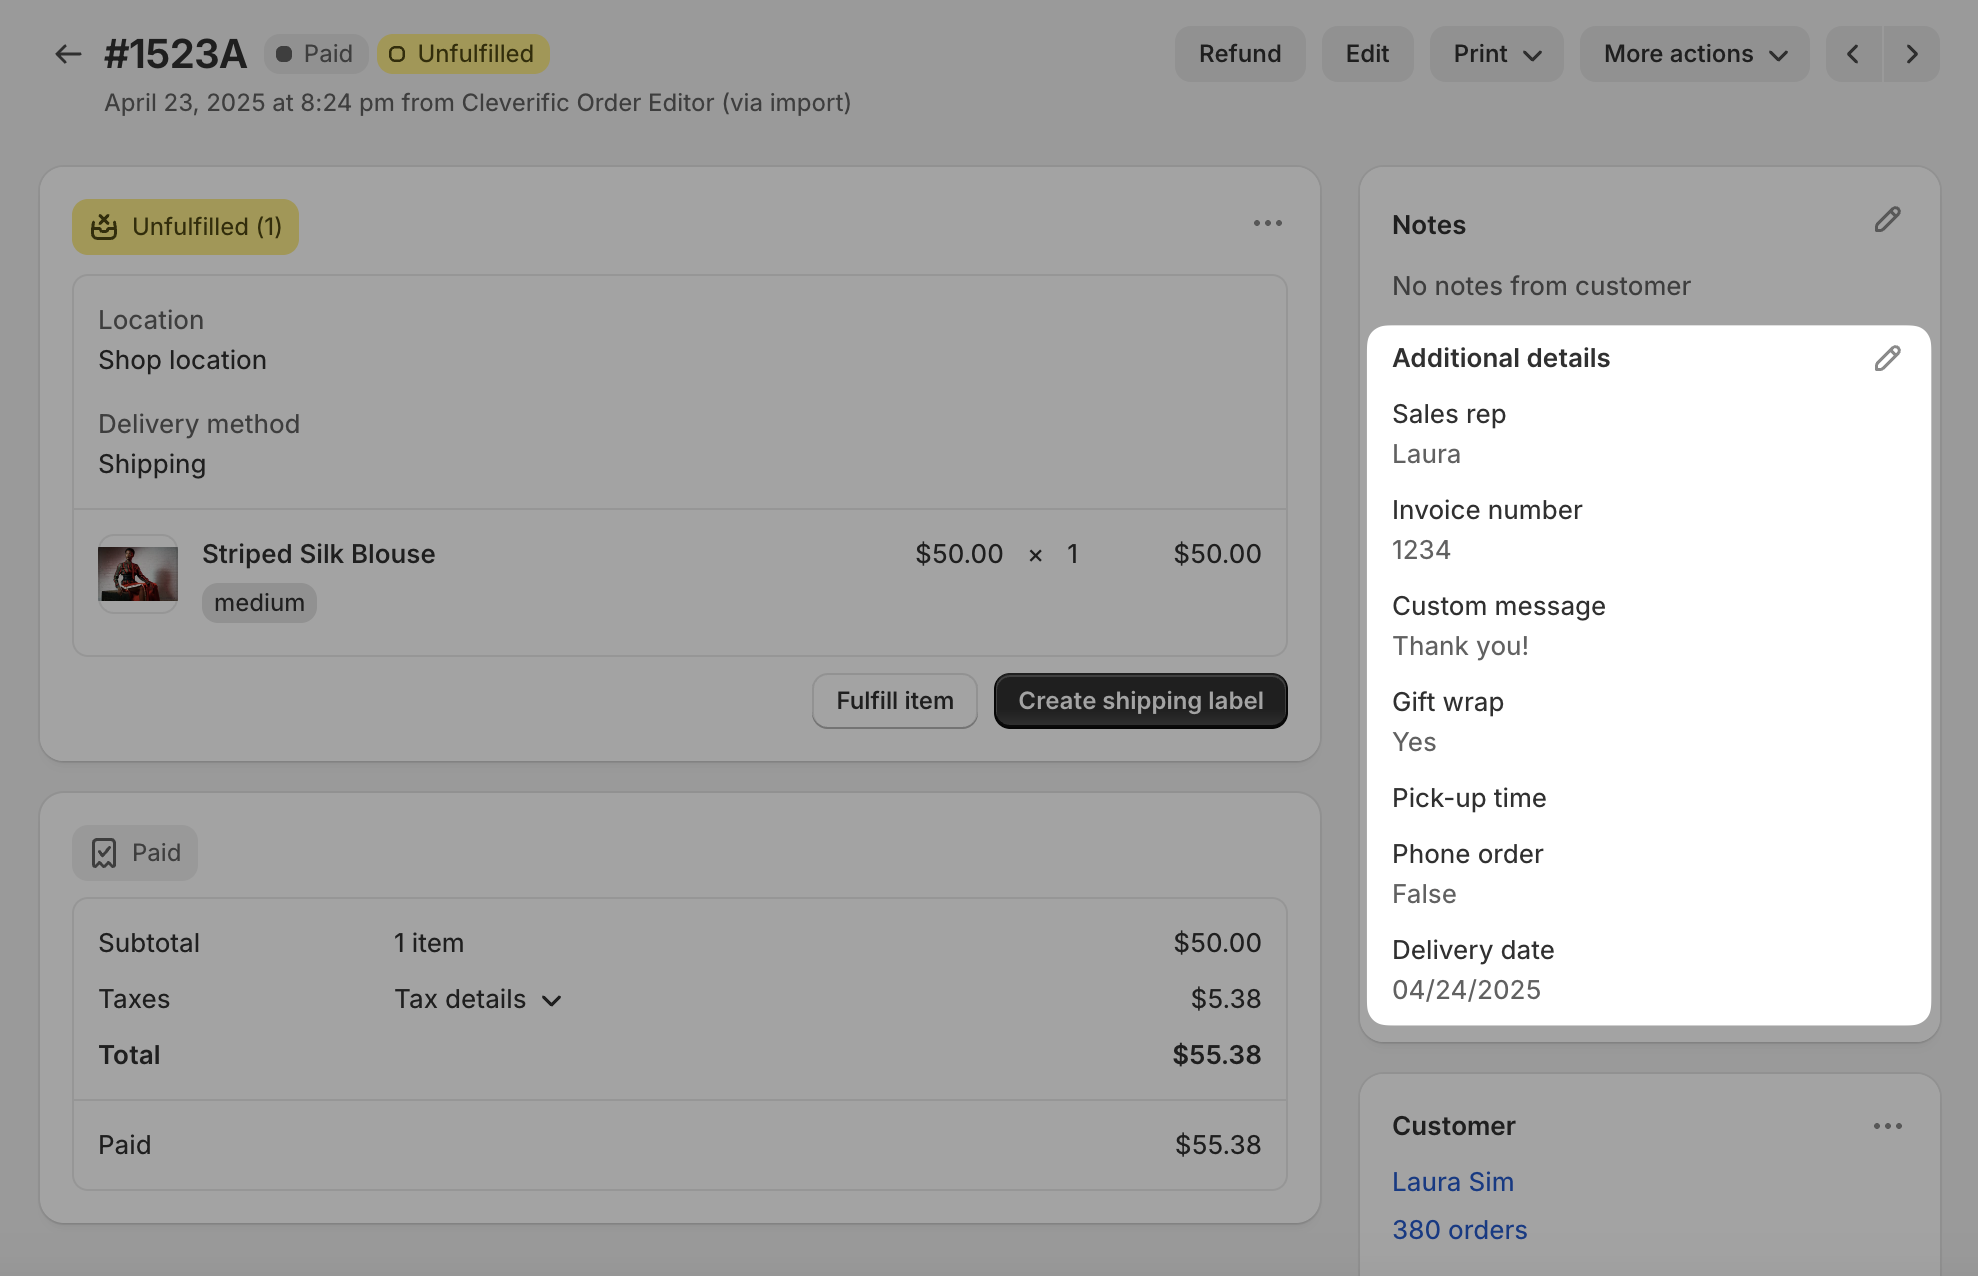
Set up and edit preset custom fields in your Cleverific Dashboard
You can create, edit, and delete preset custom fields via your Cleverific Dashboard.
Steps
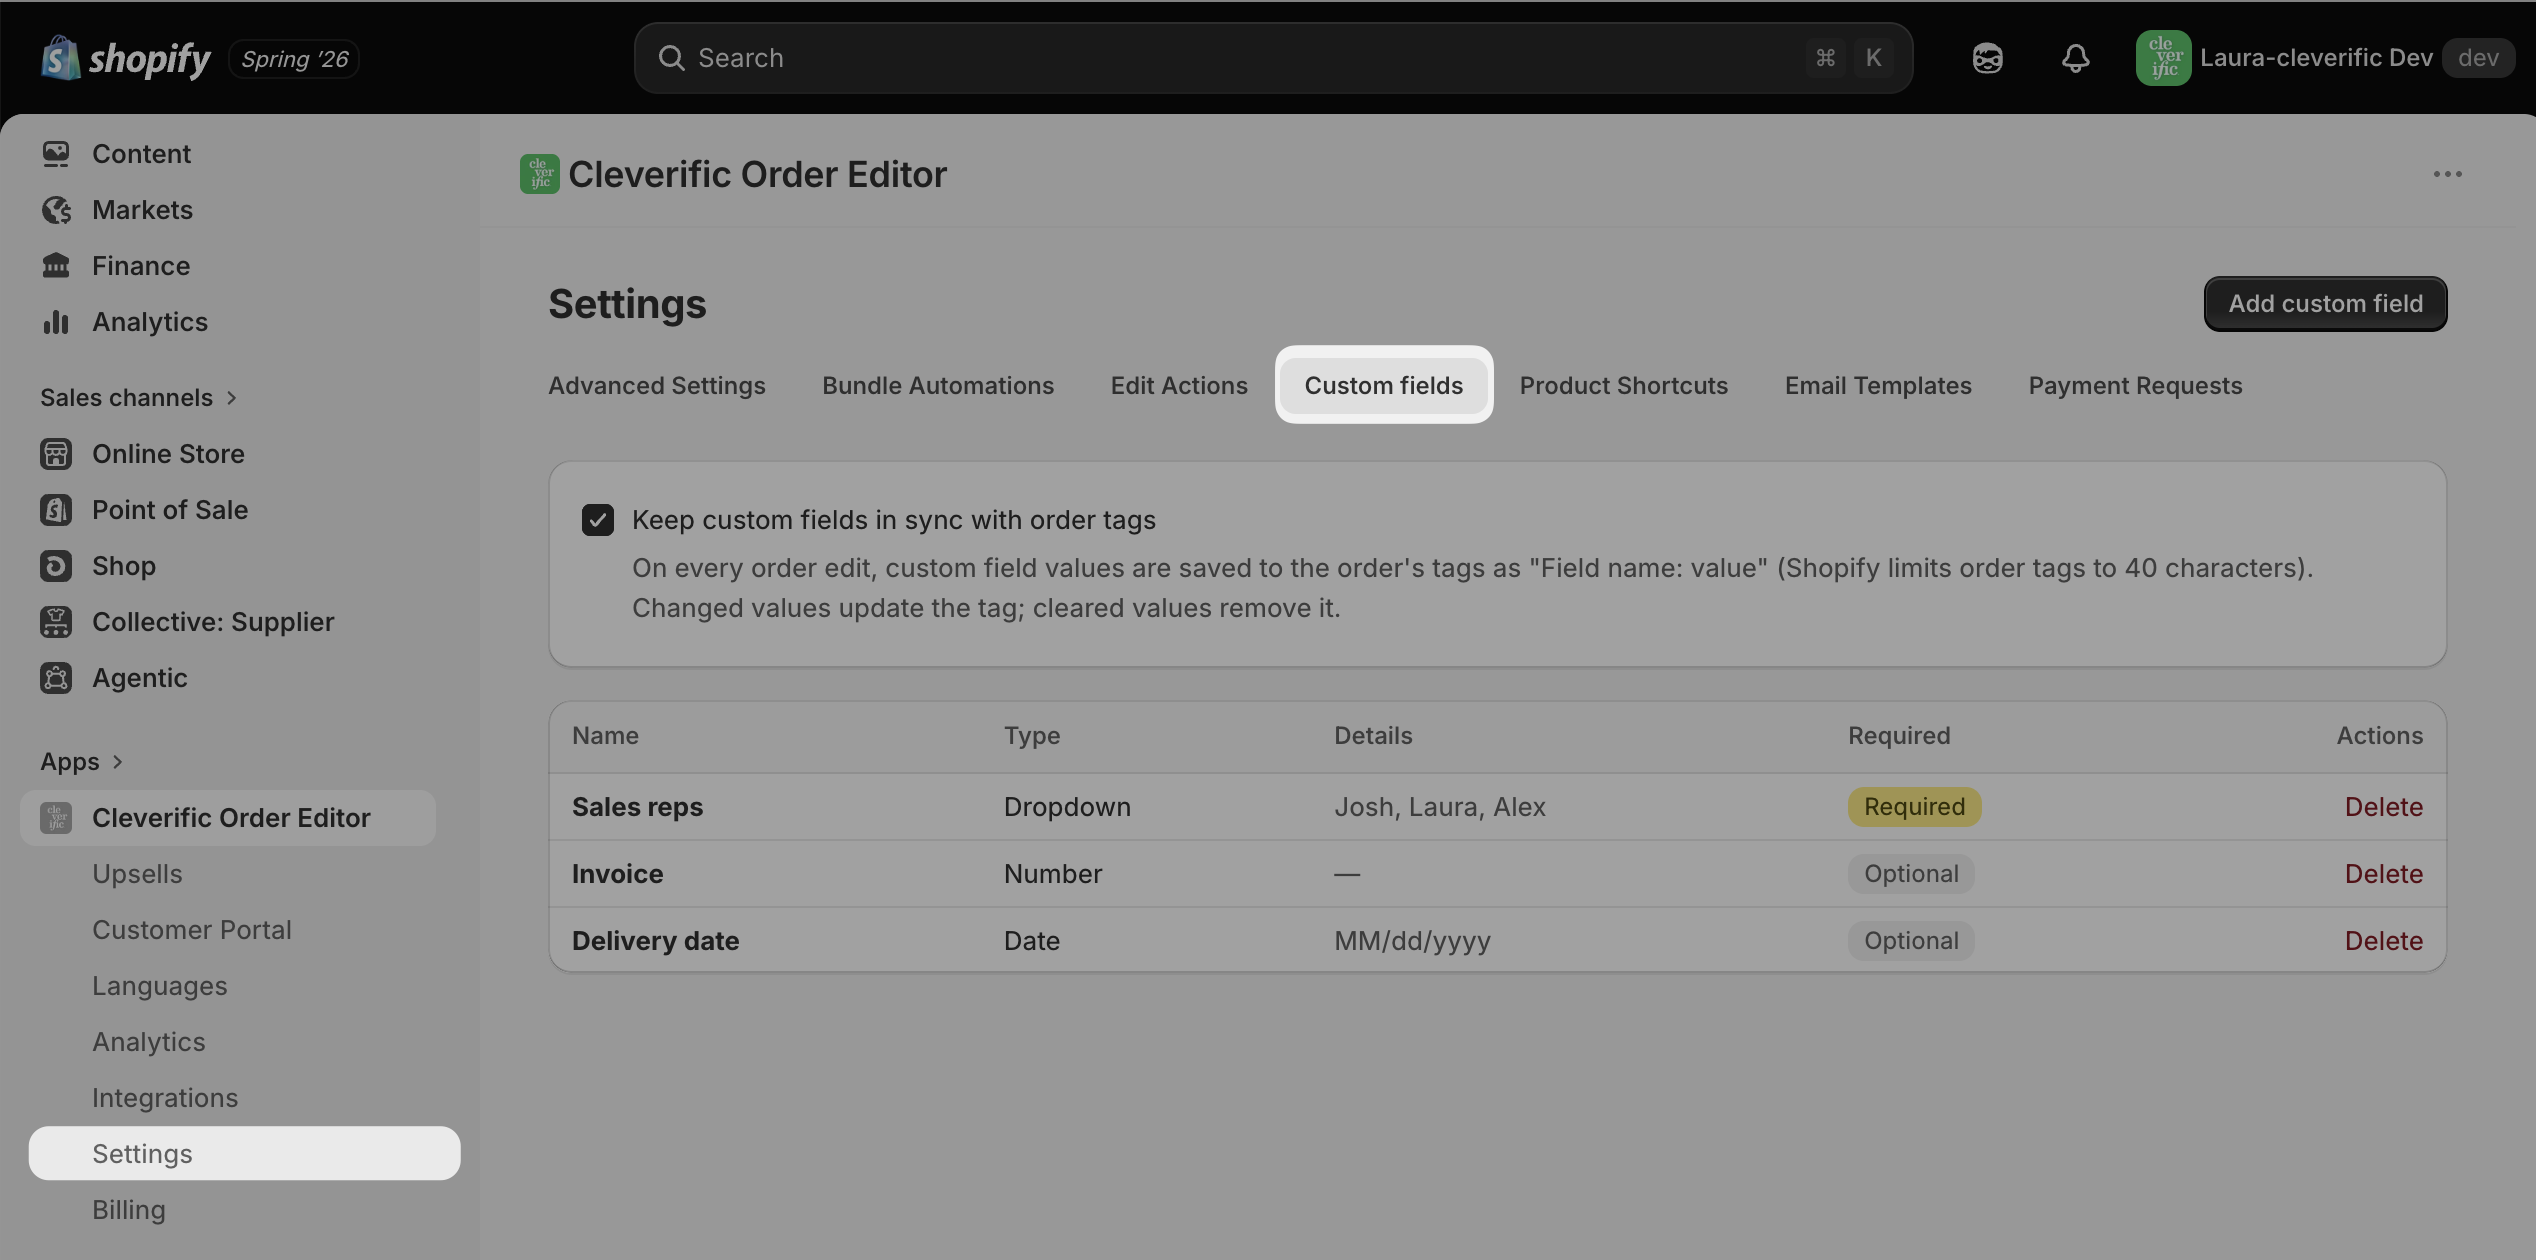
From your Shopify Admin, navigate to Apps > Cleverific Order Editor.
In the nav menu, select Settings and navigate to the Custom fields tab
Click Add custom fields.
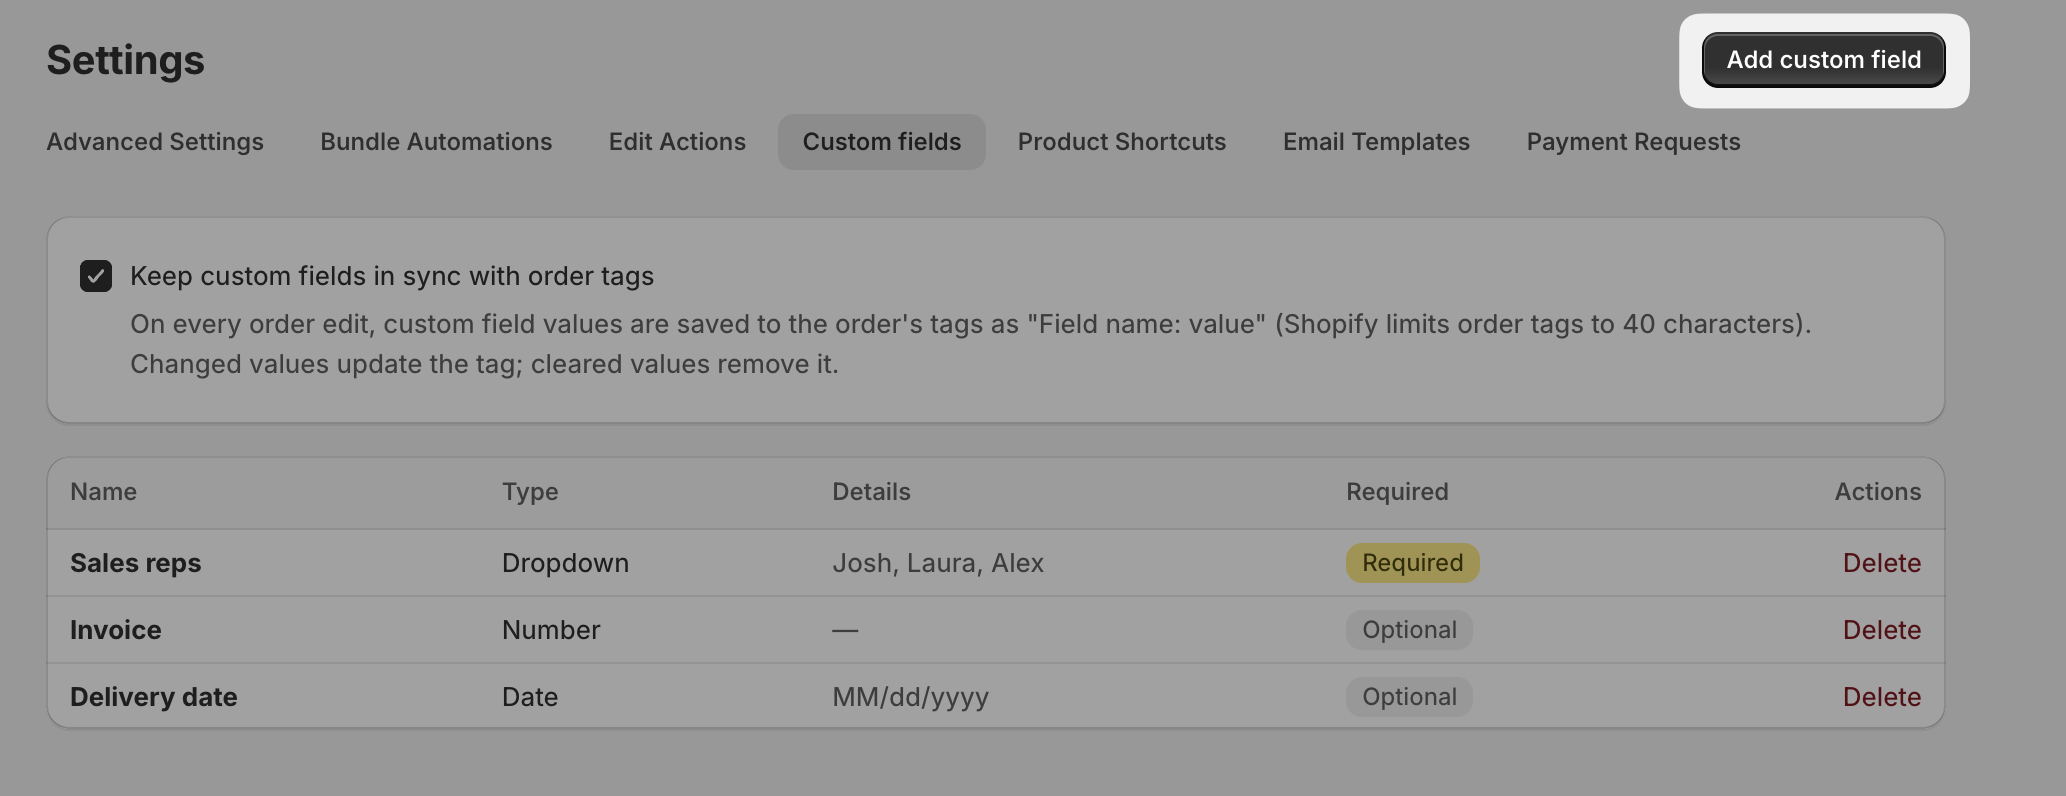
Enter the Field name.
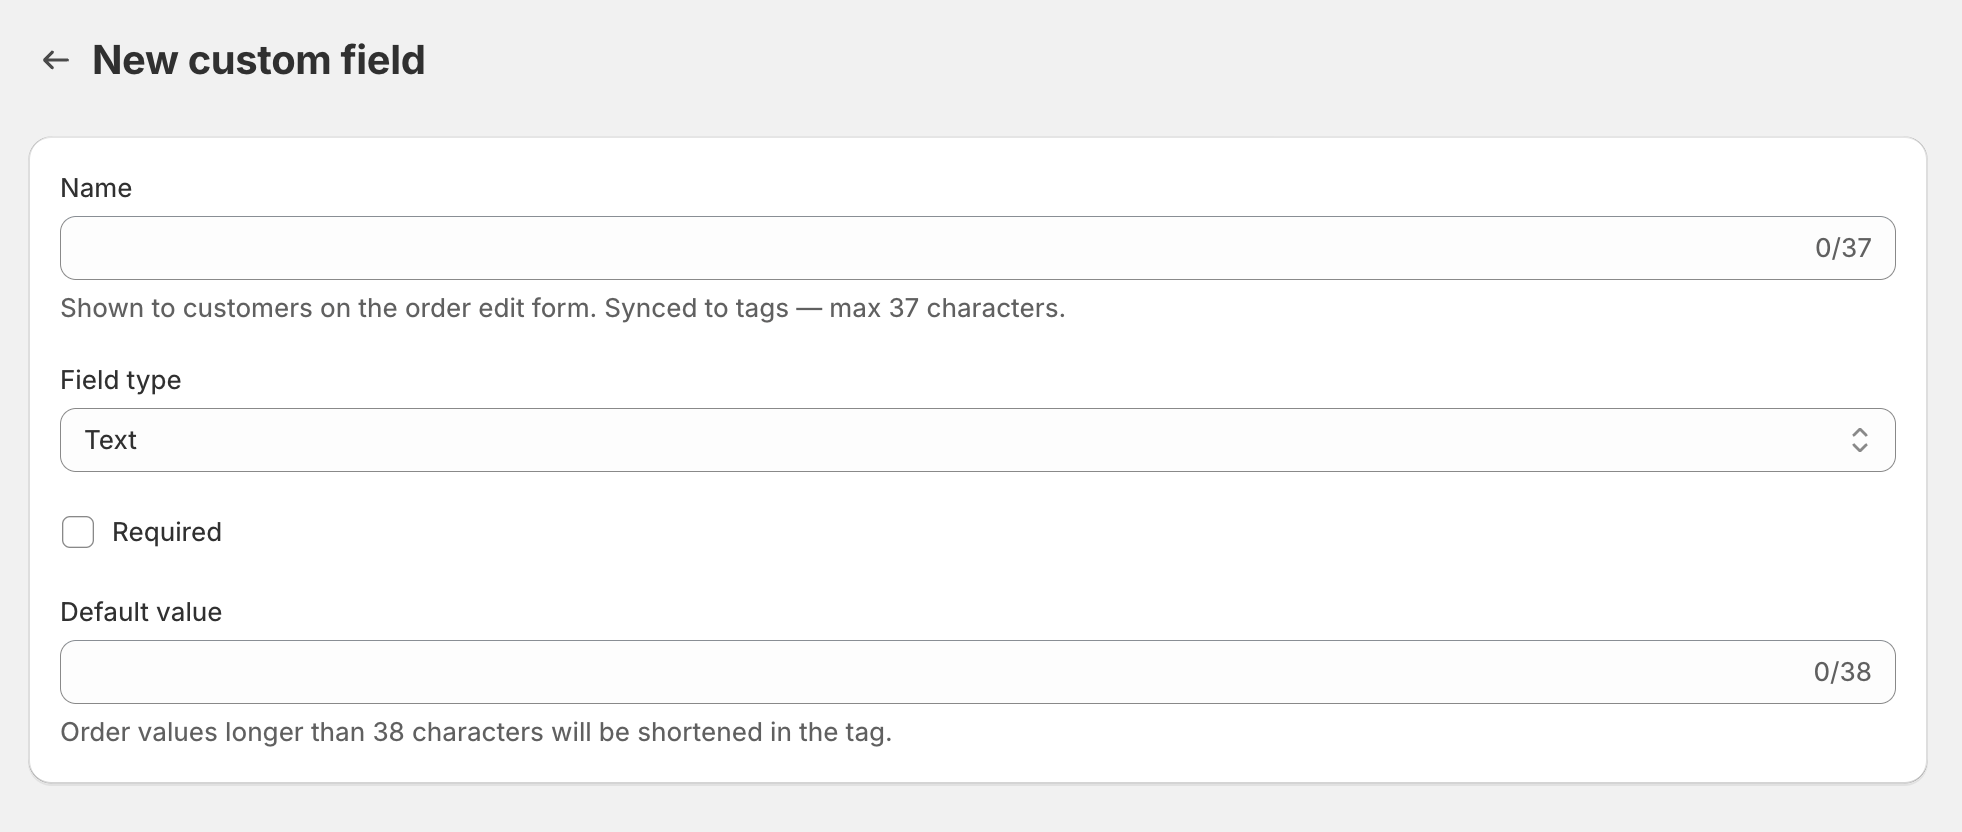
Select a Field Type.
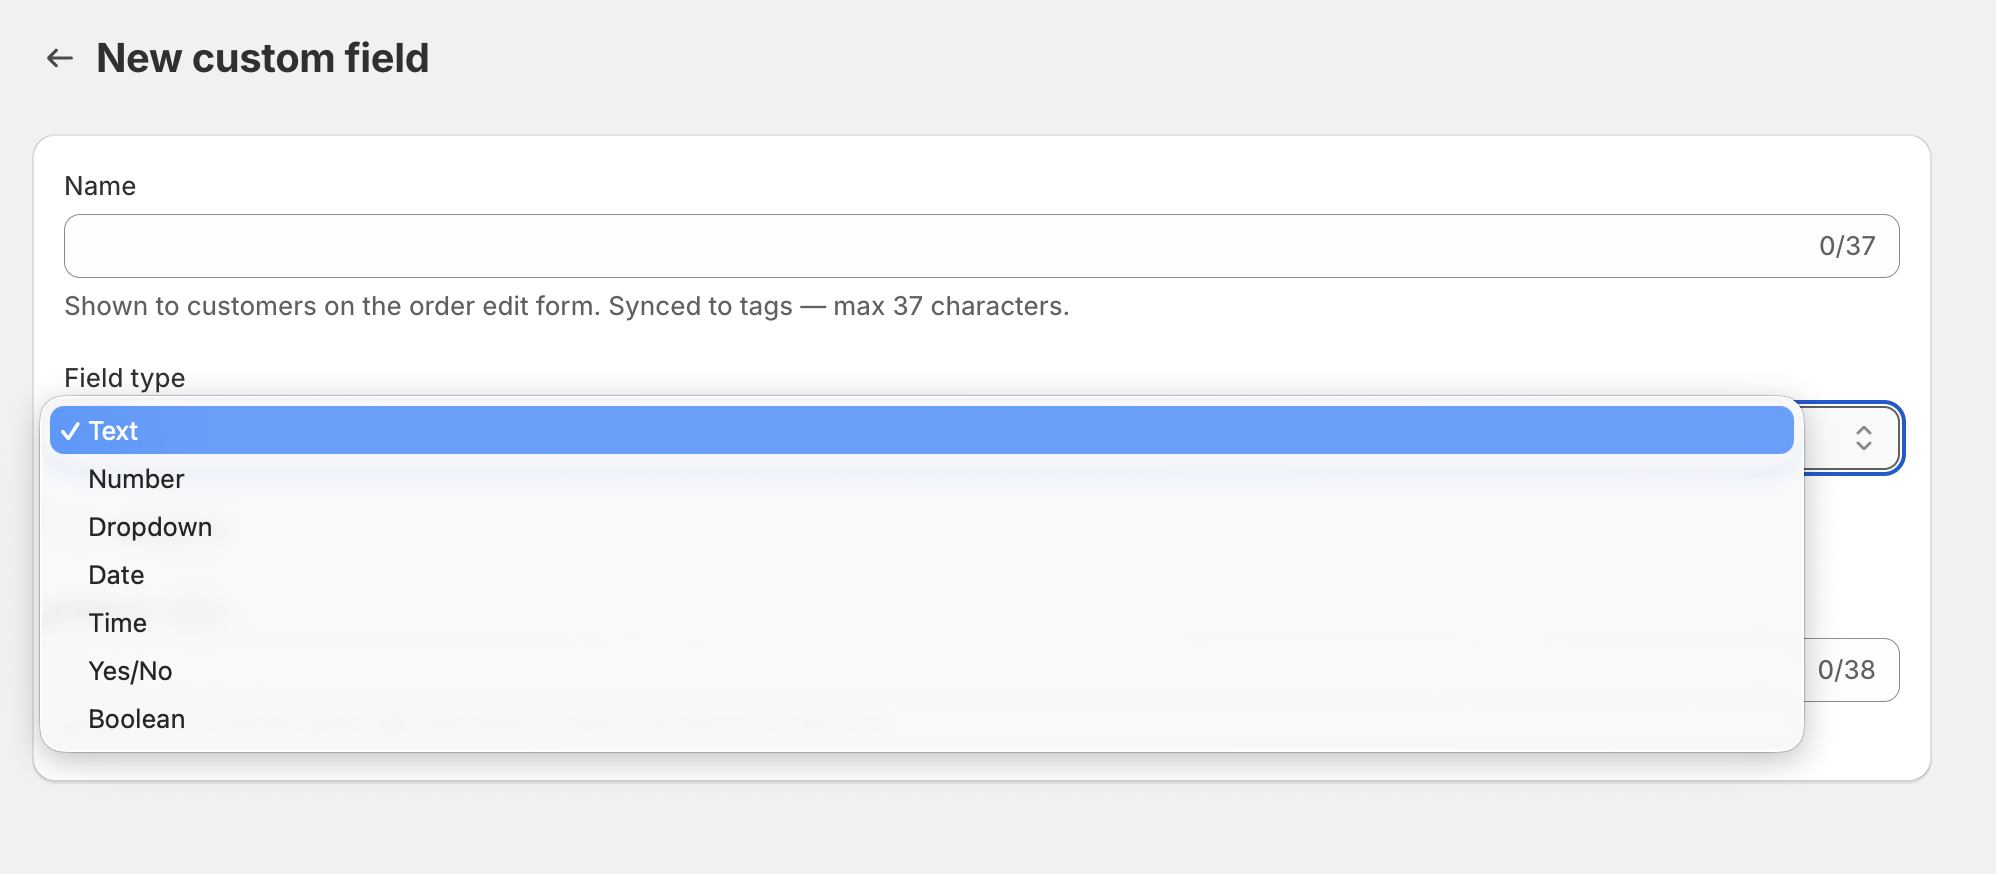
Text: Free-form text. You can type an initial value. This can be blank by default.
Number: Numerical value. You can enter an initial value. This can be blank by default.
Dropdown: List of values to choose from. You can enter multiple options.
Date: Date picker. You can choose the date format.
Time: Time picker.
Yes/No: Yes or No selection from a dropdown.
Boolean: True or False value.
Decide if you want to make this preset custom field required. When enabled, if the value is left empty upon saving your edits, a modal will remind you that this custom field shouldn't be blank.
Click Save.
On your Custom Fields list page, you can choose whether or not to keep custom fields in sync with order tags. Once enabled, your custom fields will be saved as tags on your order.
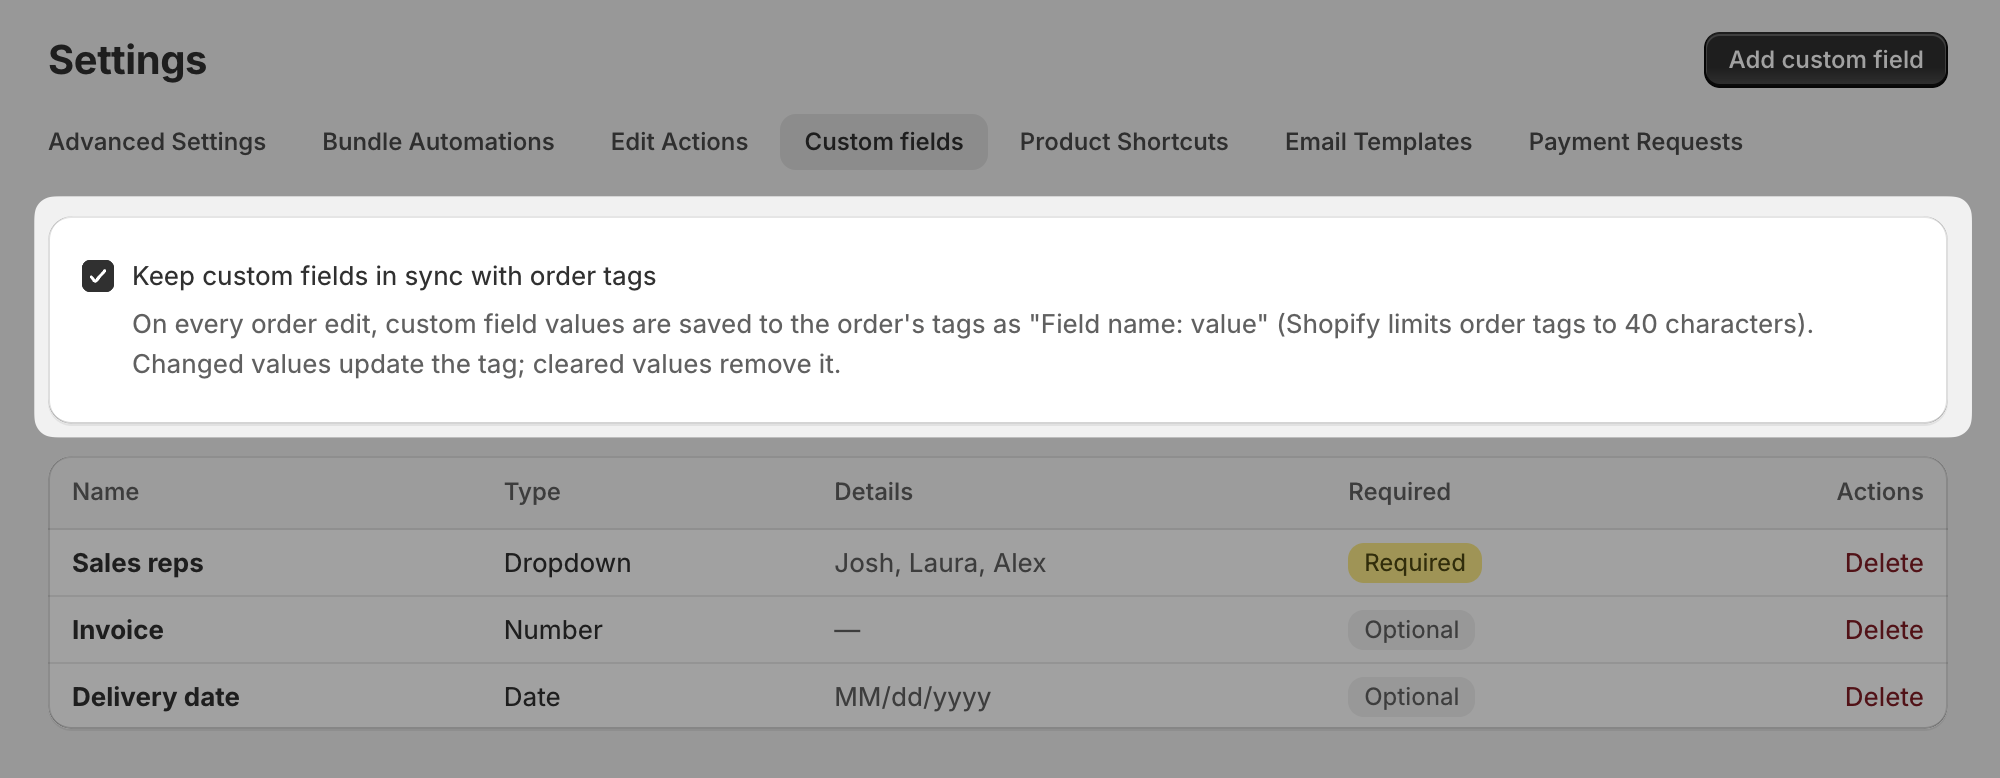
You'll see these preset custom fields appearing in your editor.
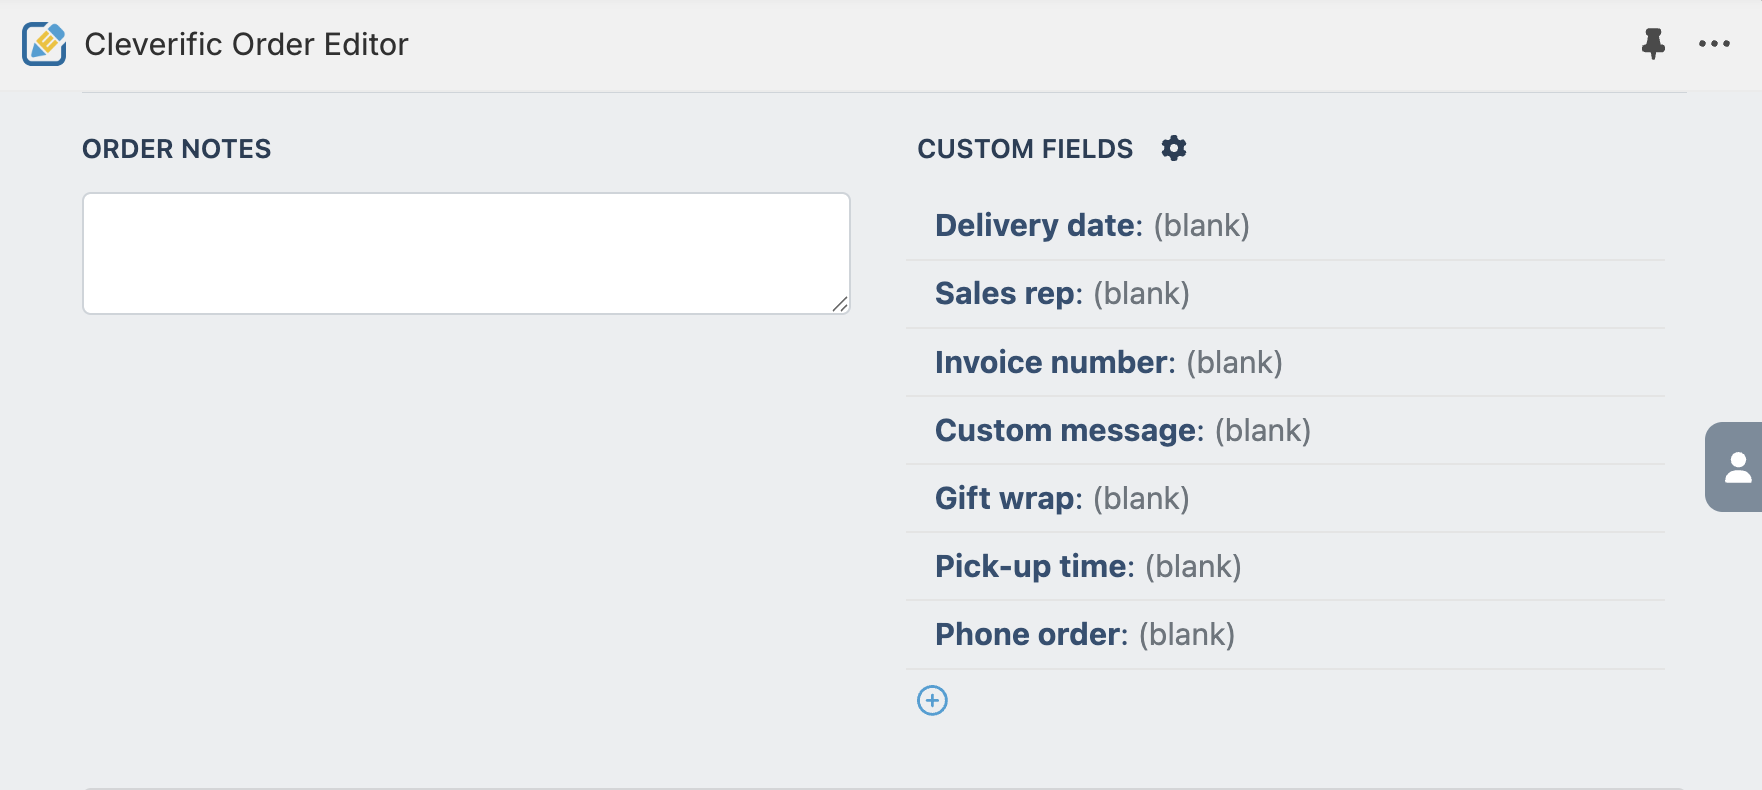
Set up and edit preset custom fields within the editor
Preset custom fields can be created, edited, and deleted via Cleverific's Draft orders, Quick Mode, and Advanced Mode.
Access your preset custom fields settings in the editor
Steps
From your Shopify Admin, open the order or draft order you'd like to edit.
Navigate to the Custom fields section.
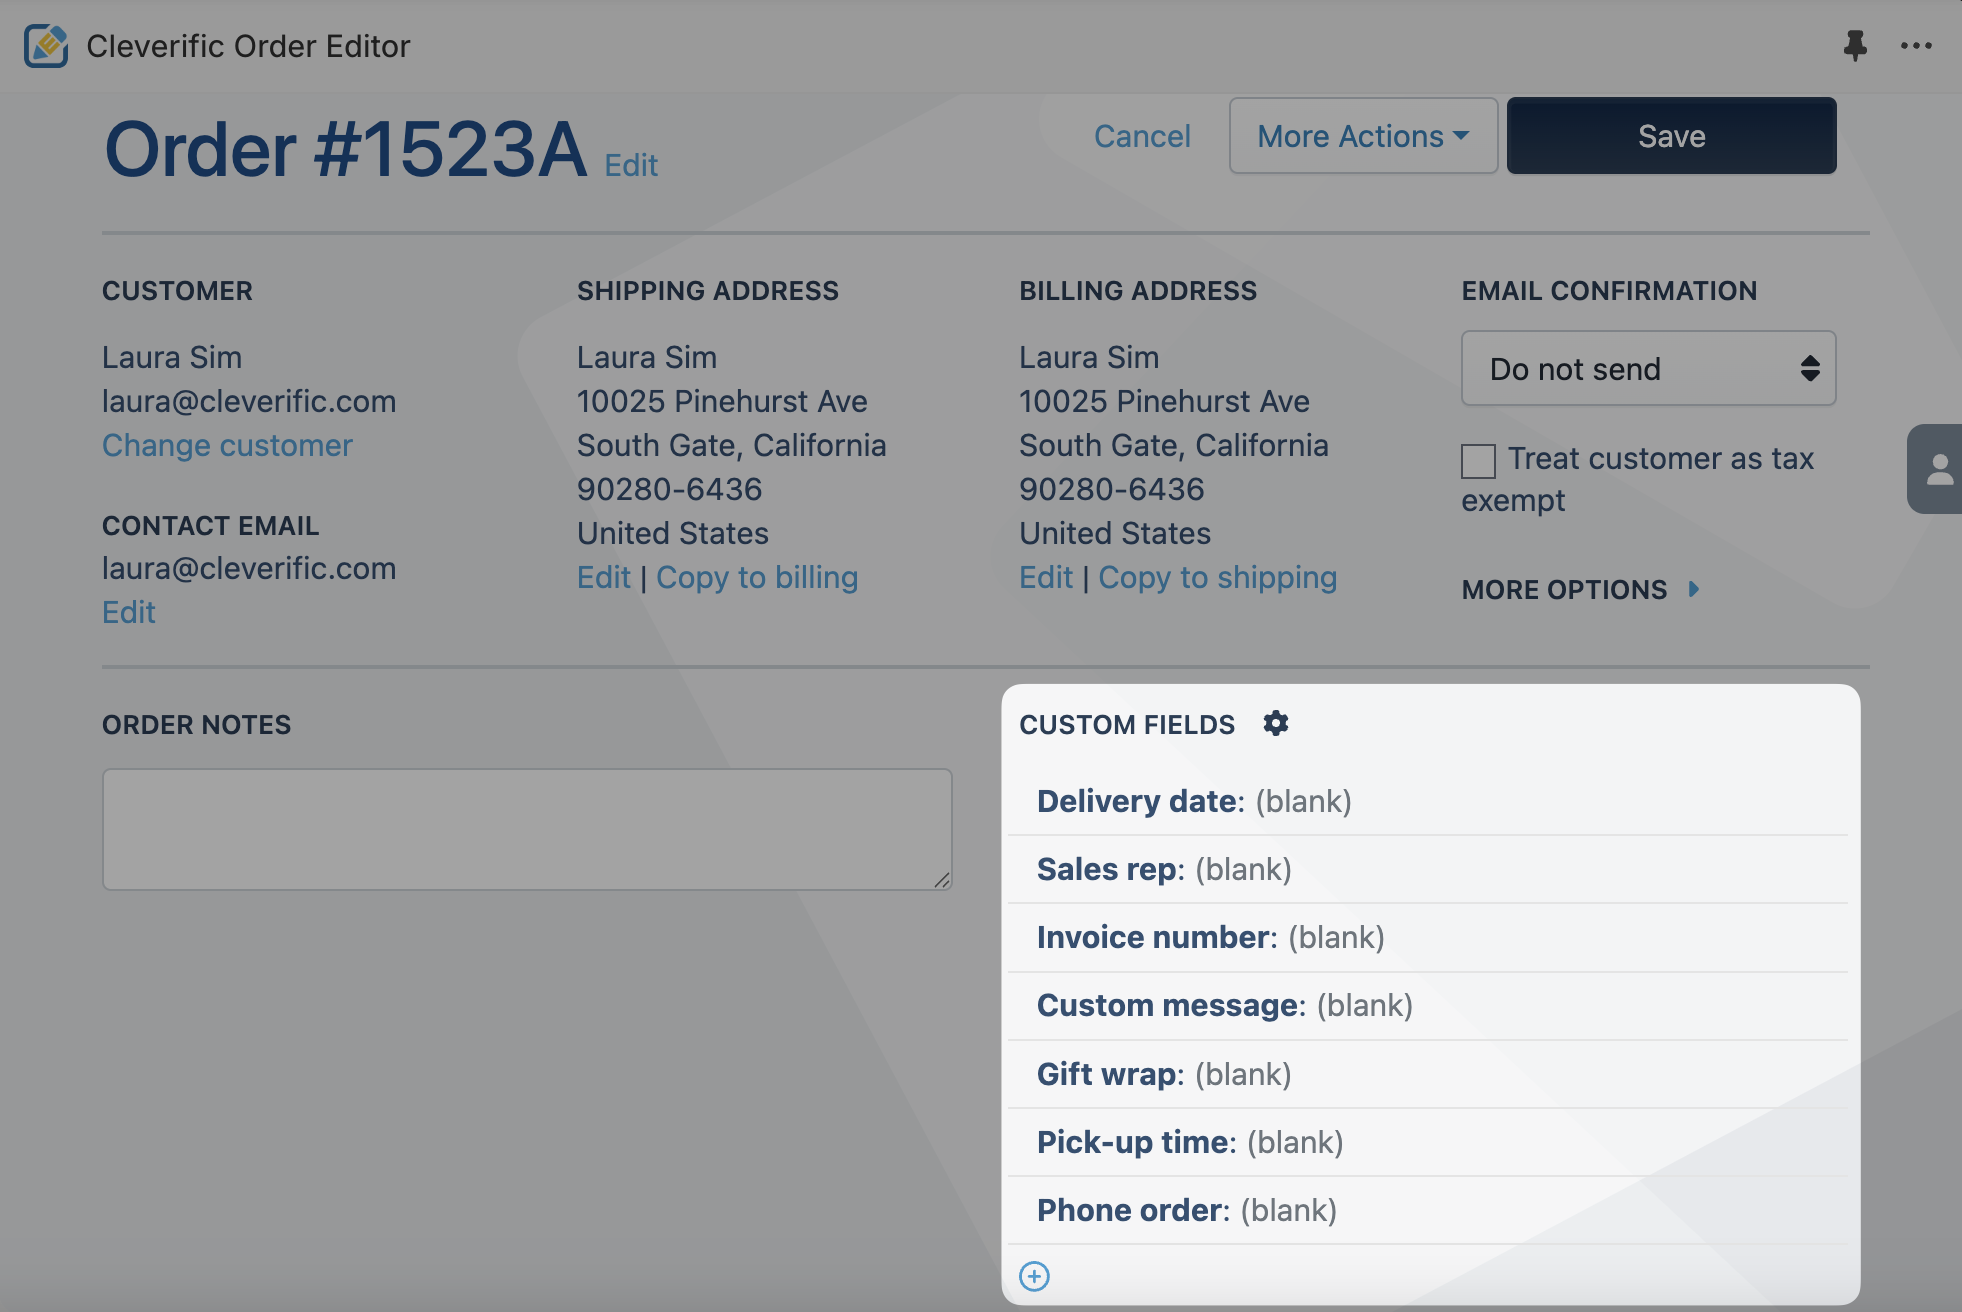
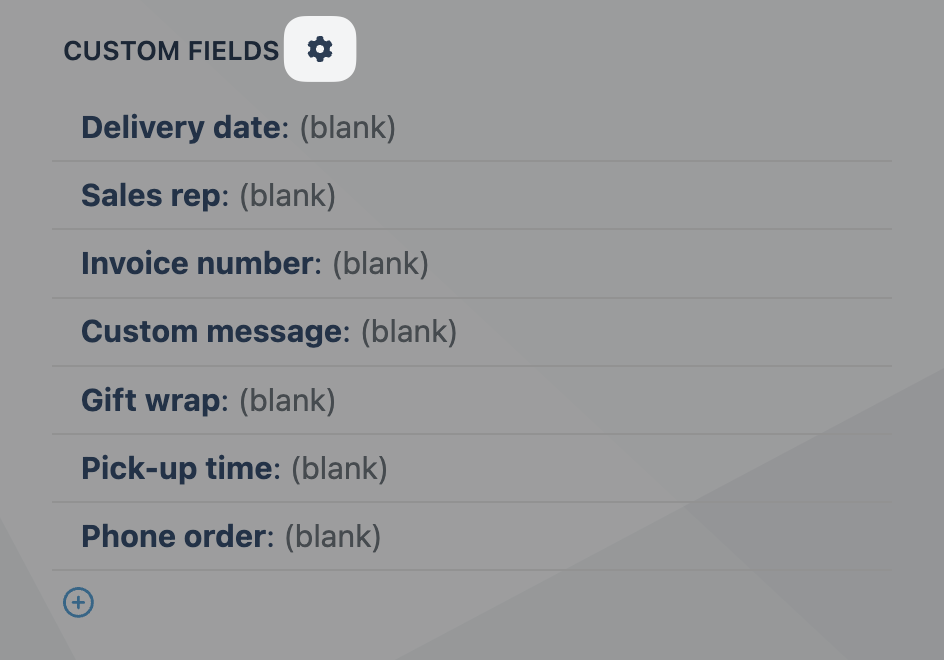
To edit, add, or remove preset custom fields, click the gear icon.
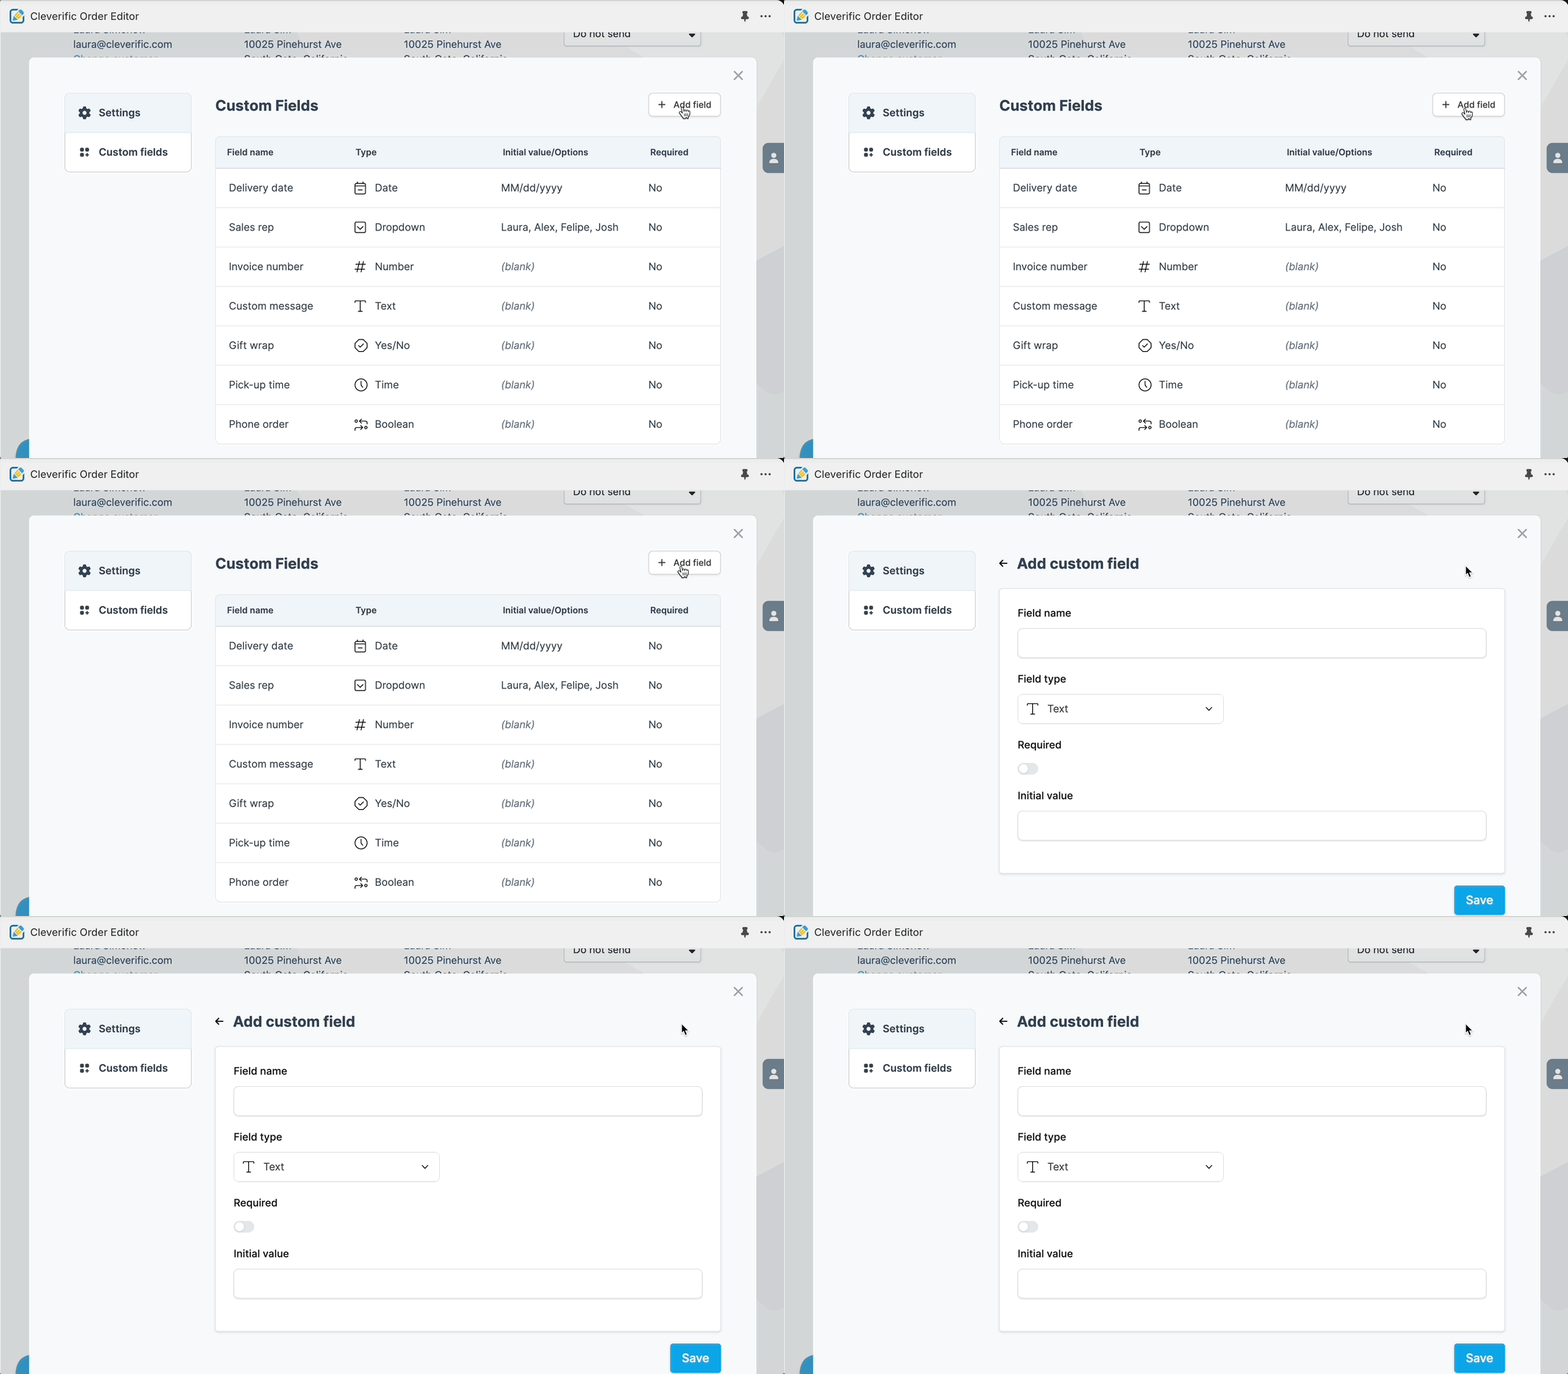
▪️ Add a new preset custom field via your editor
To create a new preset custom field, click + Add field.
Enter the Field name, select the Field type, and choose whether the preset should be required. Then, click Save.
▪️ Edit existing preset custom fields via your editor
You can edit an existing preset custom field by clicking on the preset line in the list.
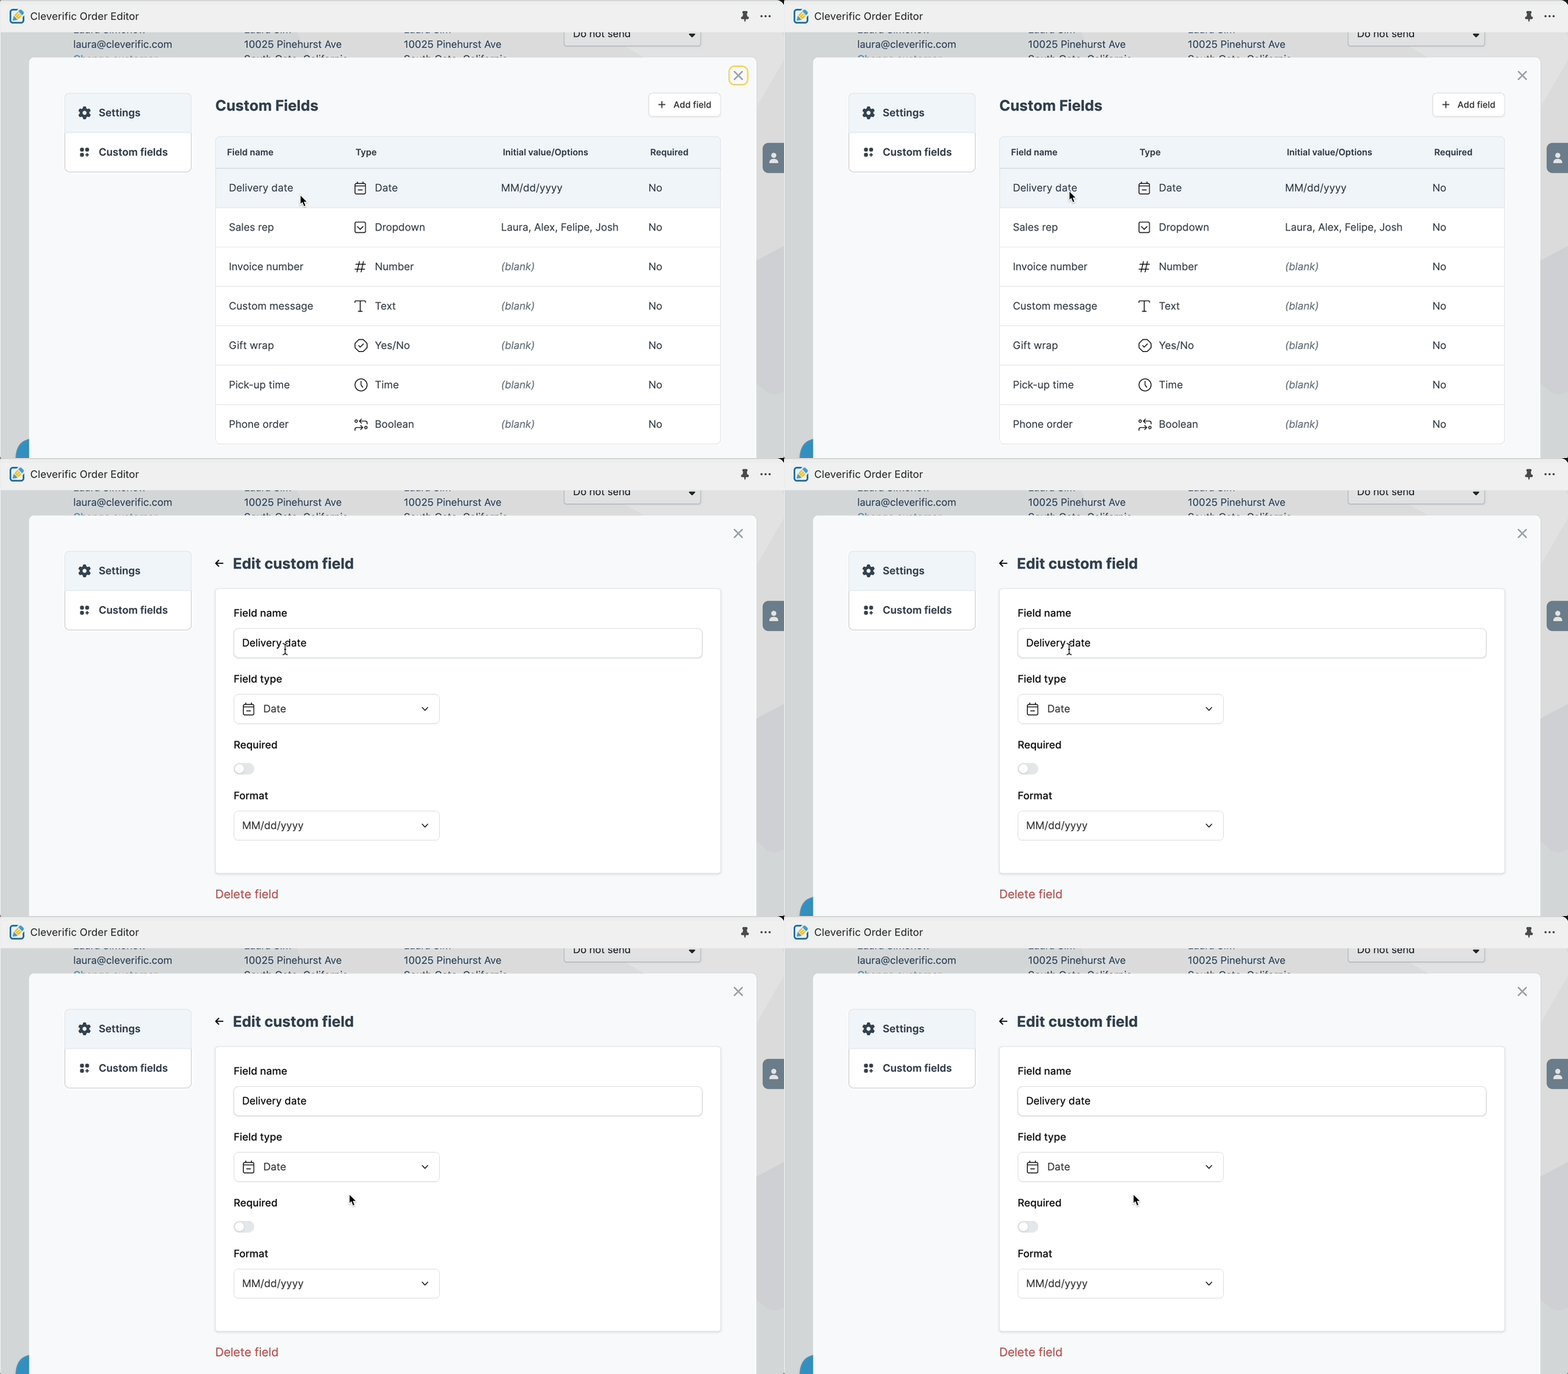
▪️ Delete existing preset custom fields via your editor
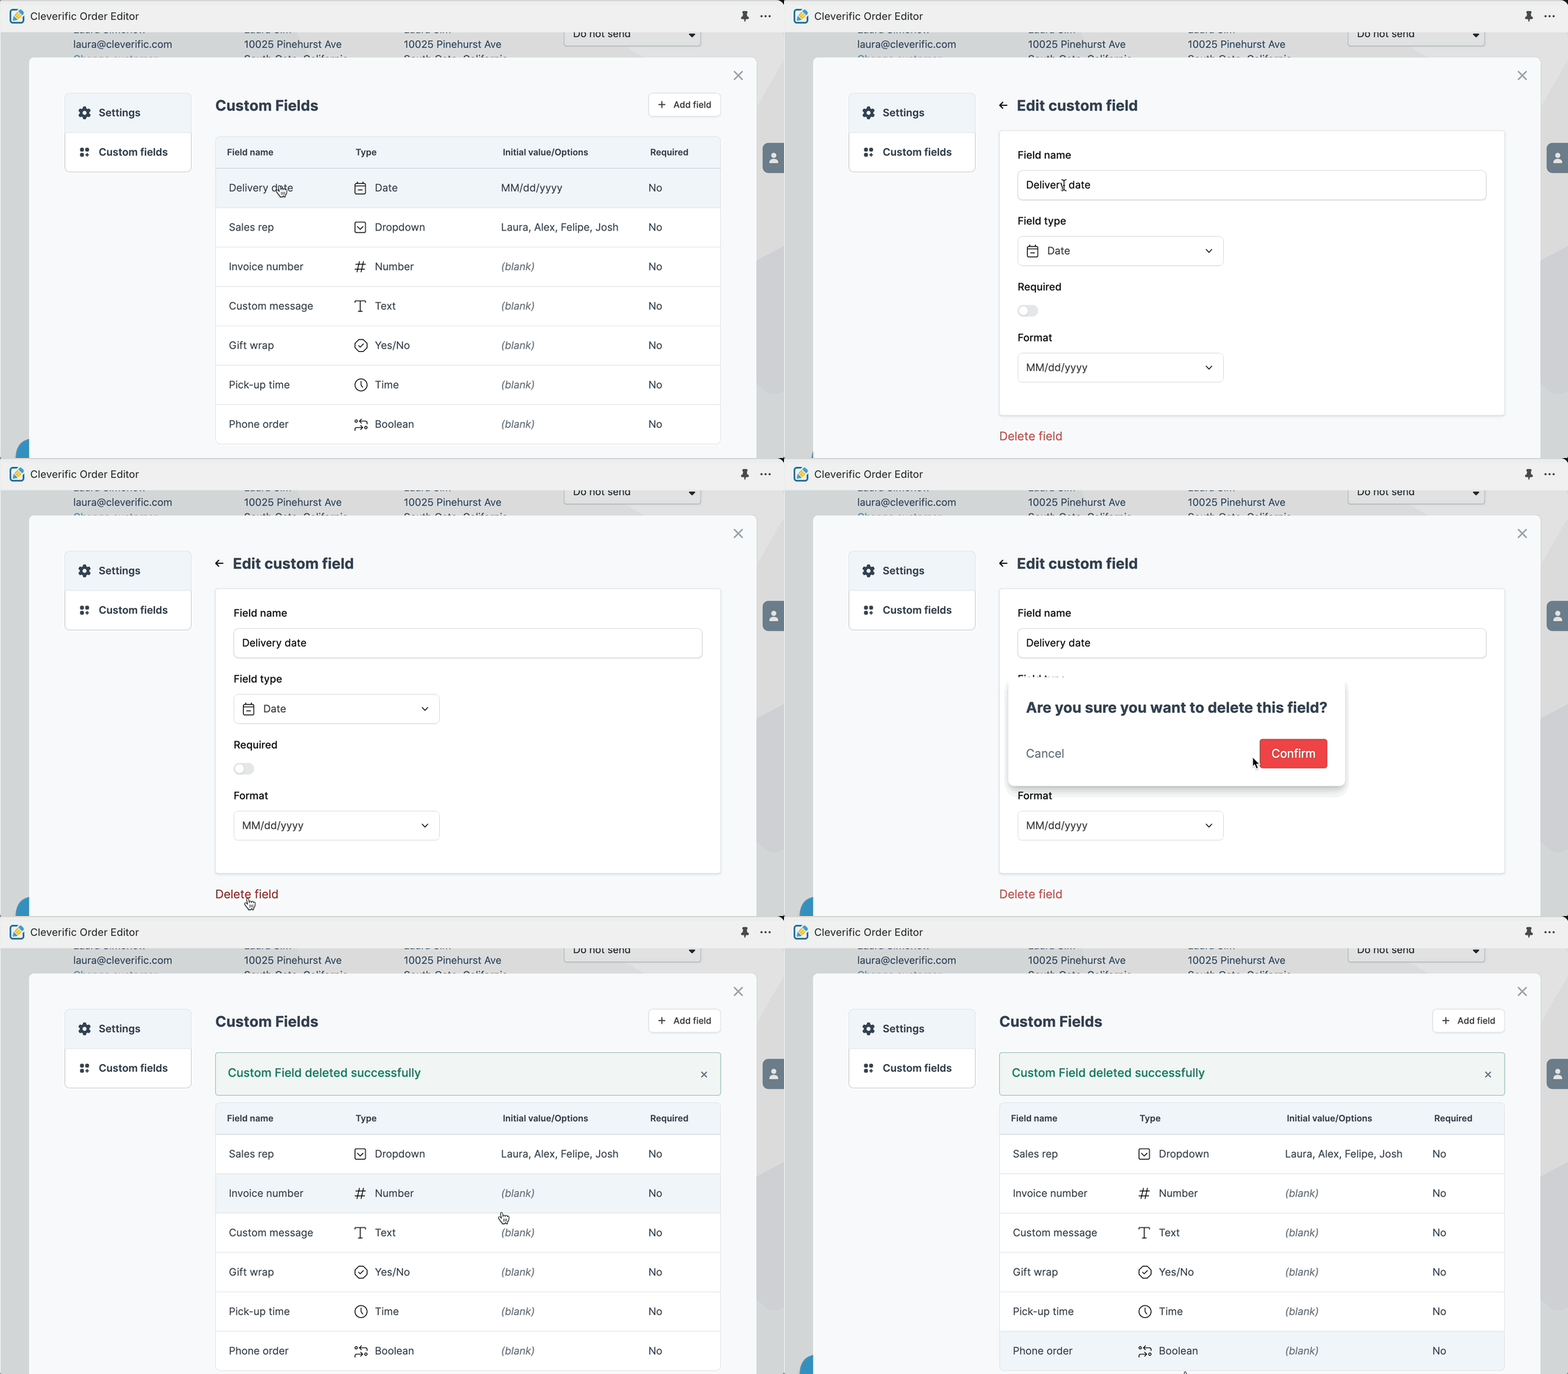
To remove an existing preset custom field, click on the preset line in the list. Select Delete field > Confirm.
Use preset custom fields when editing an order or draft order
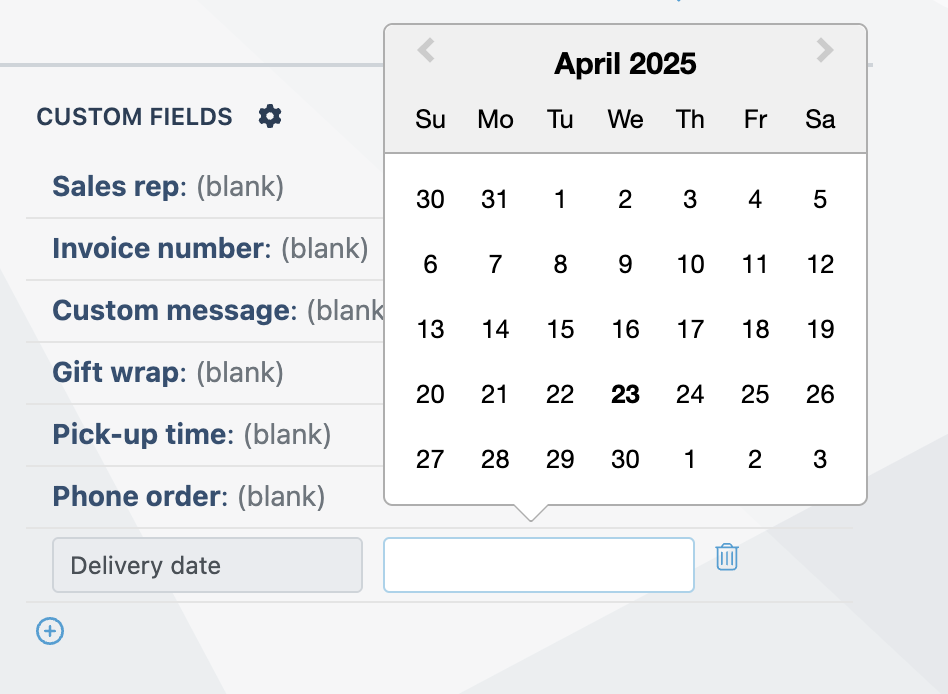
When your preset custom fields are set up, you can enter values for each preset displayed in the list.
Any questions? Don't hesitate to email us at [email protected].