

Setting up a post-purchase offer with Cleverific
Updated 2 weeks ago
Post-purchase offers appear immediately after checkout, before the Thank You page. Customers can accept or decline without re-entering their payment details. This article will show you how to build an upsells funnel step by step.
Before you start
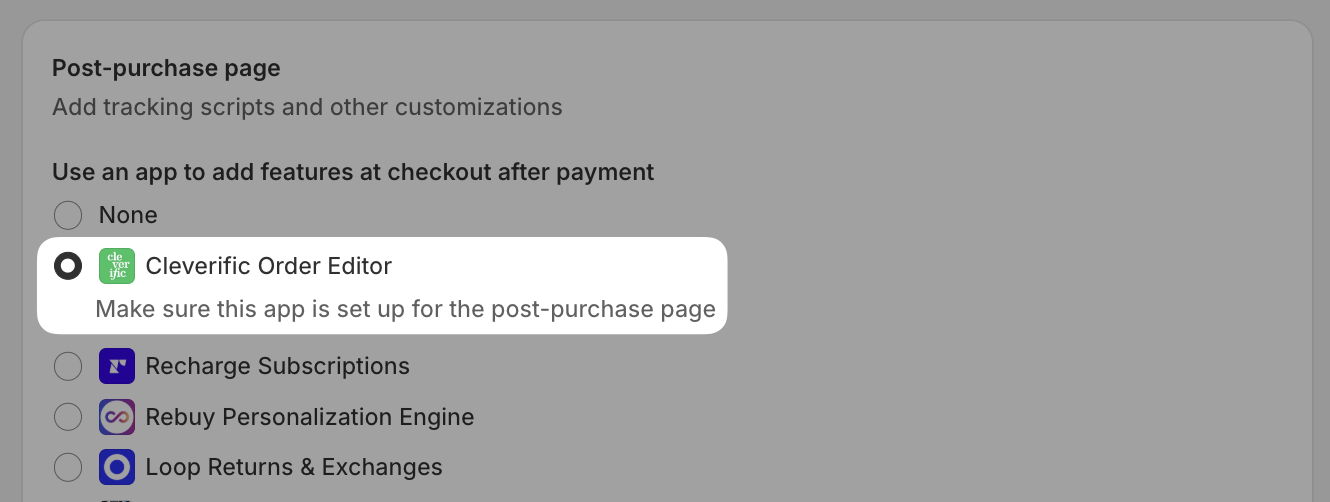
Make sure Cleverific is set as your post-purchase app in Shopify:
From your Shopify admin, go to Settings > Checkout.
Scroll to the Post-purchase page section.
Select Cleverific.
Create a funnel
From your Shopify admin, go to Apps > Cleverific.
Click Upsells in the nav menu.
Click Create funnel and choose a layout, Multi-step funnel, Single page, Grid, or Carousel.
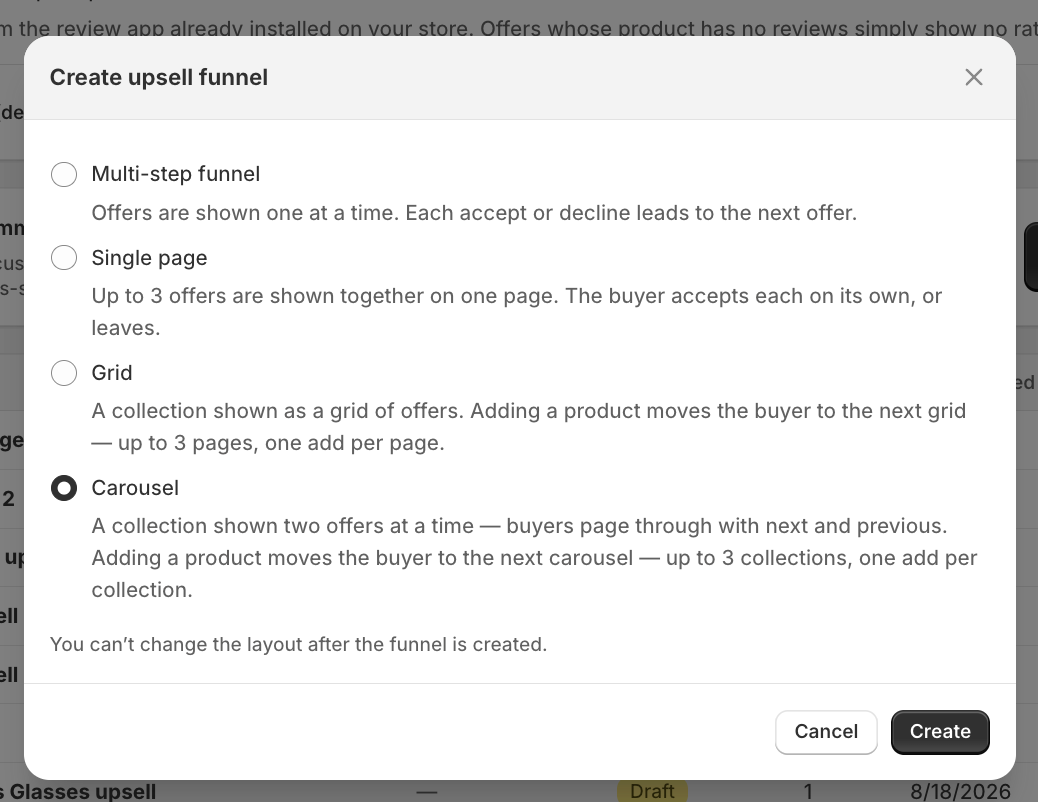
Click Create.
You can't change the layout after the funnel is created. The one exception is switching between Grid and Carousel, which you can do at any time from the funnel's Layout card, even while it's live.
Set targeting (optional)
By default, a funnel shows on every order. To target specific orders, click Edit next to the targeting section and click Add rule. You can add multiple rules; the funnel shows when all of them match. Rules save automatically.
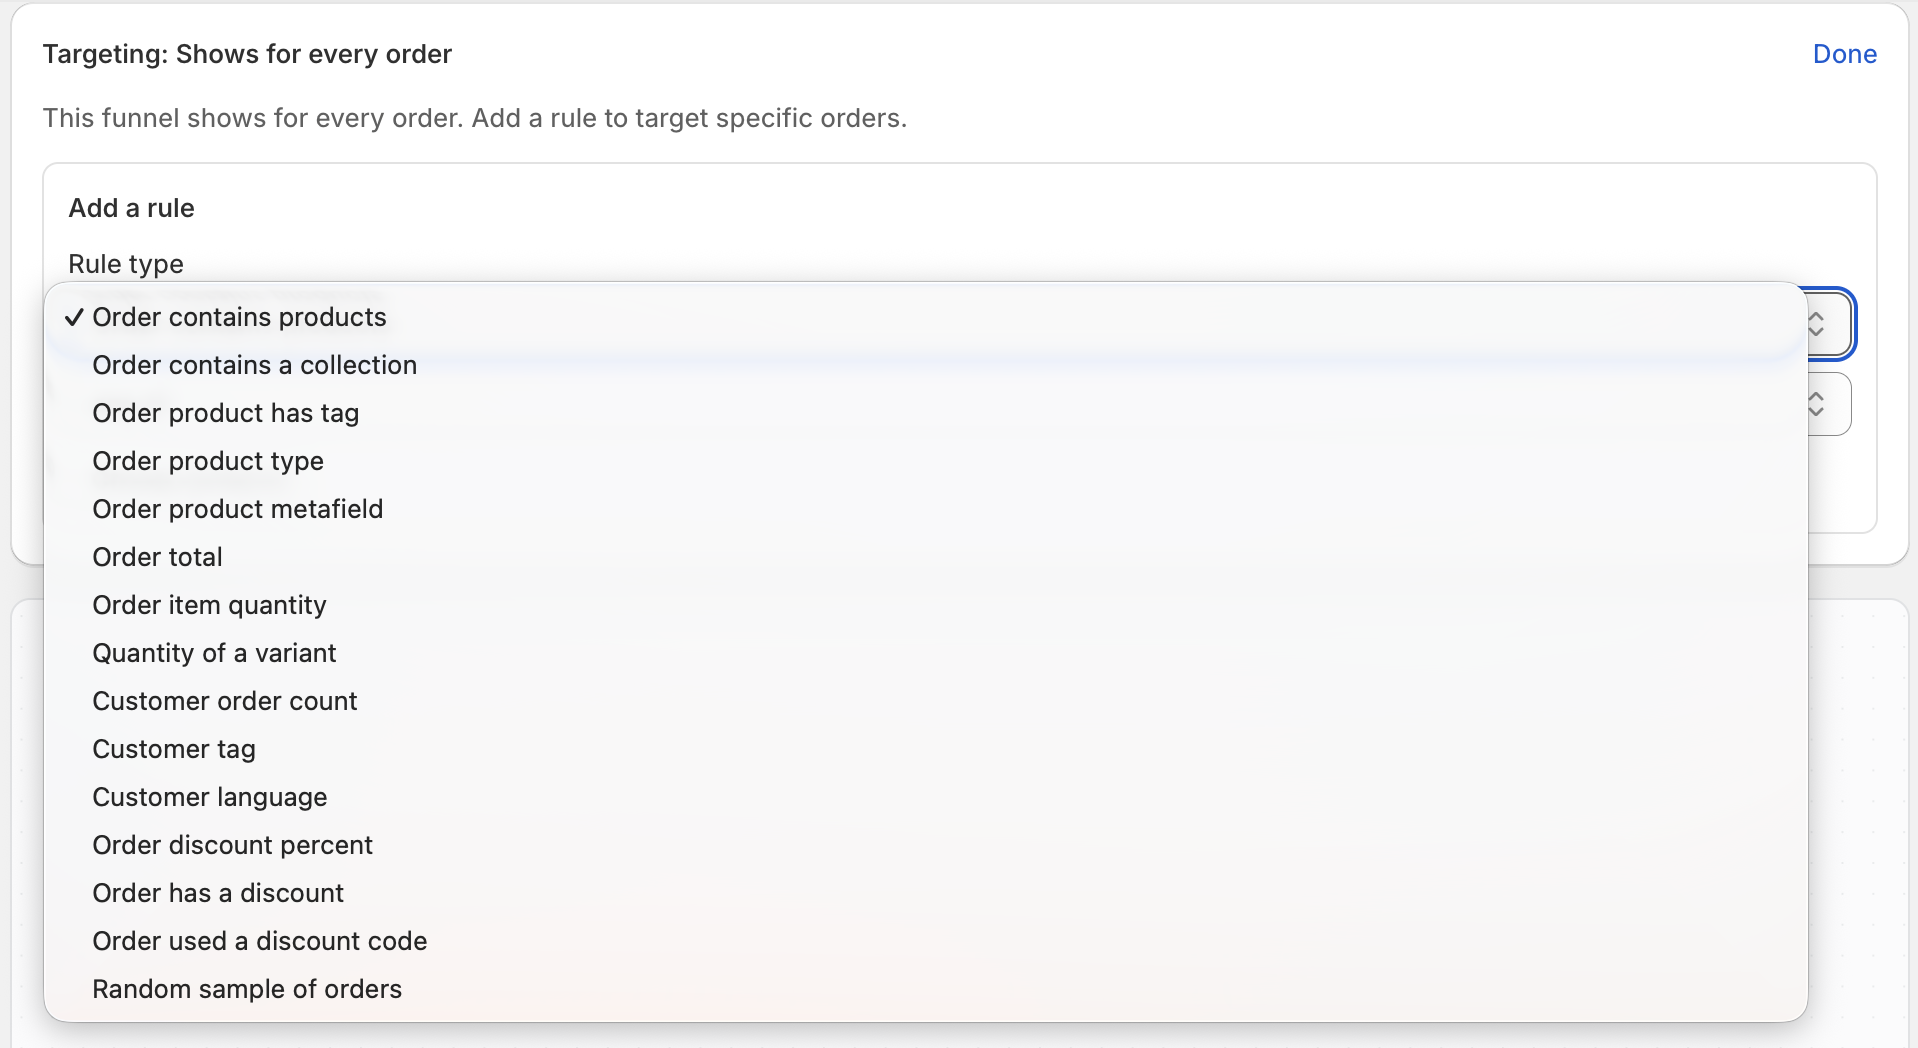
Read more about the full list of rule types you can use to build a targeting rule here: Post-purchase funnel targeting rule types.
Add your offer
The steps will differ depending on the layout you chose.
Multi-step funnel
Click New offer on the canvas, then click the pencil icon to open it. You can also double-click the offer.
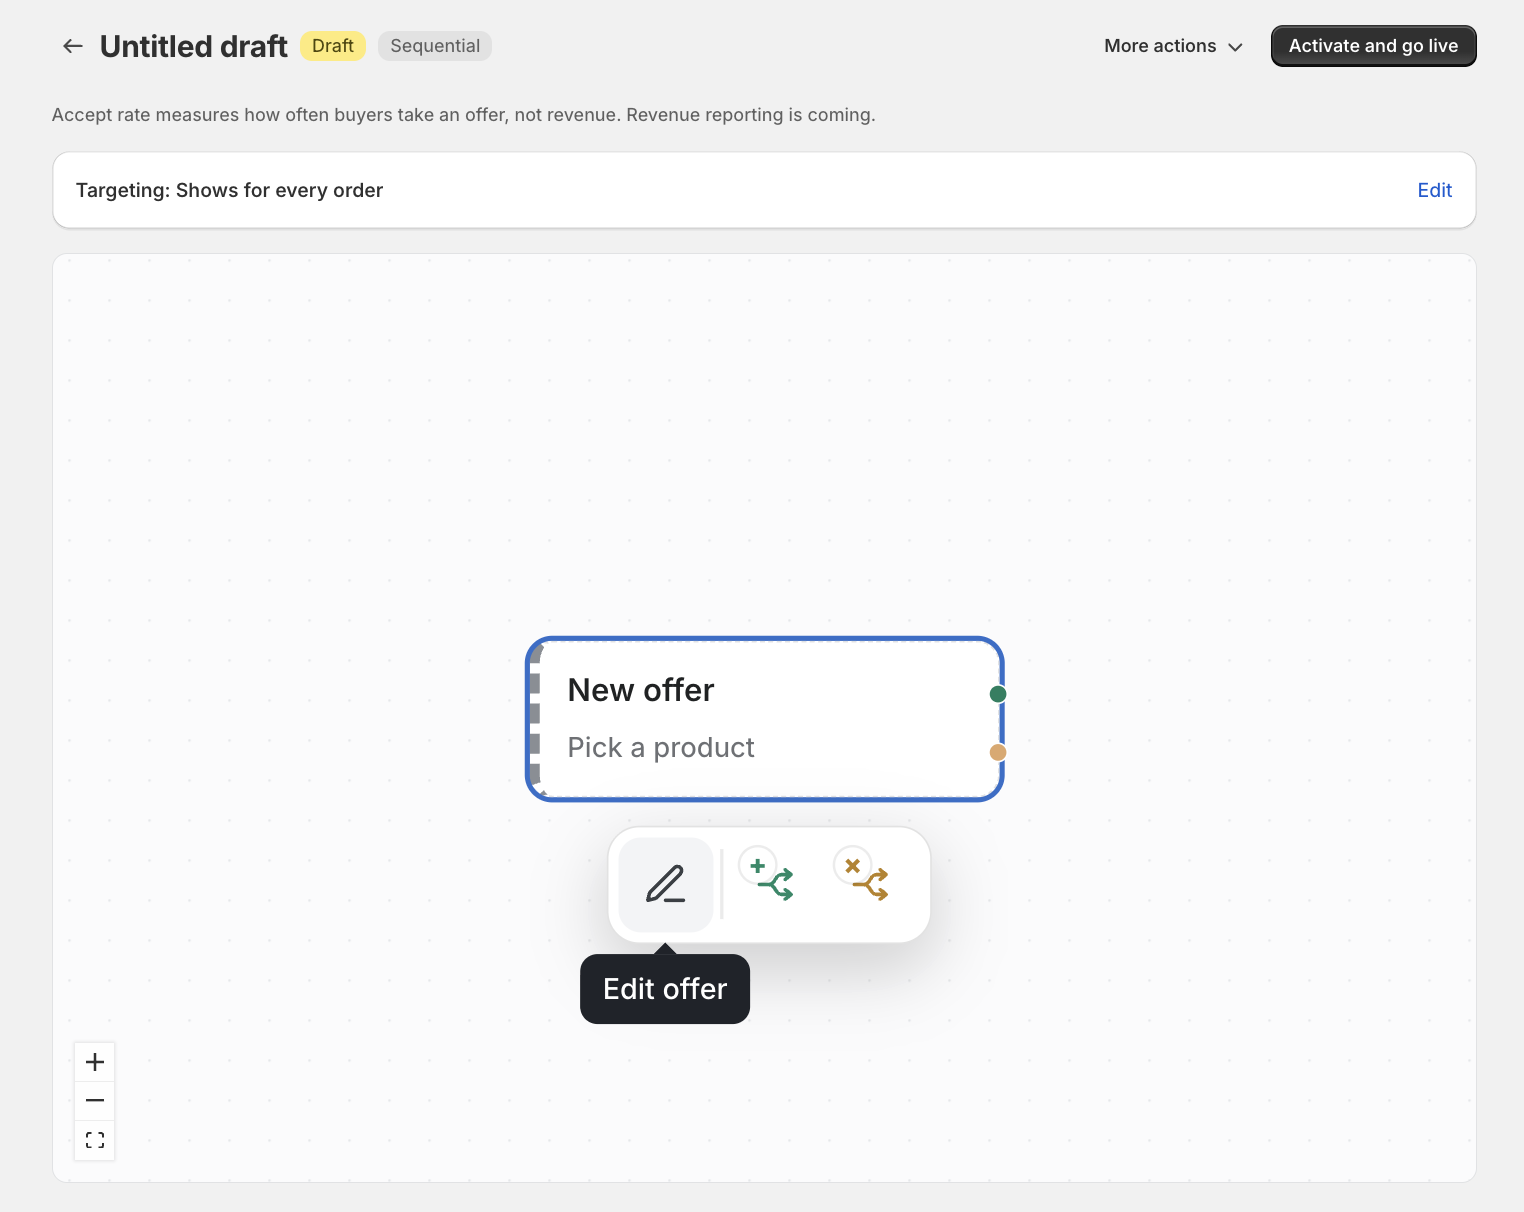
Click Browse and select a product. You can select the whole product (all variants) or a specific variant. Click Use a collection if you want to display a full collection as an offer.
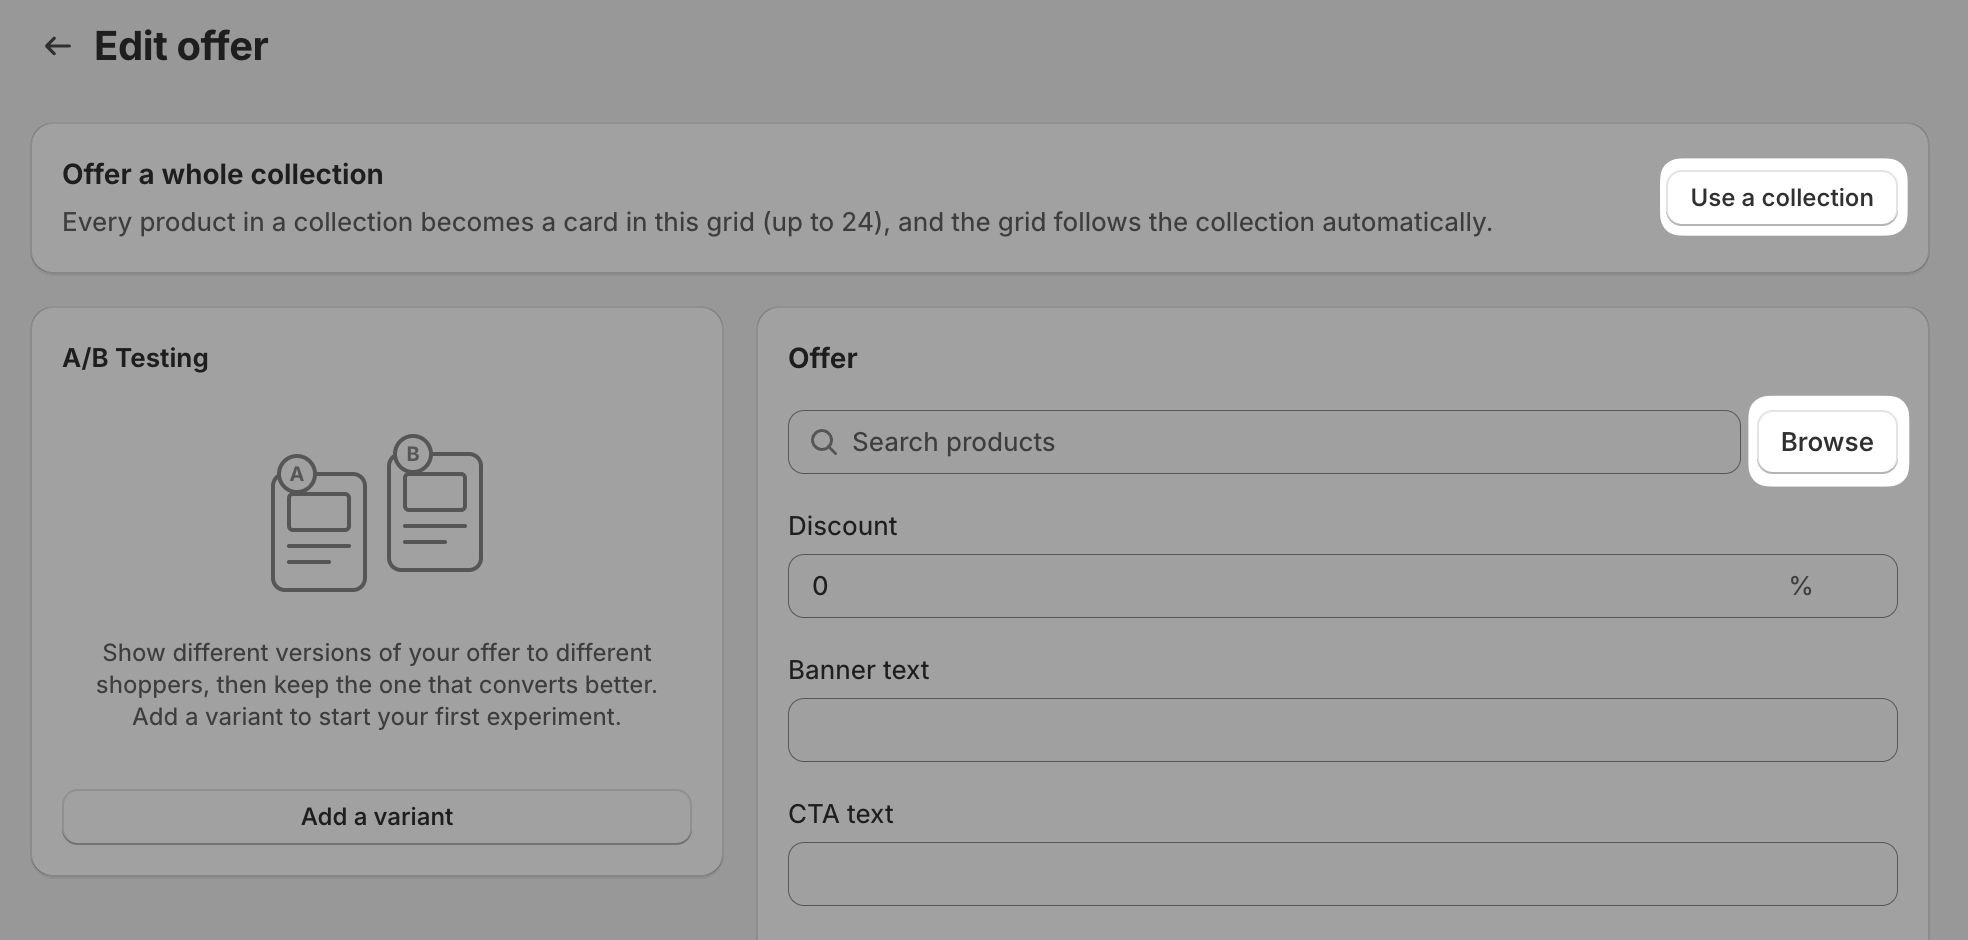
After picking a product for the first time, Cleverific auto-fills the Banner text, CTA text, and Product description fields.
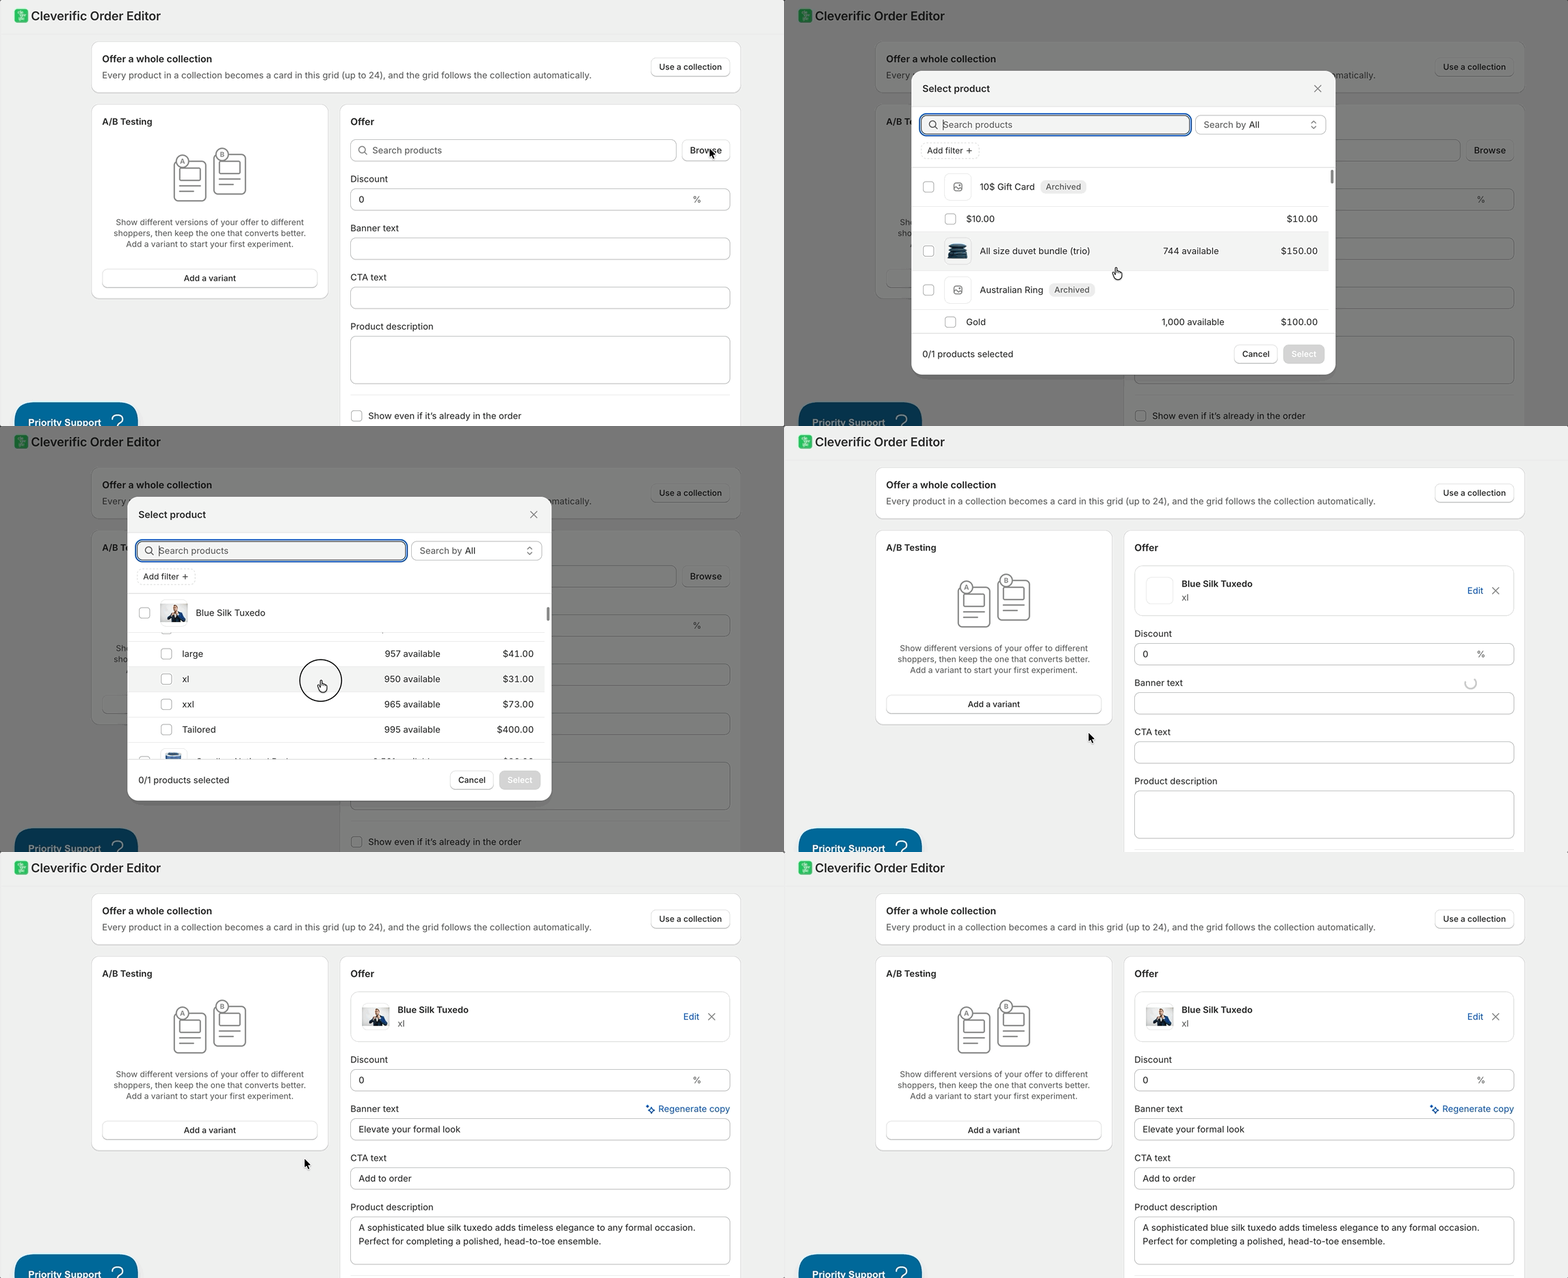
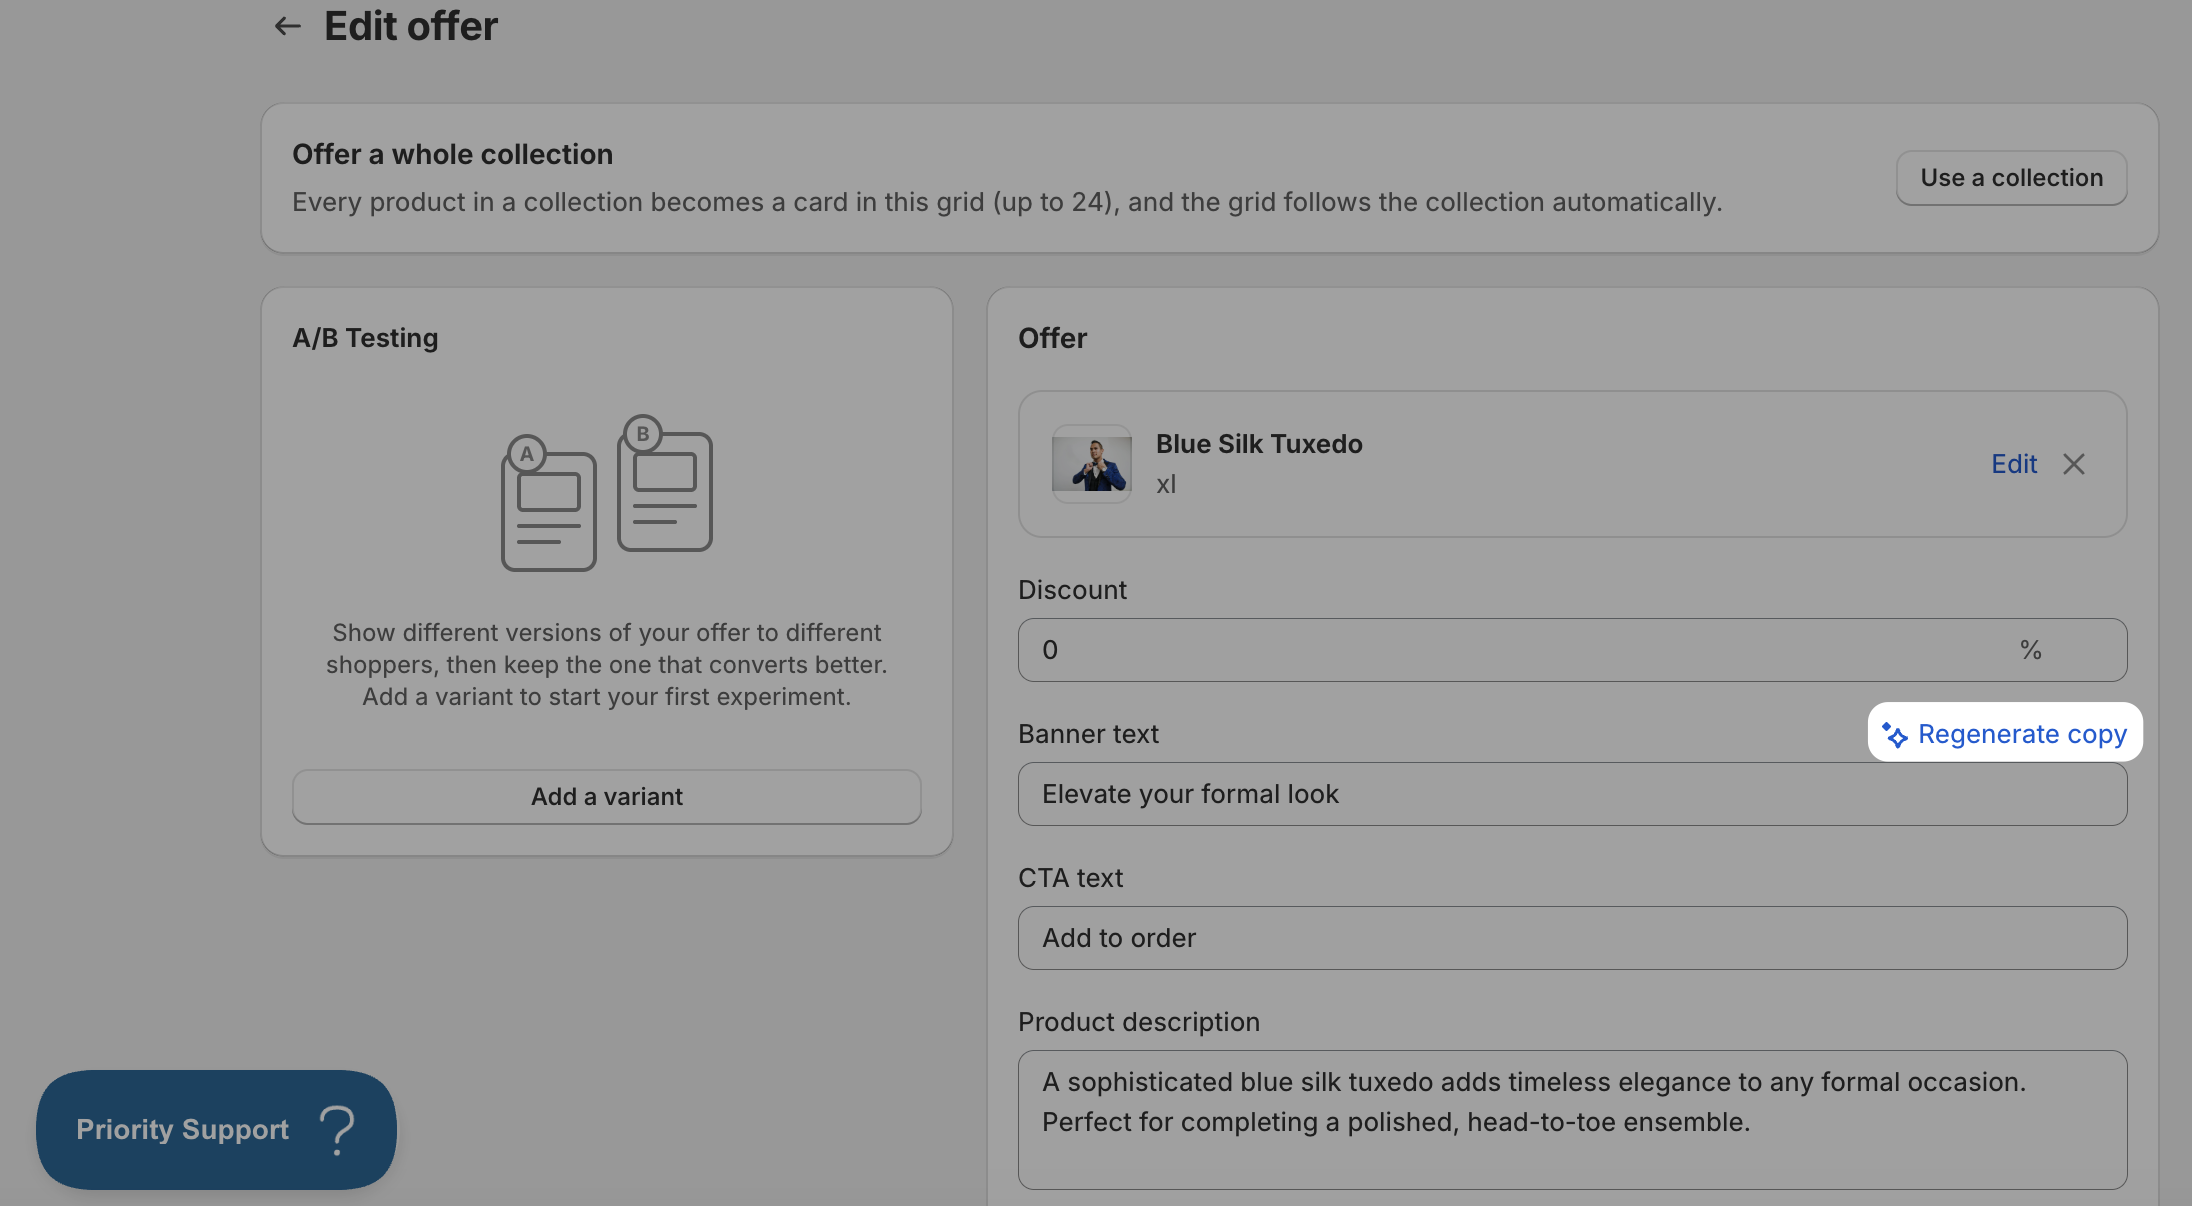
Edit any of these fields if needed. To refresh all three at once, click Regenerate copy next to the Banner text label. Using this feature is limited.
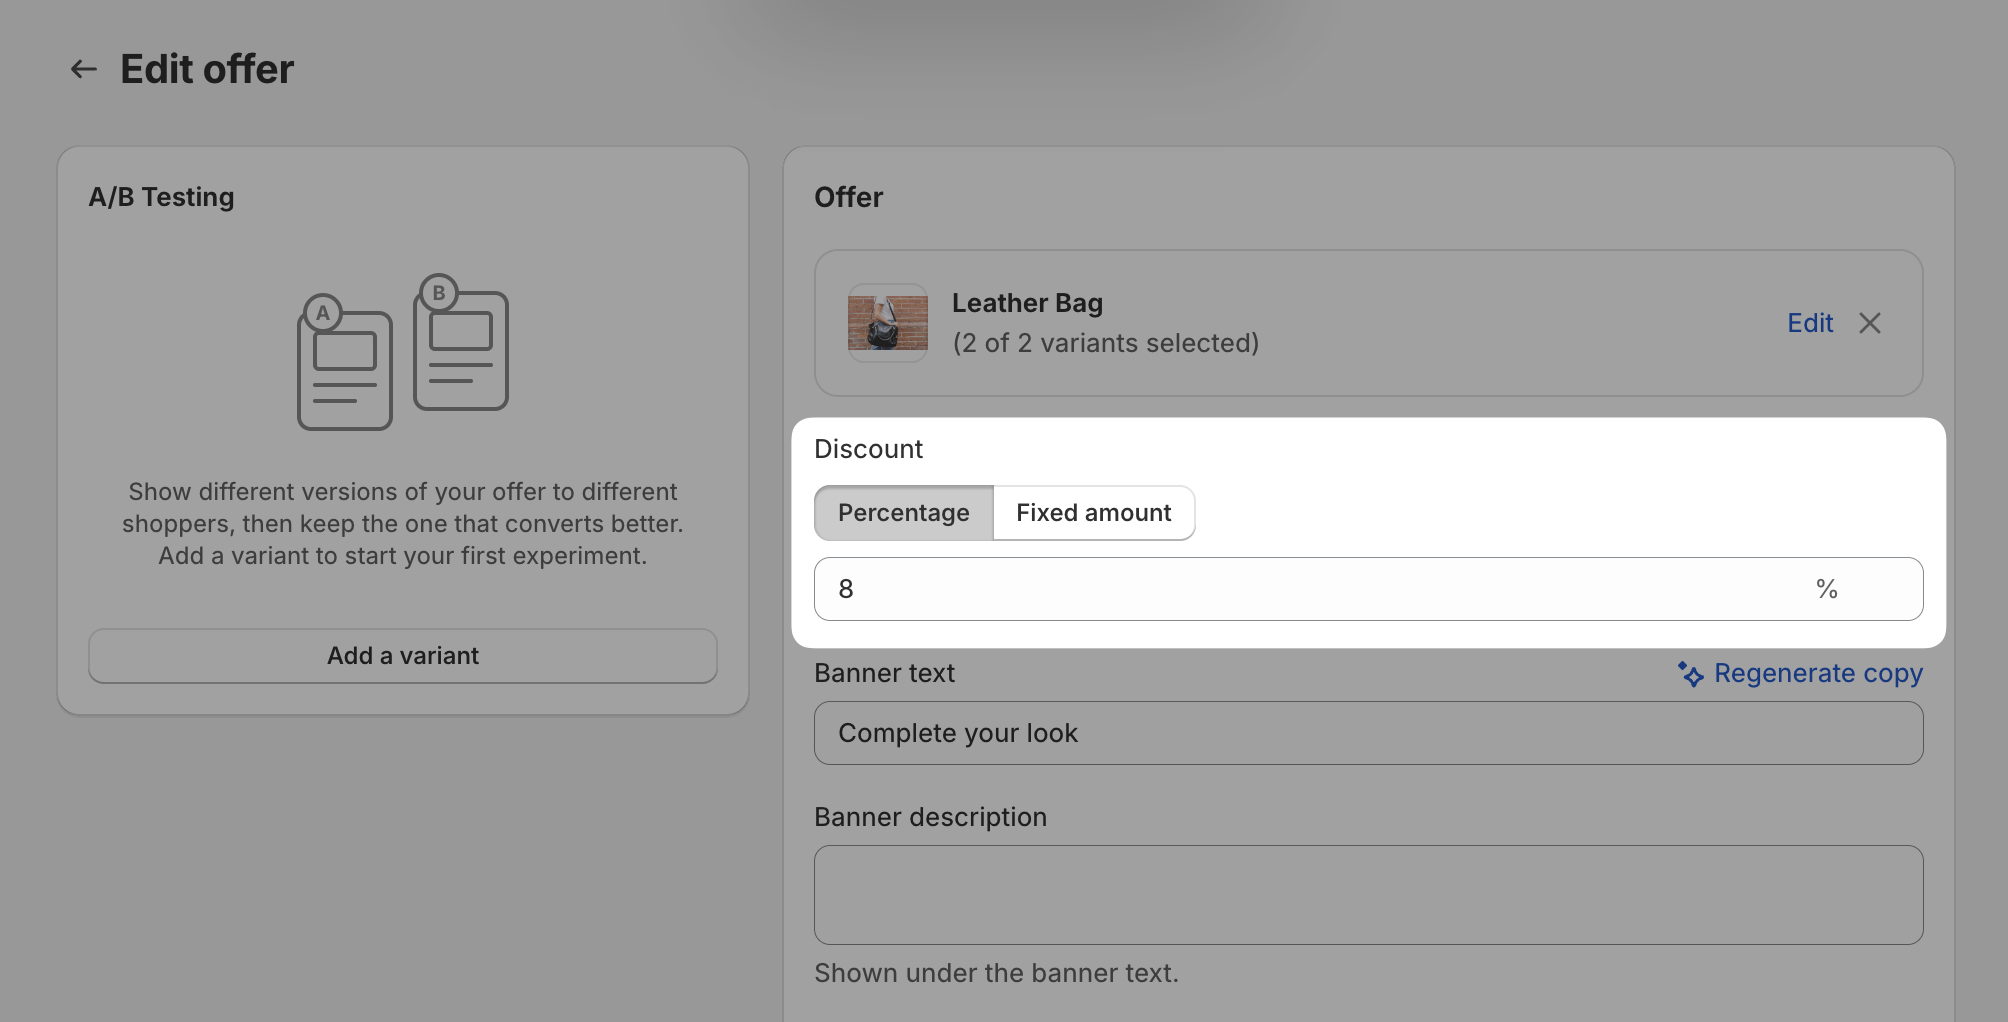
To offer a discount, choose Percentage or Fixed amount under Discount, then enter the value. A fixed amount is taken off each unit the customer adds, in your store currency, and must leave at least 0.50 on the lowest-priced variant.
Adjust any additional settings as needed.
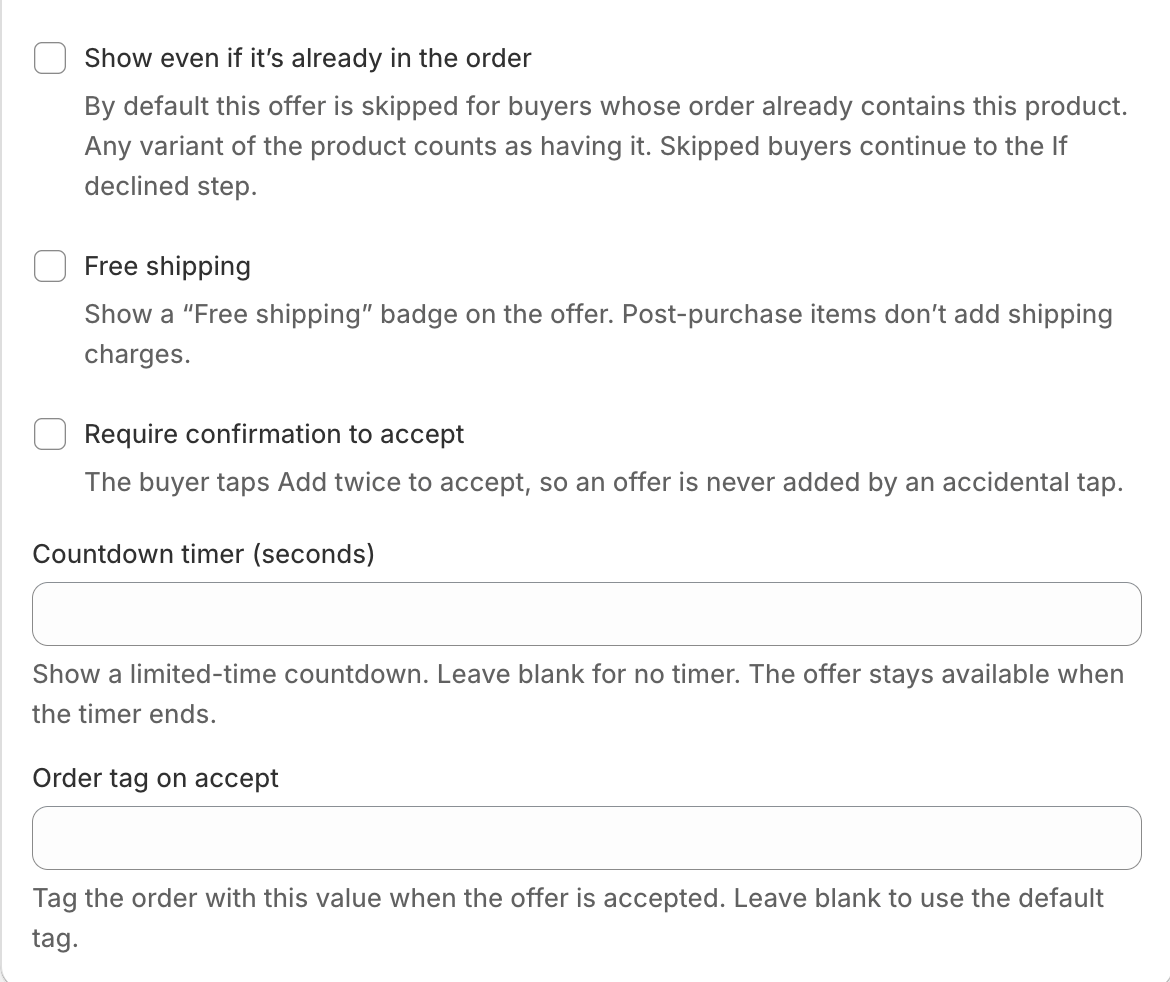
Click Save in the top bar.
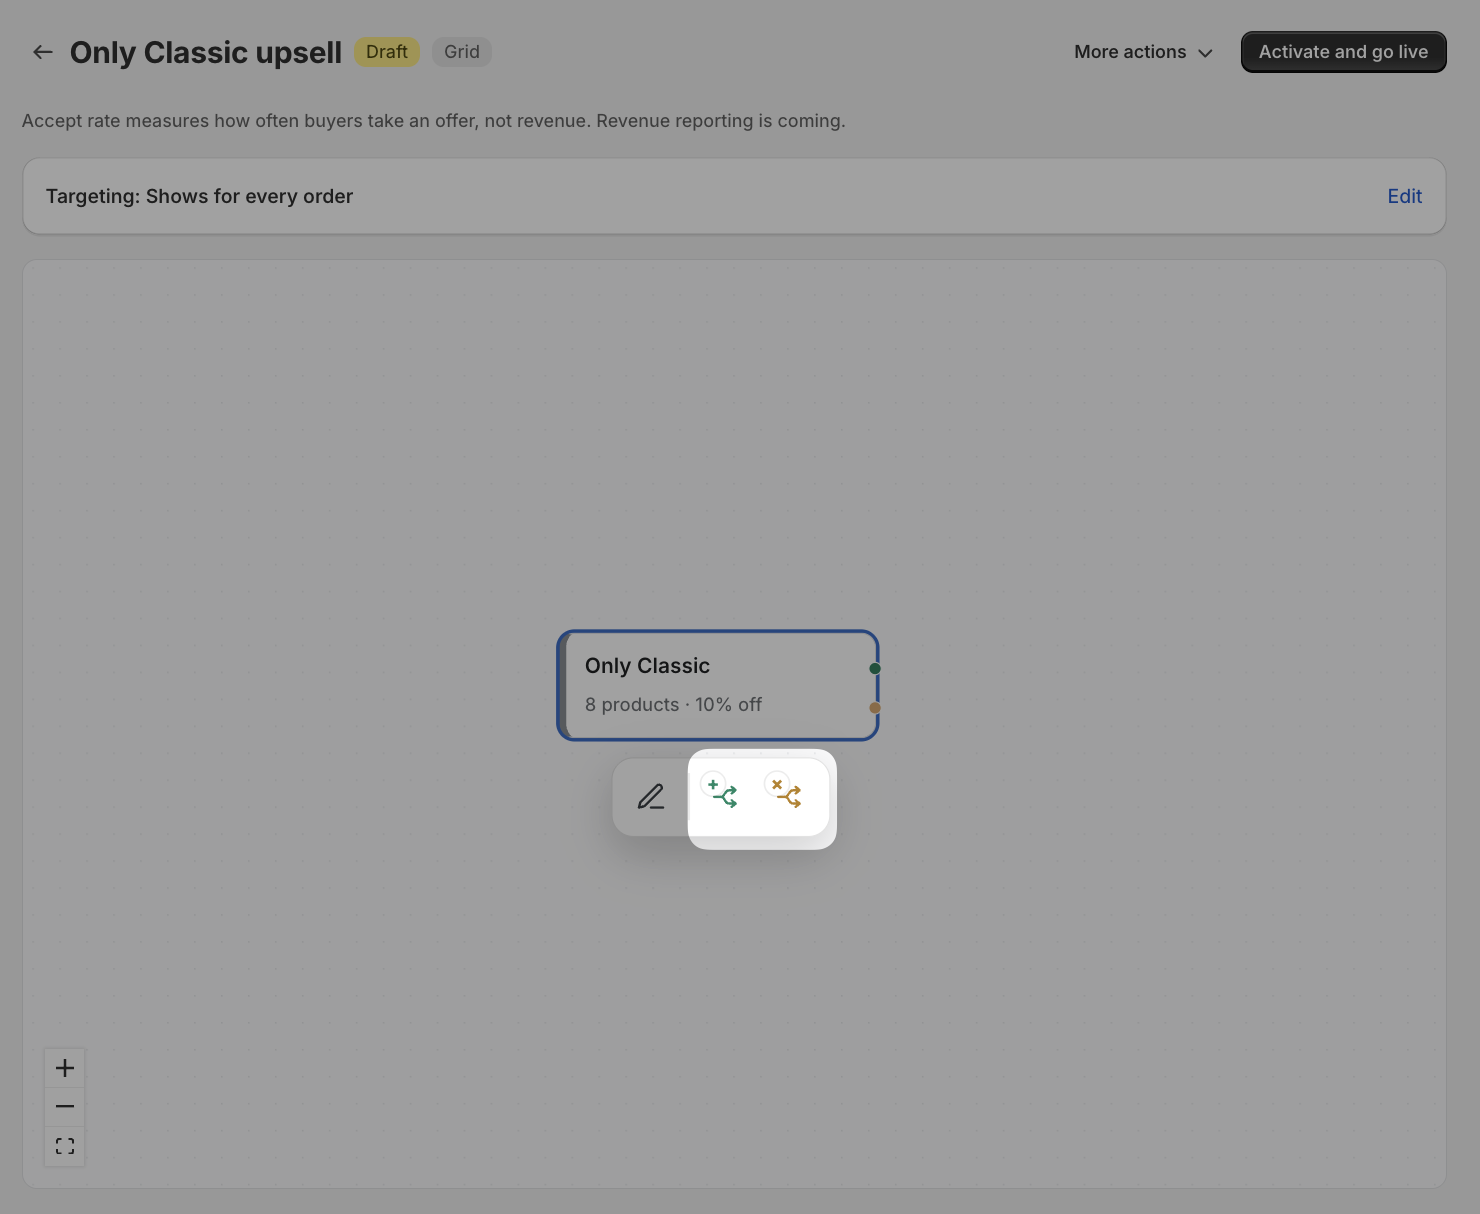
To add a follow-up offer, click the Add after accept or Add after decline action and repeat the steps above. You can branch up to 3 steps deep.
Re-selecting a different product on an existing offer doesn't overwrite text you've already written. Use Regenerate copy to refresh all three fields for the new product.
Single page
Click New offer on the canvas, then click the pencil icon to open it. You can also double-click the offer.
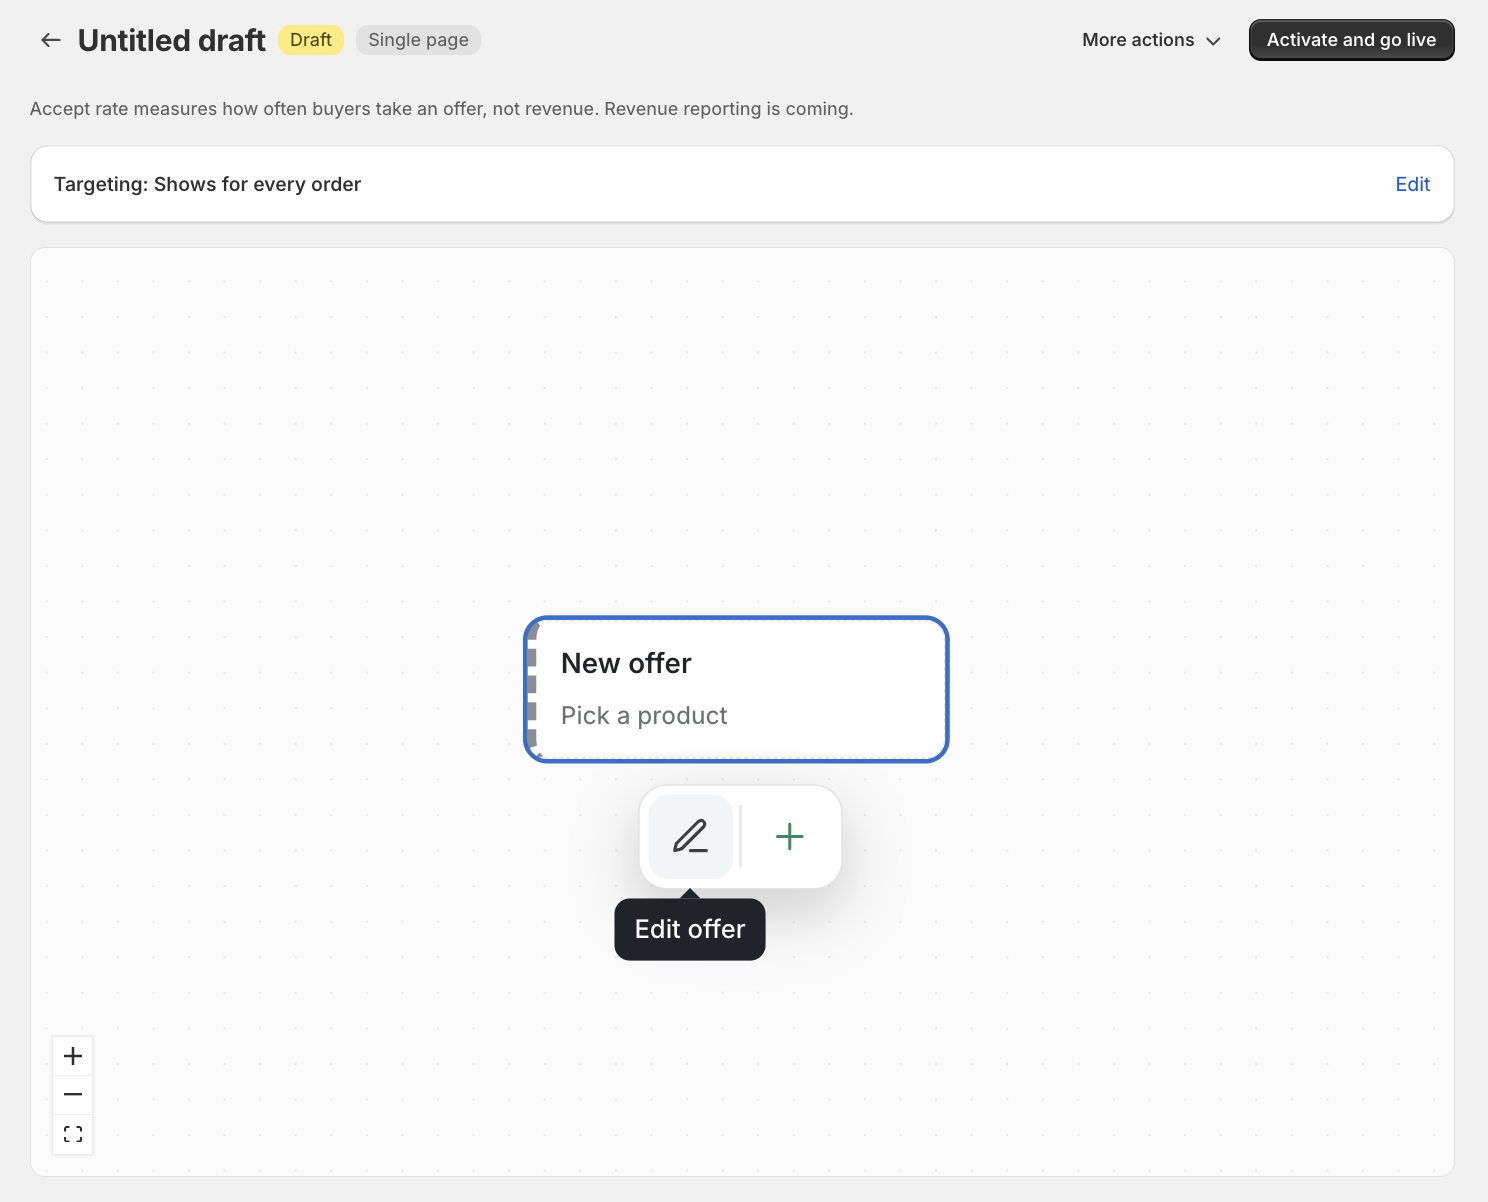
Click Browse and select a product.
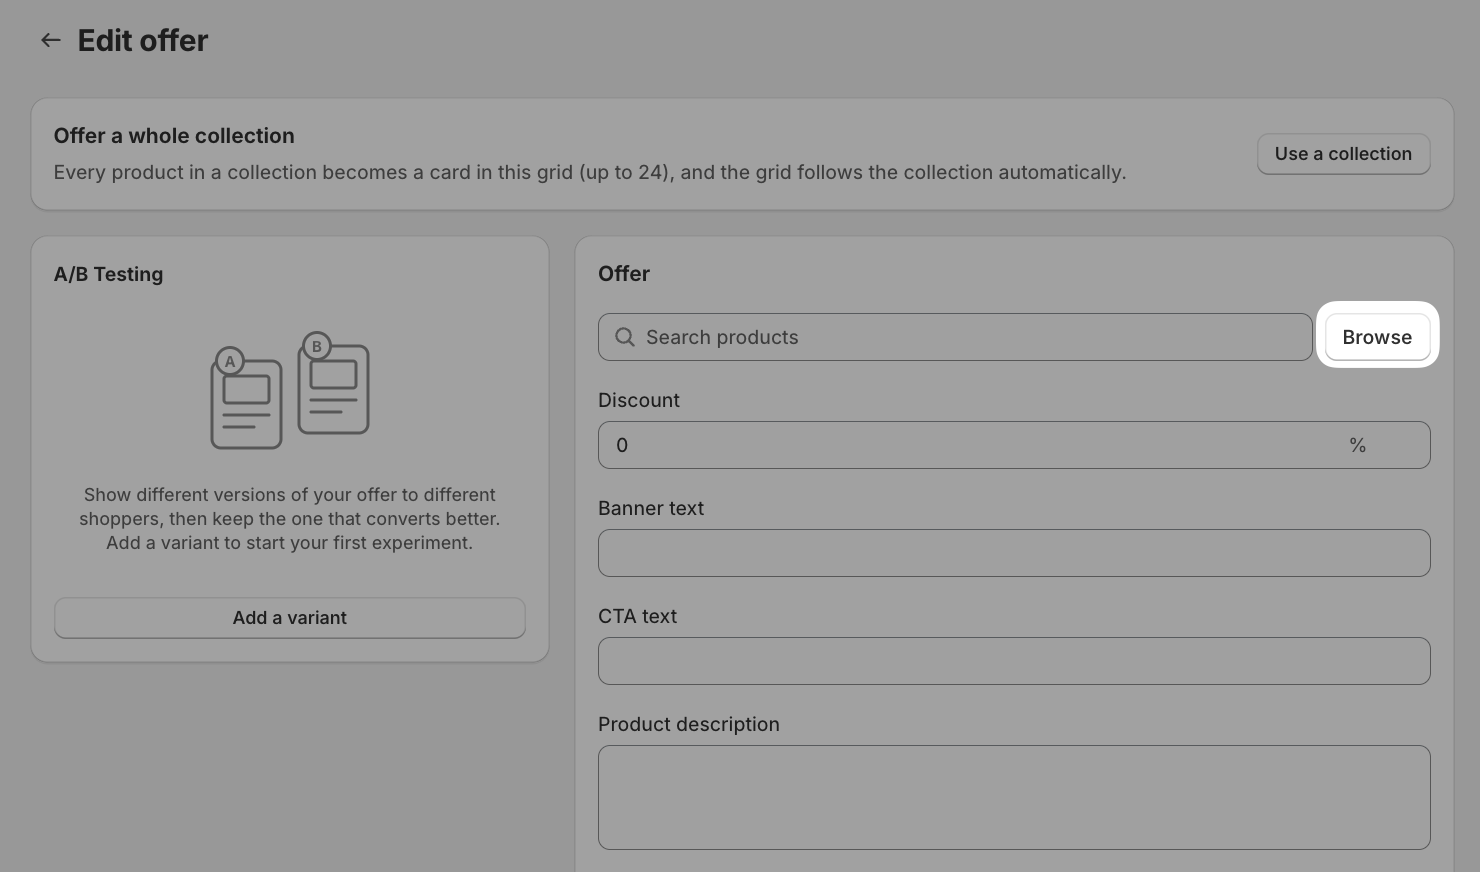
To include a discount, choose Percentage or Fixed amount under Discount, then enter the value.
Adjust any additional settings as needed.
Click Save in the top bar.
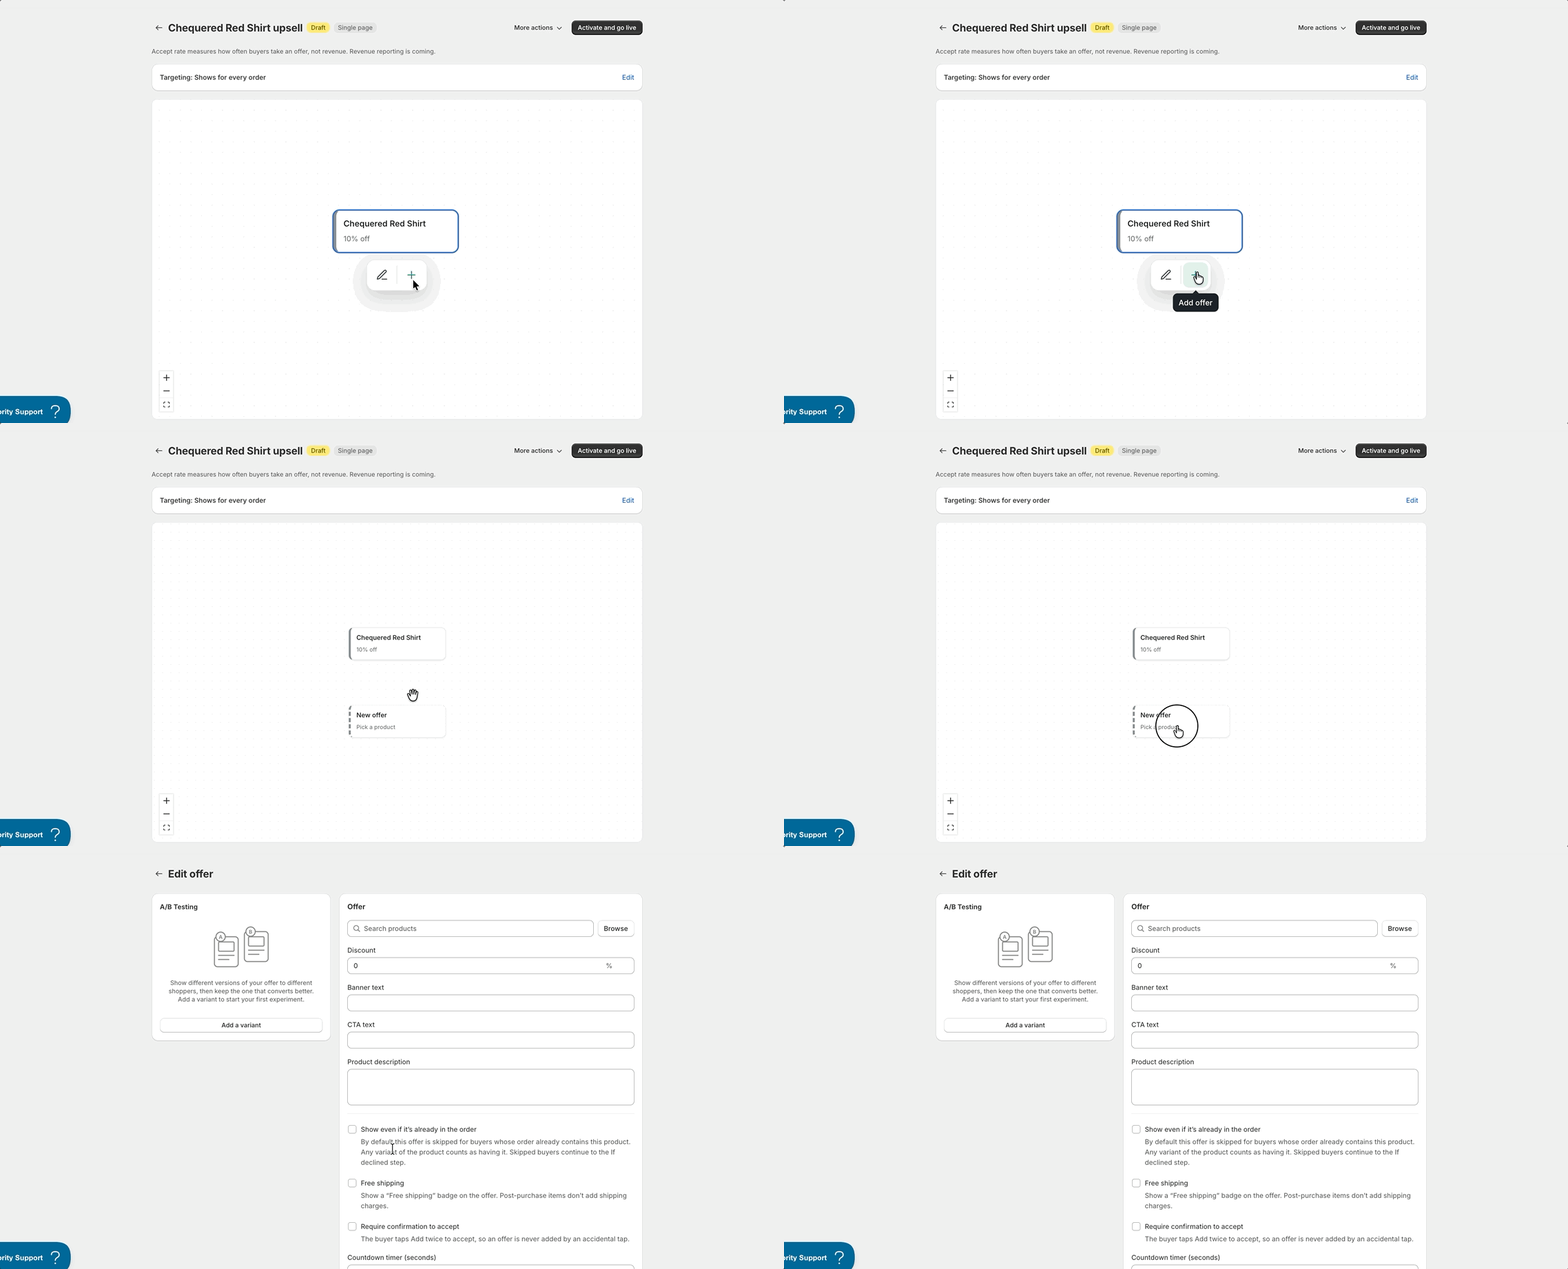
To add more offers, click the green + icon and repeat. All offers appear together on one page, up to 3.
Grid and Carousel
Both layouts use the same steps. A Grid shows all the cards at once, and a Carousel shows two at a time, with previous and next arrows for customers to browse the rest.
Click New offer on the canvas, then click the pencil icon to open it. You can also double-click the offer.
Select Browse to choose the collection you want to display. Every product in that collection becomes a card (up to 24 products).
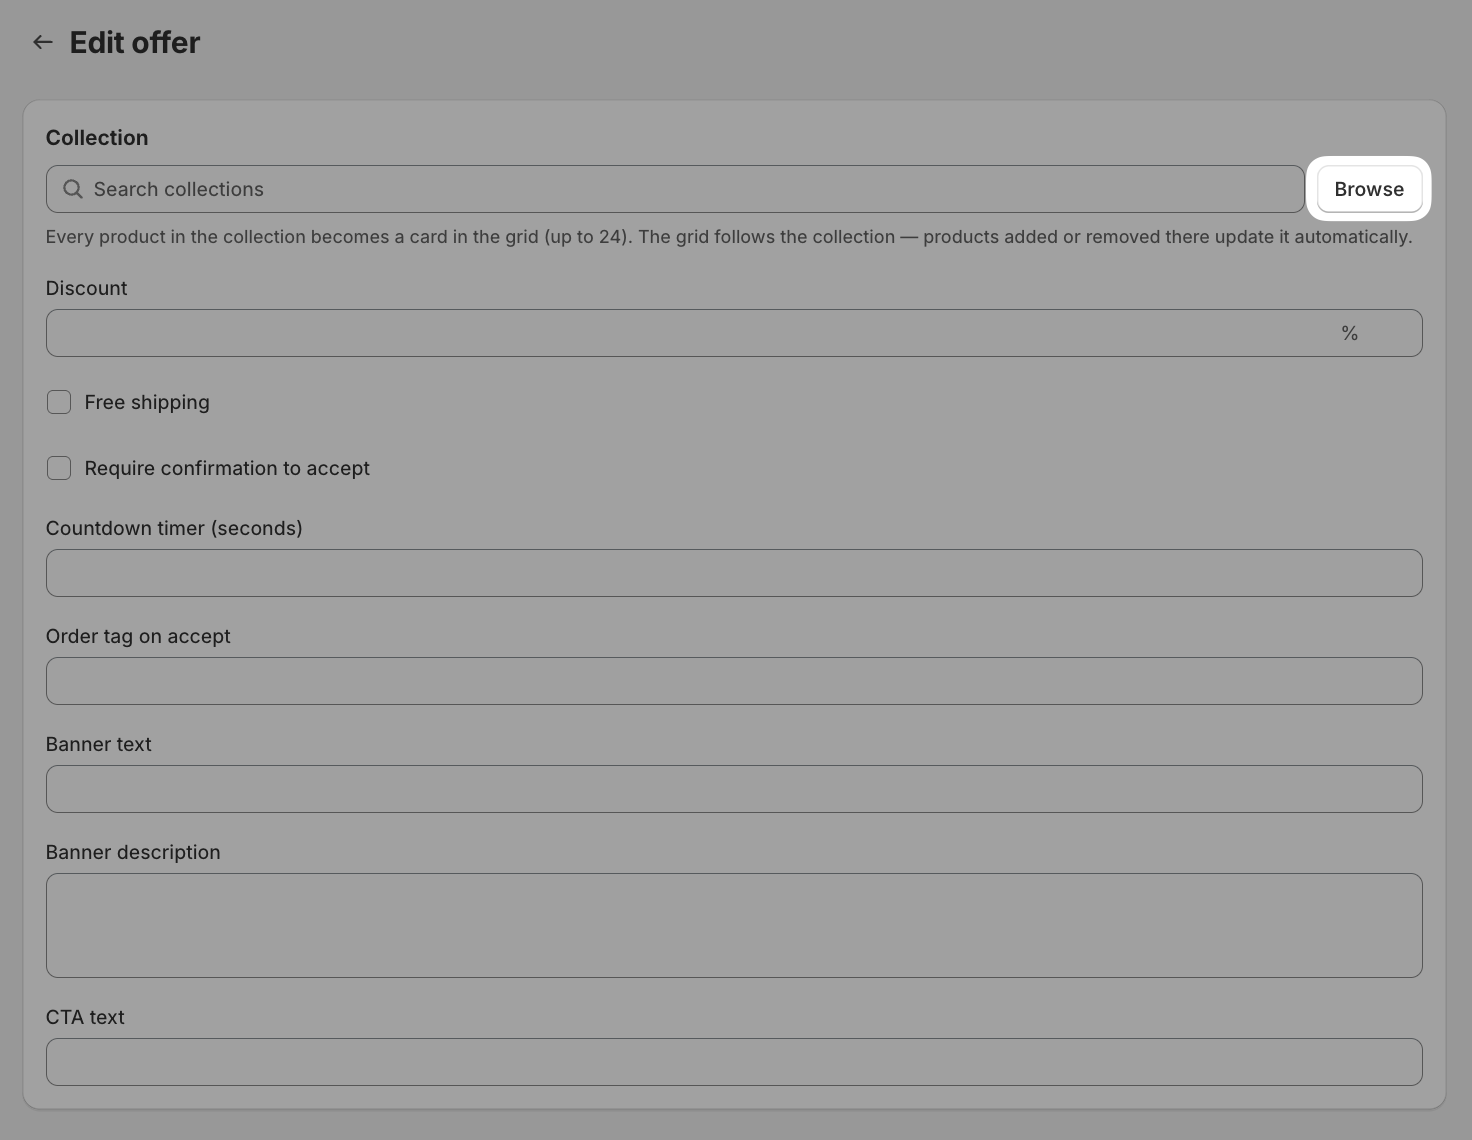
Note: The cards update automatically when the collection changes.
To include a discount, choose Percentage or Fixed amount under Discount, then enter the value.
Adjust any additional settings as needed.
Click Save in the top bar. Cleverific will load the products from your collection in that offer after a few seconds.
To add the next page, click Add after accept or Add after decline on the offer and select another collection. You can chain up to 3 pages.
Activate
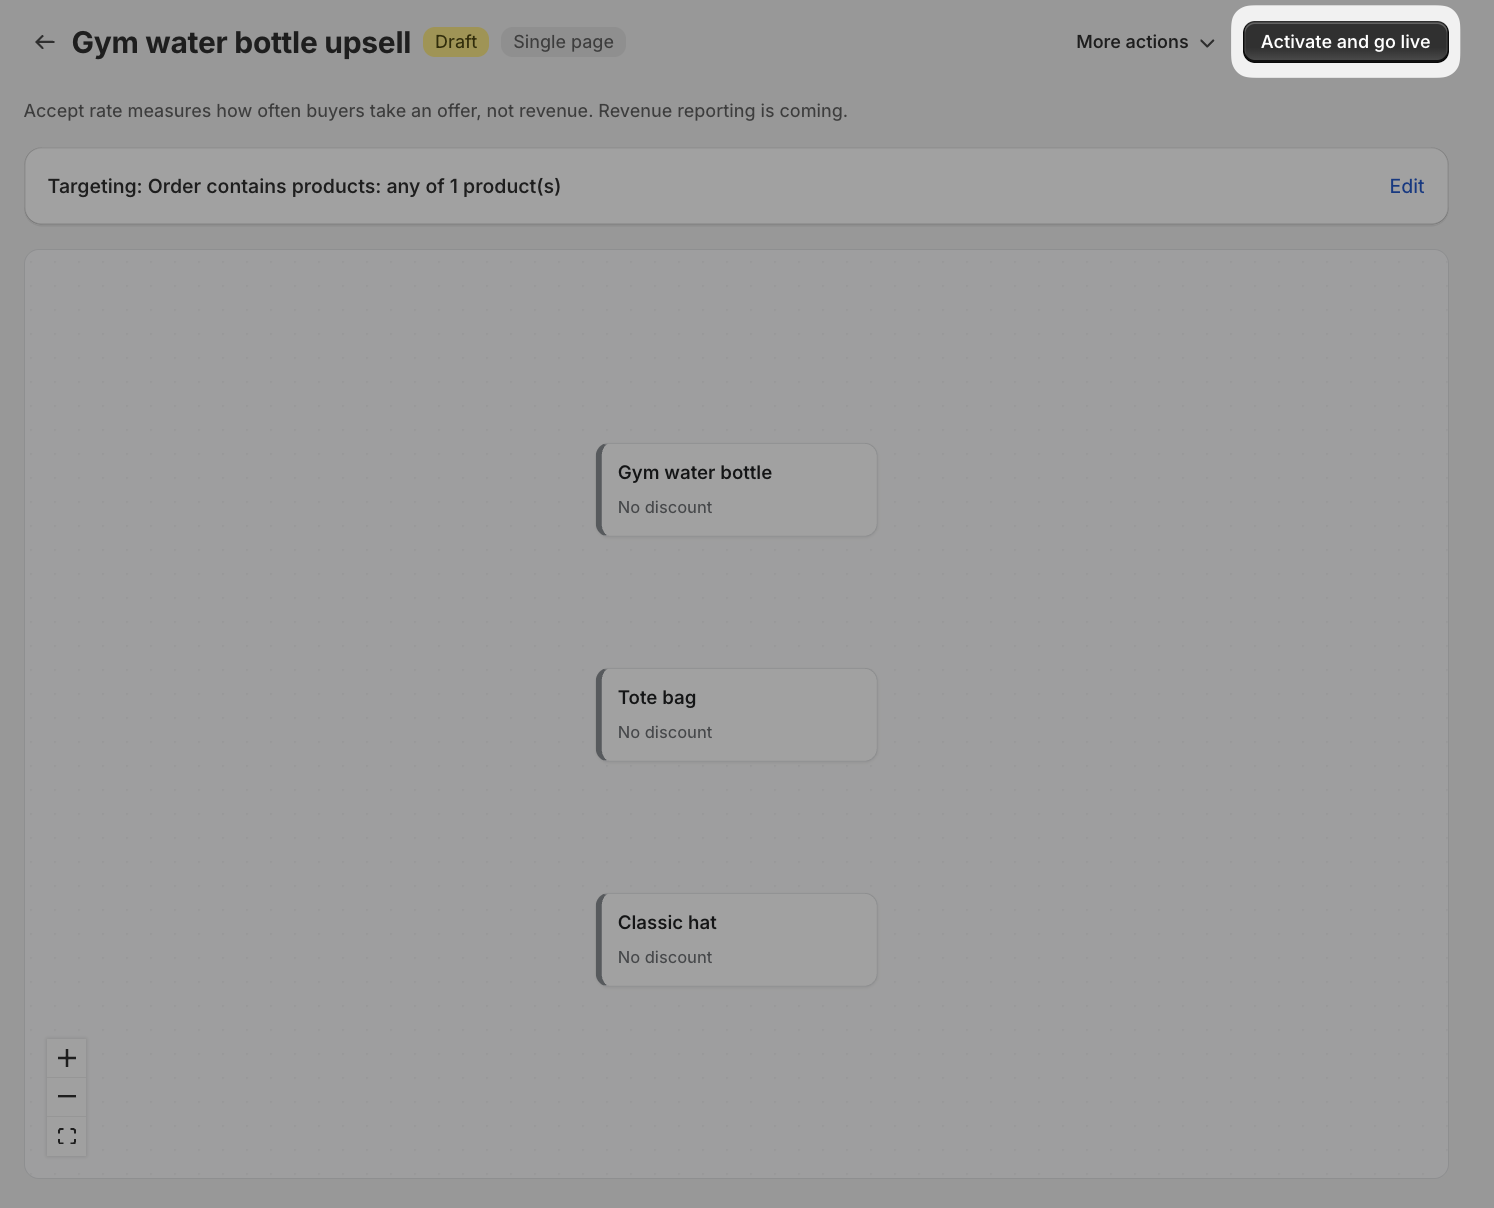
When your funnel is ready, click Activate and go live.
Note: You can pause or archive a funnel at any time. Archived funnels can't be recovered. Also, funnels can't be deleted entirely to keep your Analytics accurate.