

Setting up Customer Portal
Updated 3 weeks ago
In Cleverific, you can allow customers to make changes to their orders directly from the Order Status page. To set it up, you can add Cleverific's app blocks from your Shopify Checkout editor and then enable Customer Portal, which is disabled by default. This article covers the available extensions and how to add them.
Available Customer Portal extensions on the Order Status Page
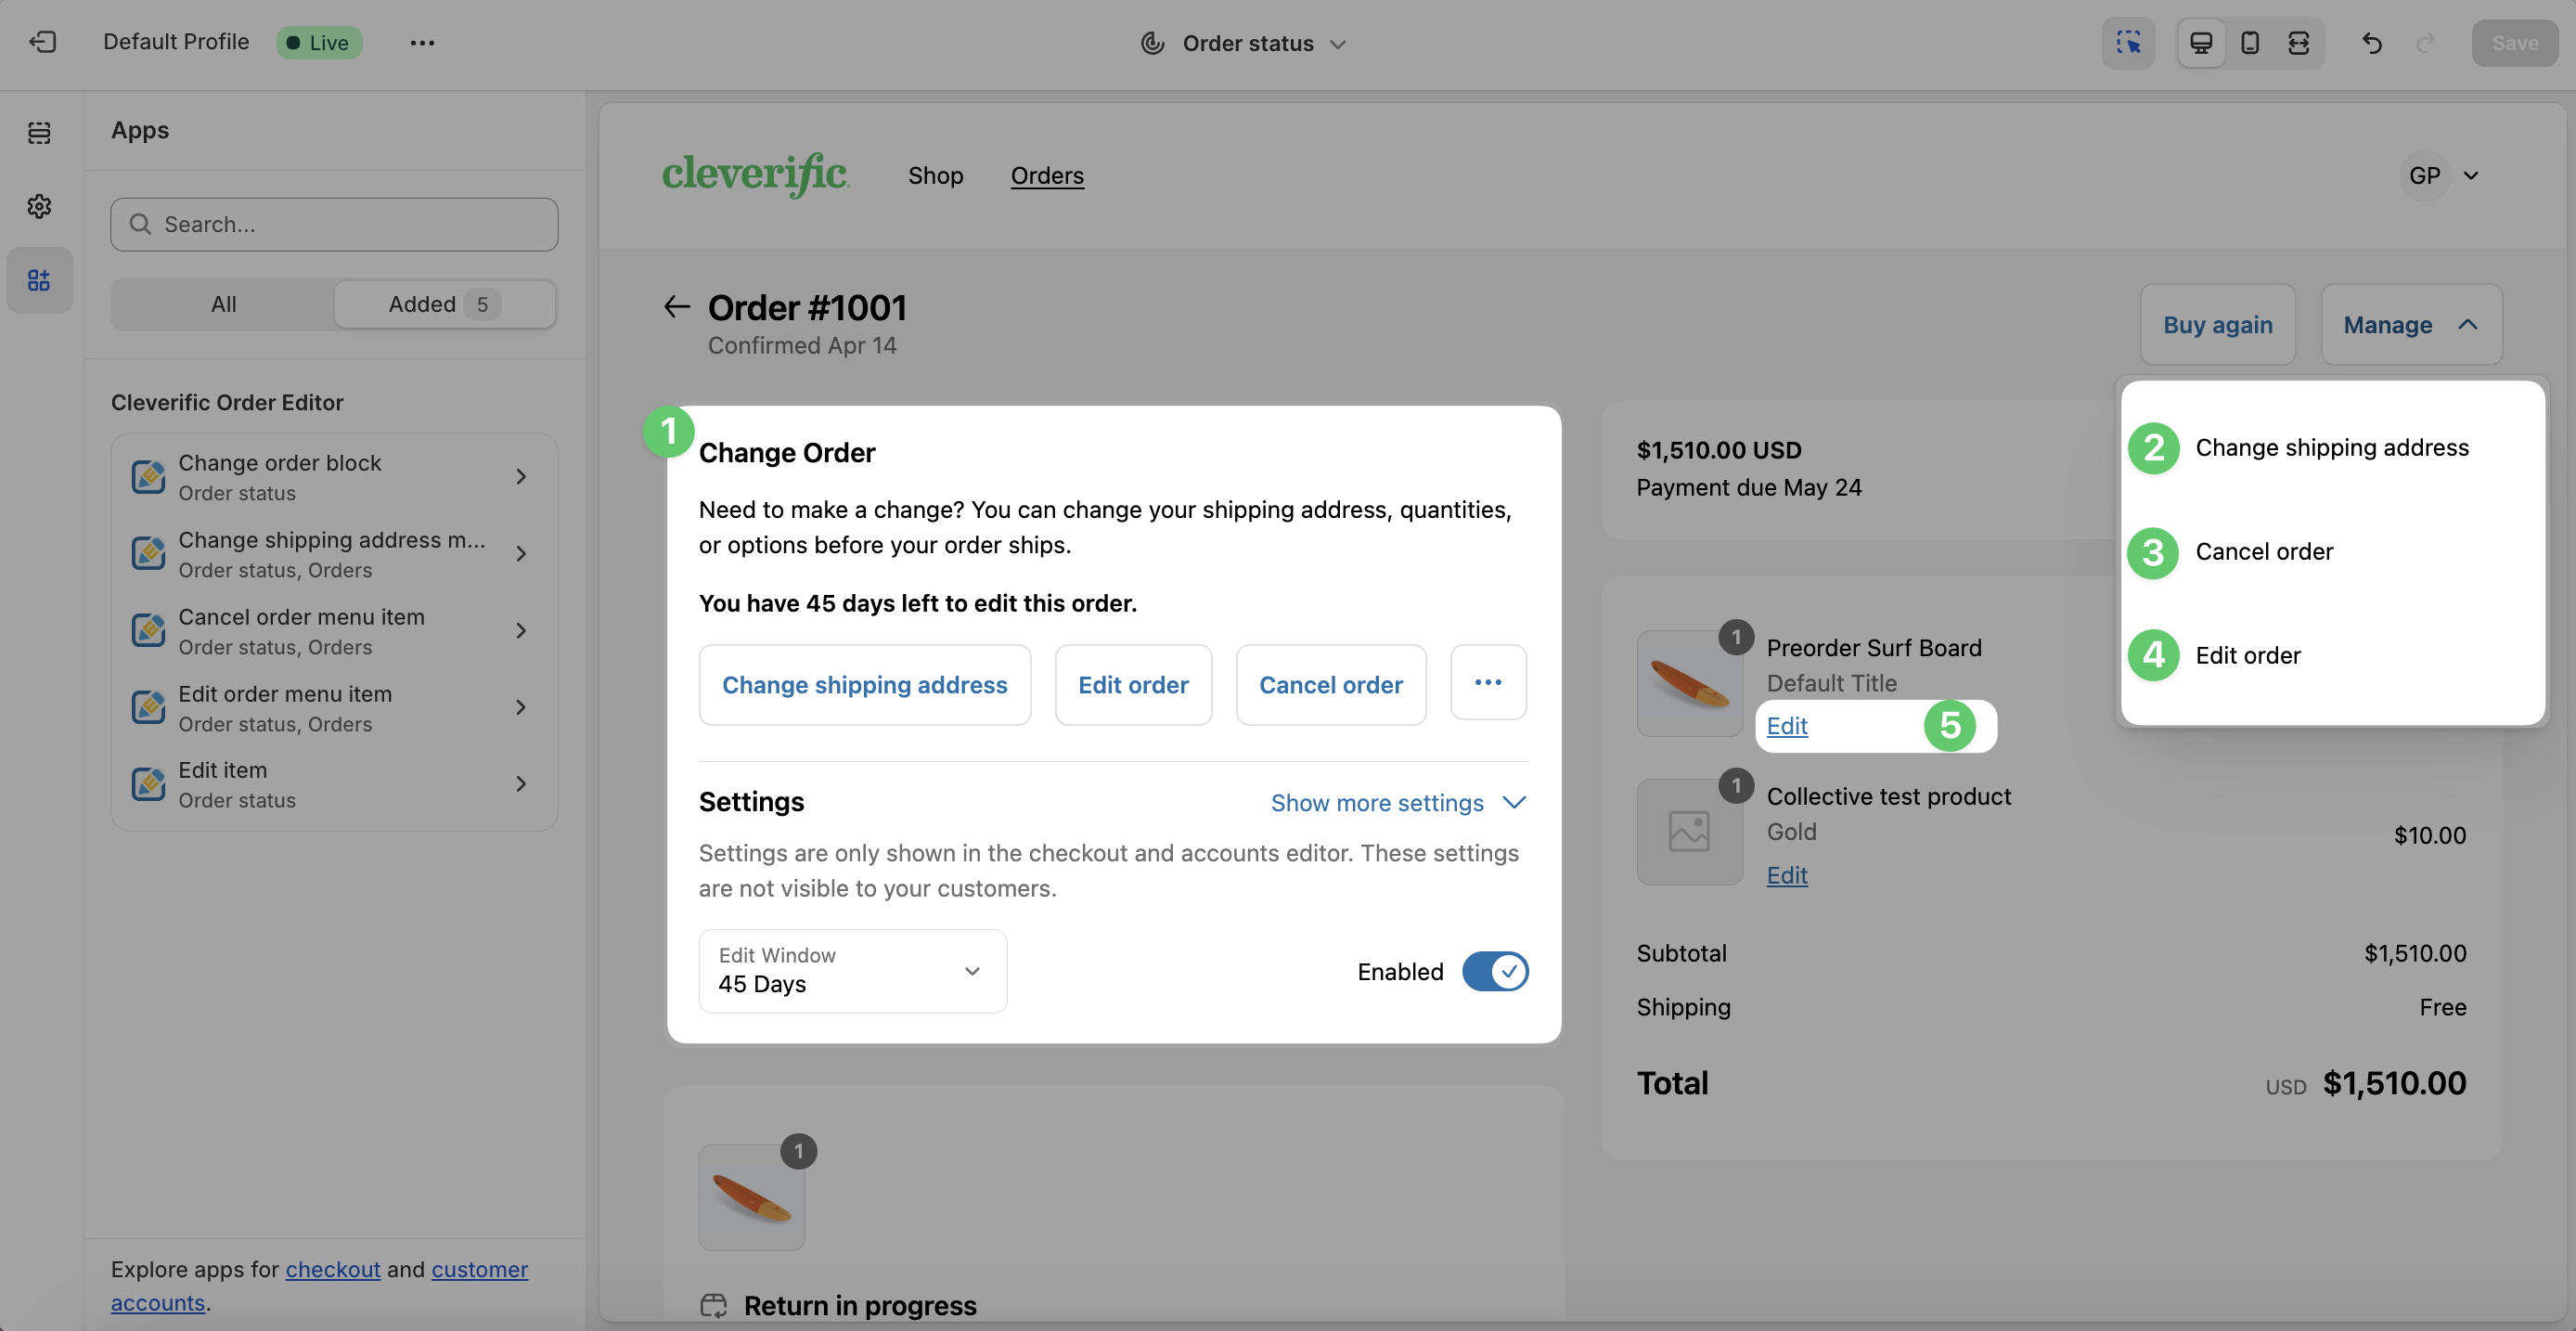
Below is the list of Customer Portal extensions available:
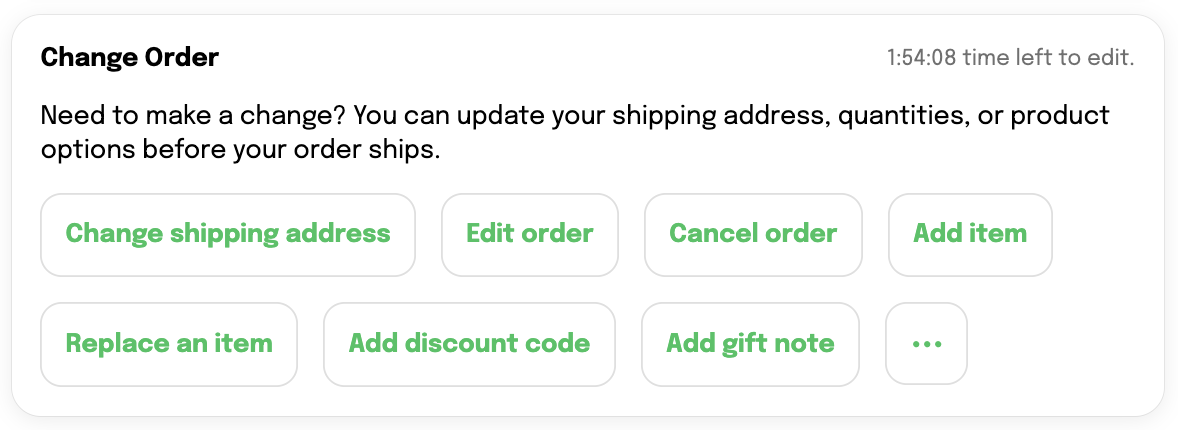
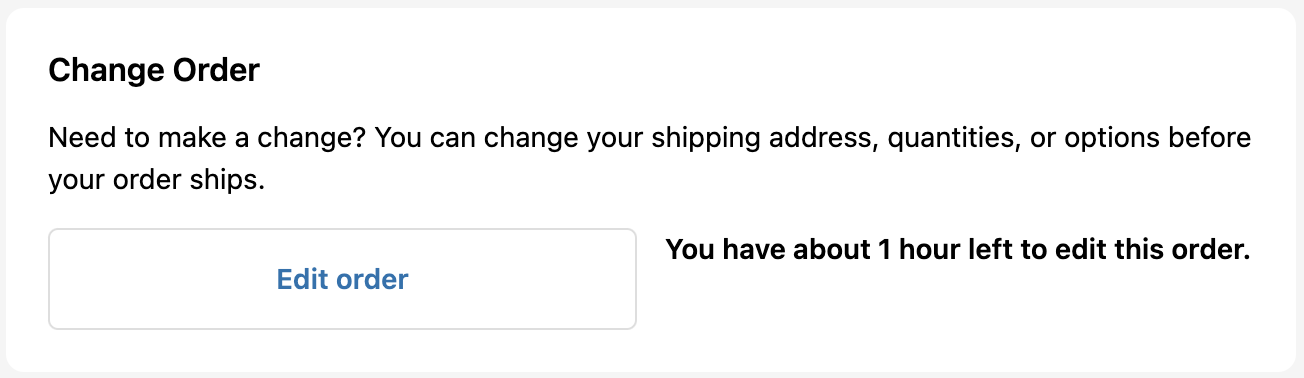
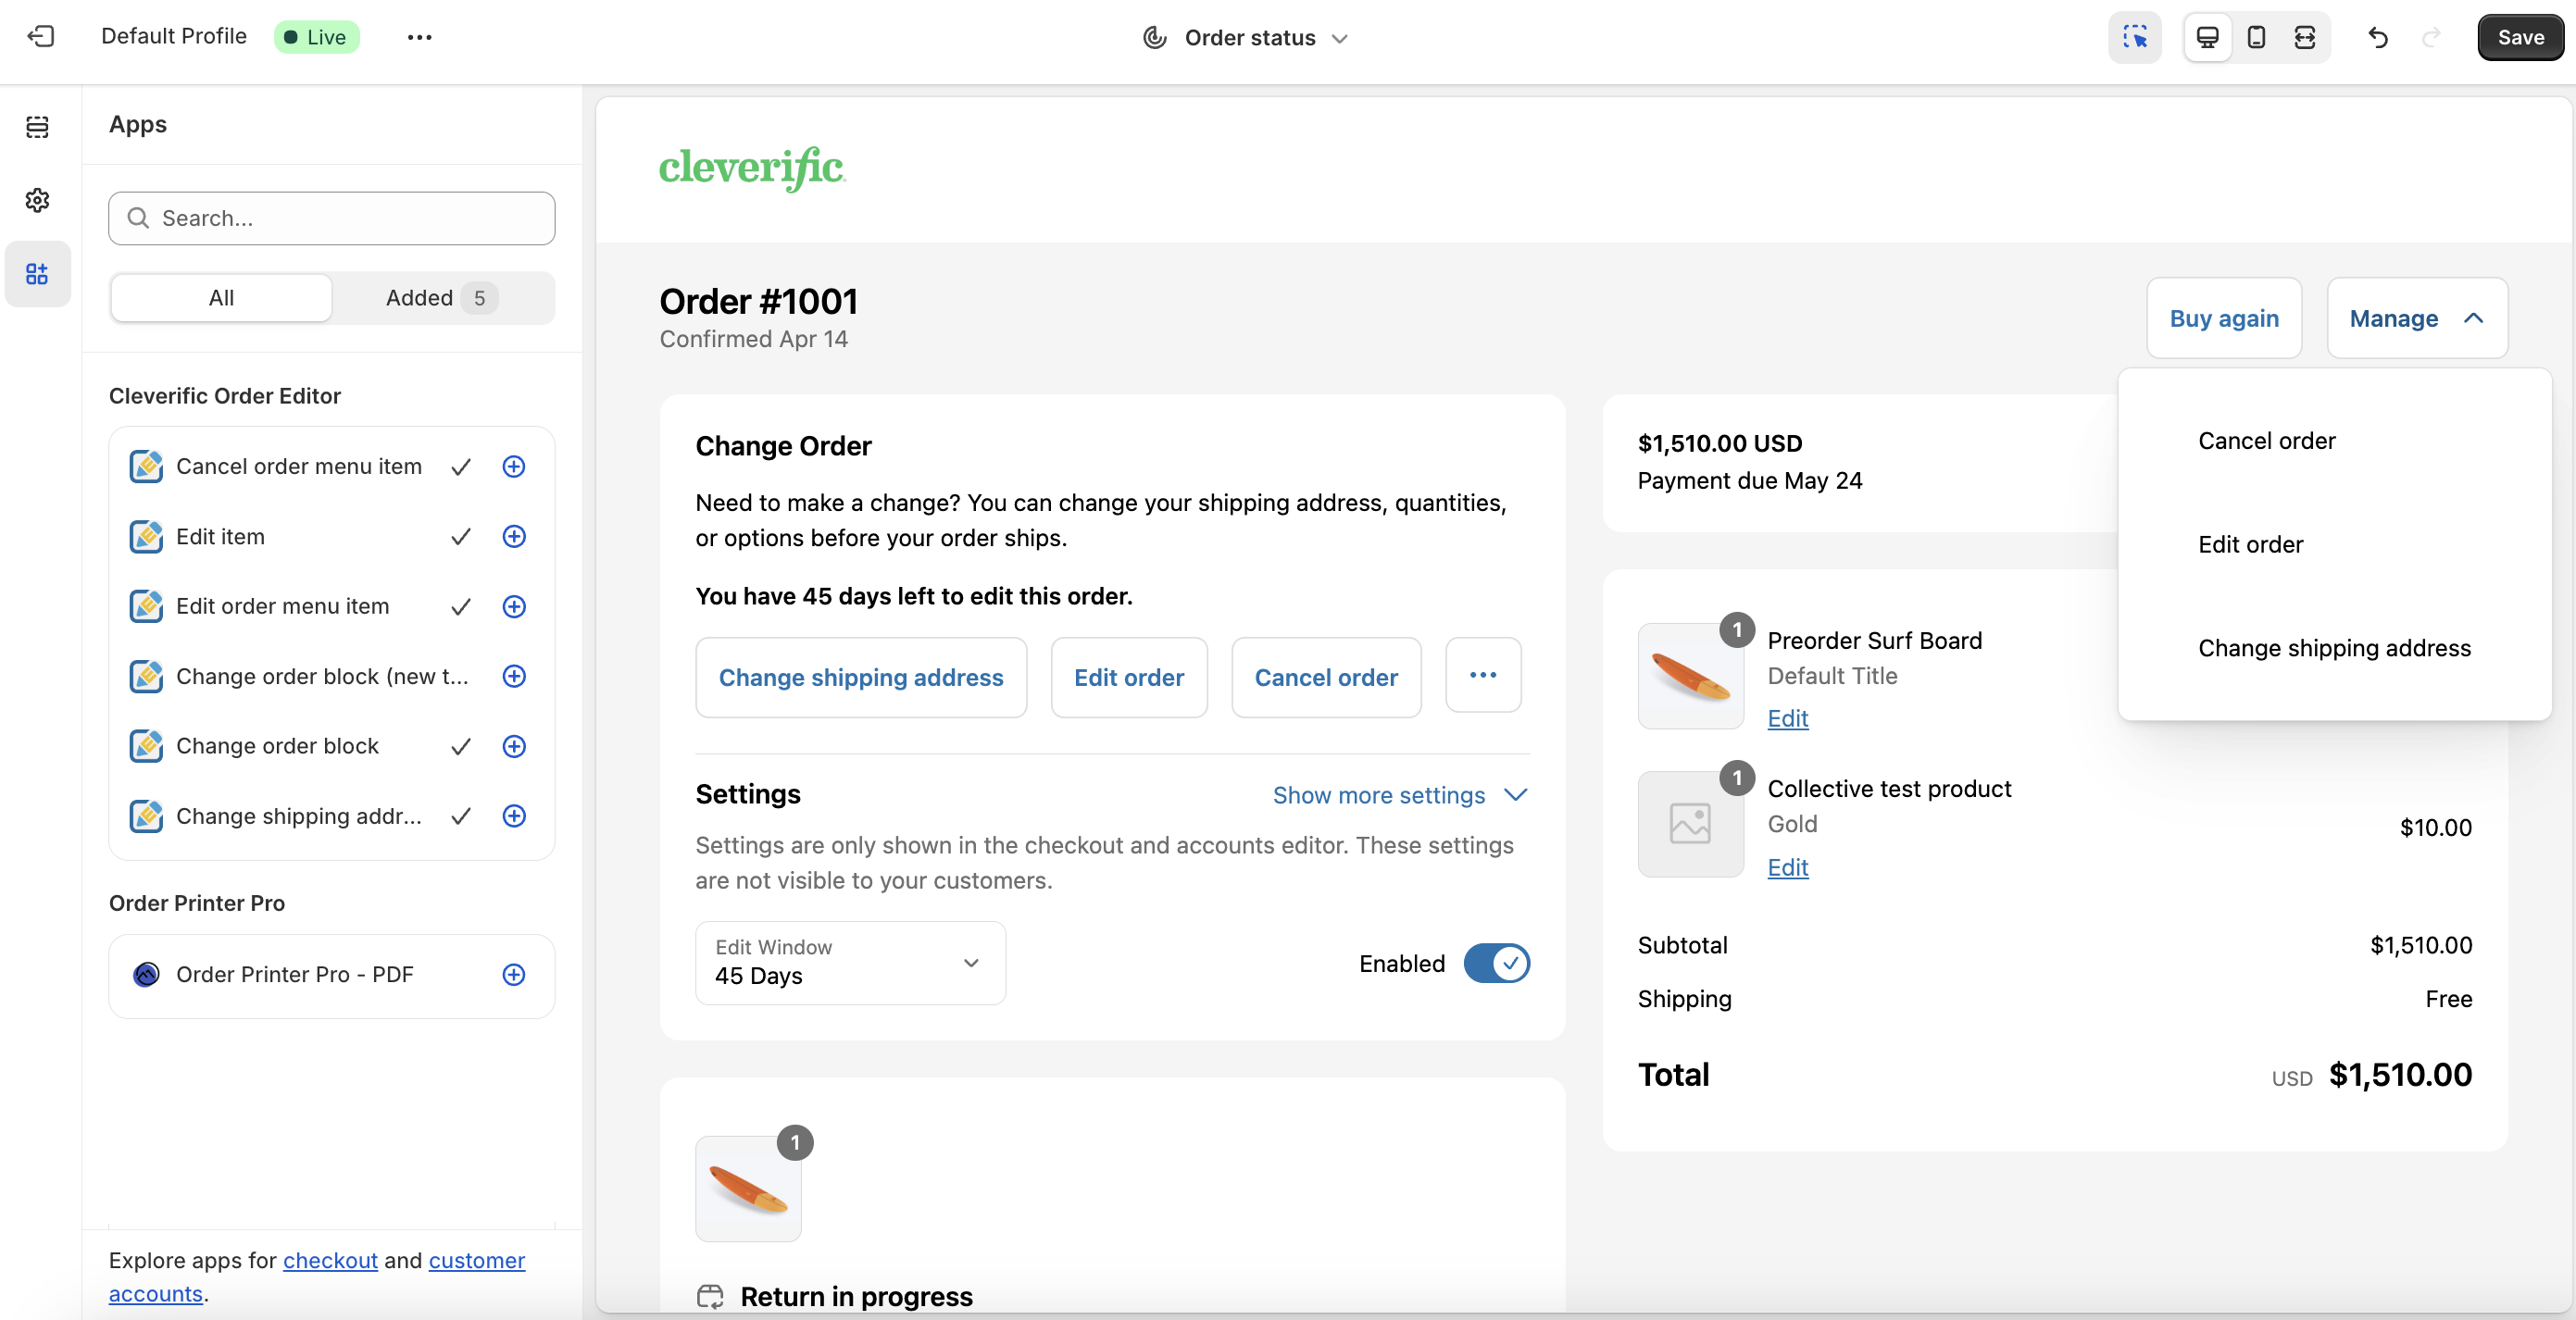
Change order block: Adds a “Change order” section to the order status page. This allows your customers to change their shipping address, edit or cancel their order, and add items directly from their Order status page. It will also display the editing window or countdown timer.
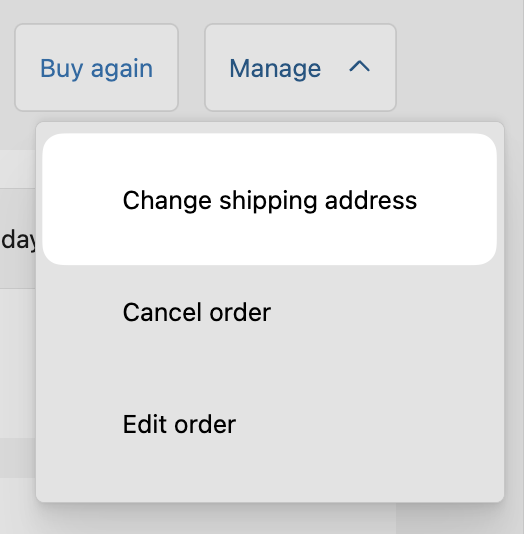
Change shipping address menu item: Adds the ability to change the shipping address via the “Manage” menu on the upper right.
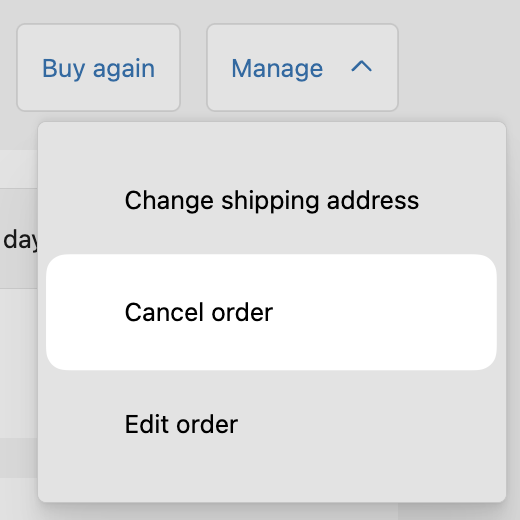
Cancel order menu item: Adds the ability for your customers to cancel their own orders via the “Manage” menu.
Edit order menu: Adds the ability to edit the order items via the “Manage” menu on the upper right.
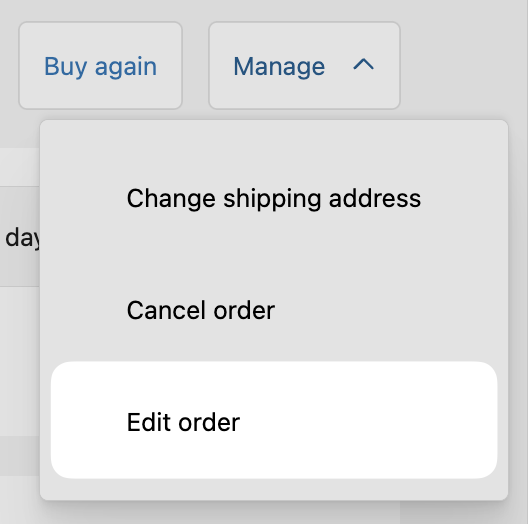
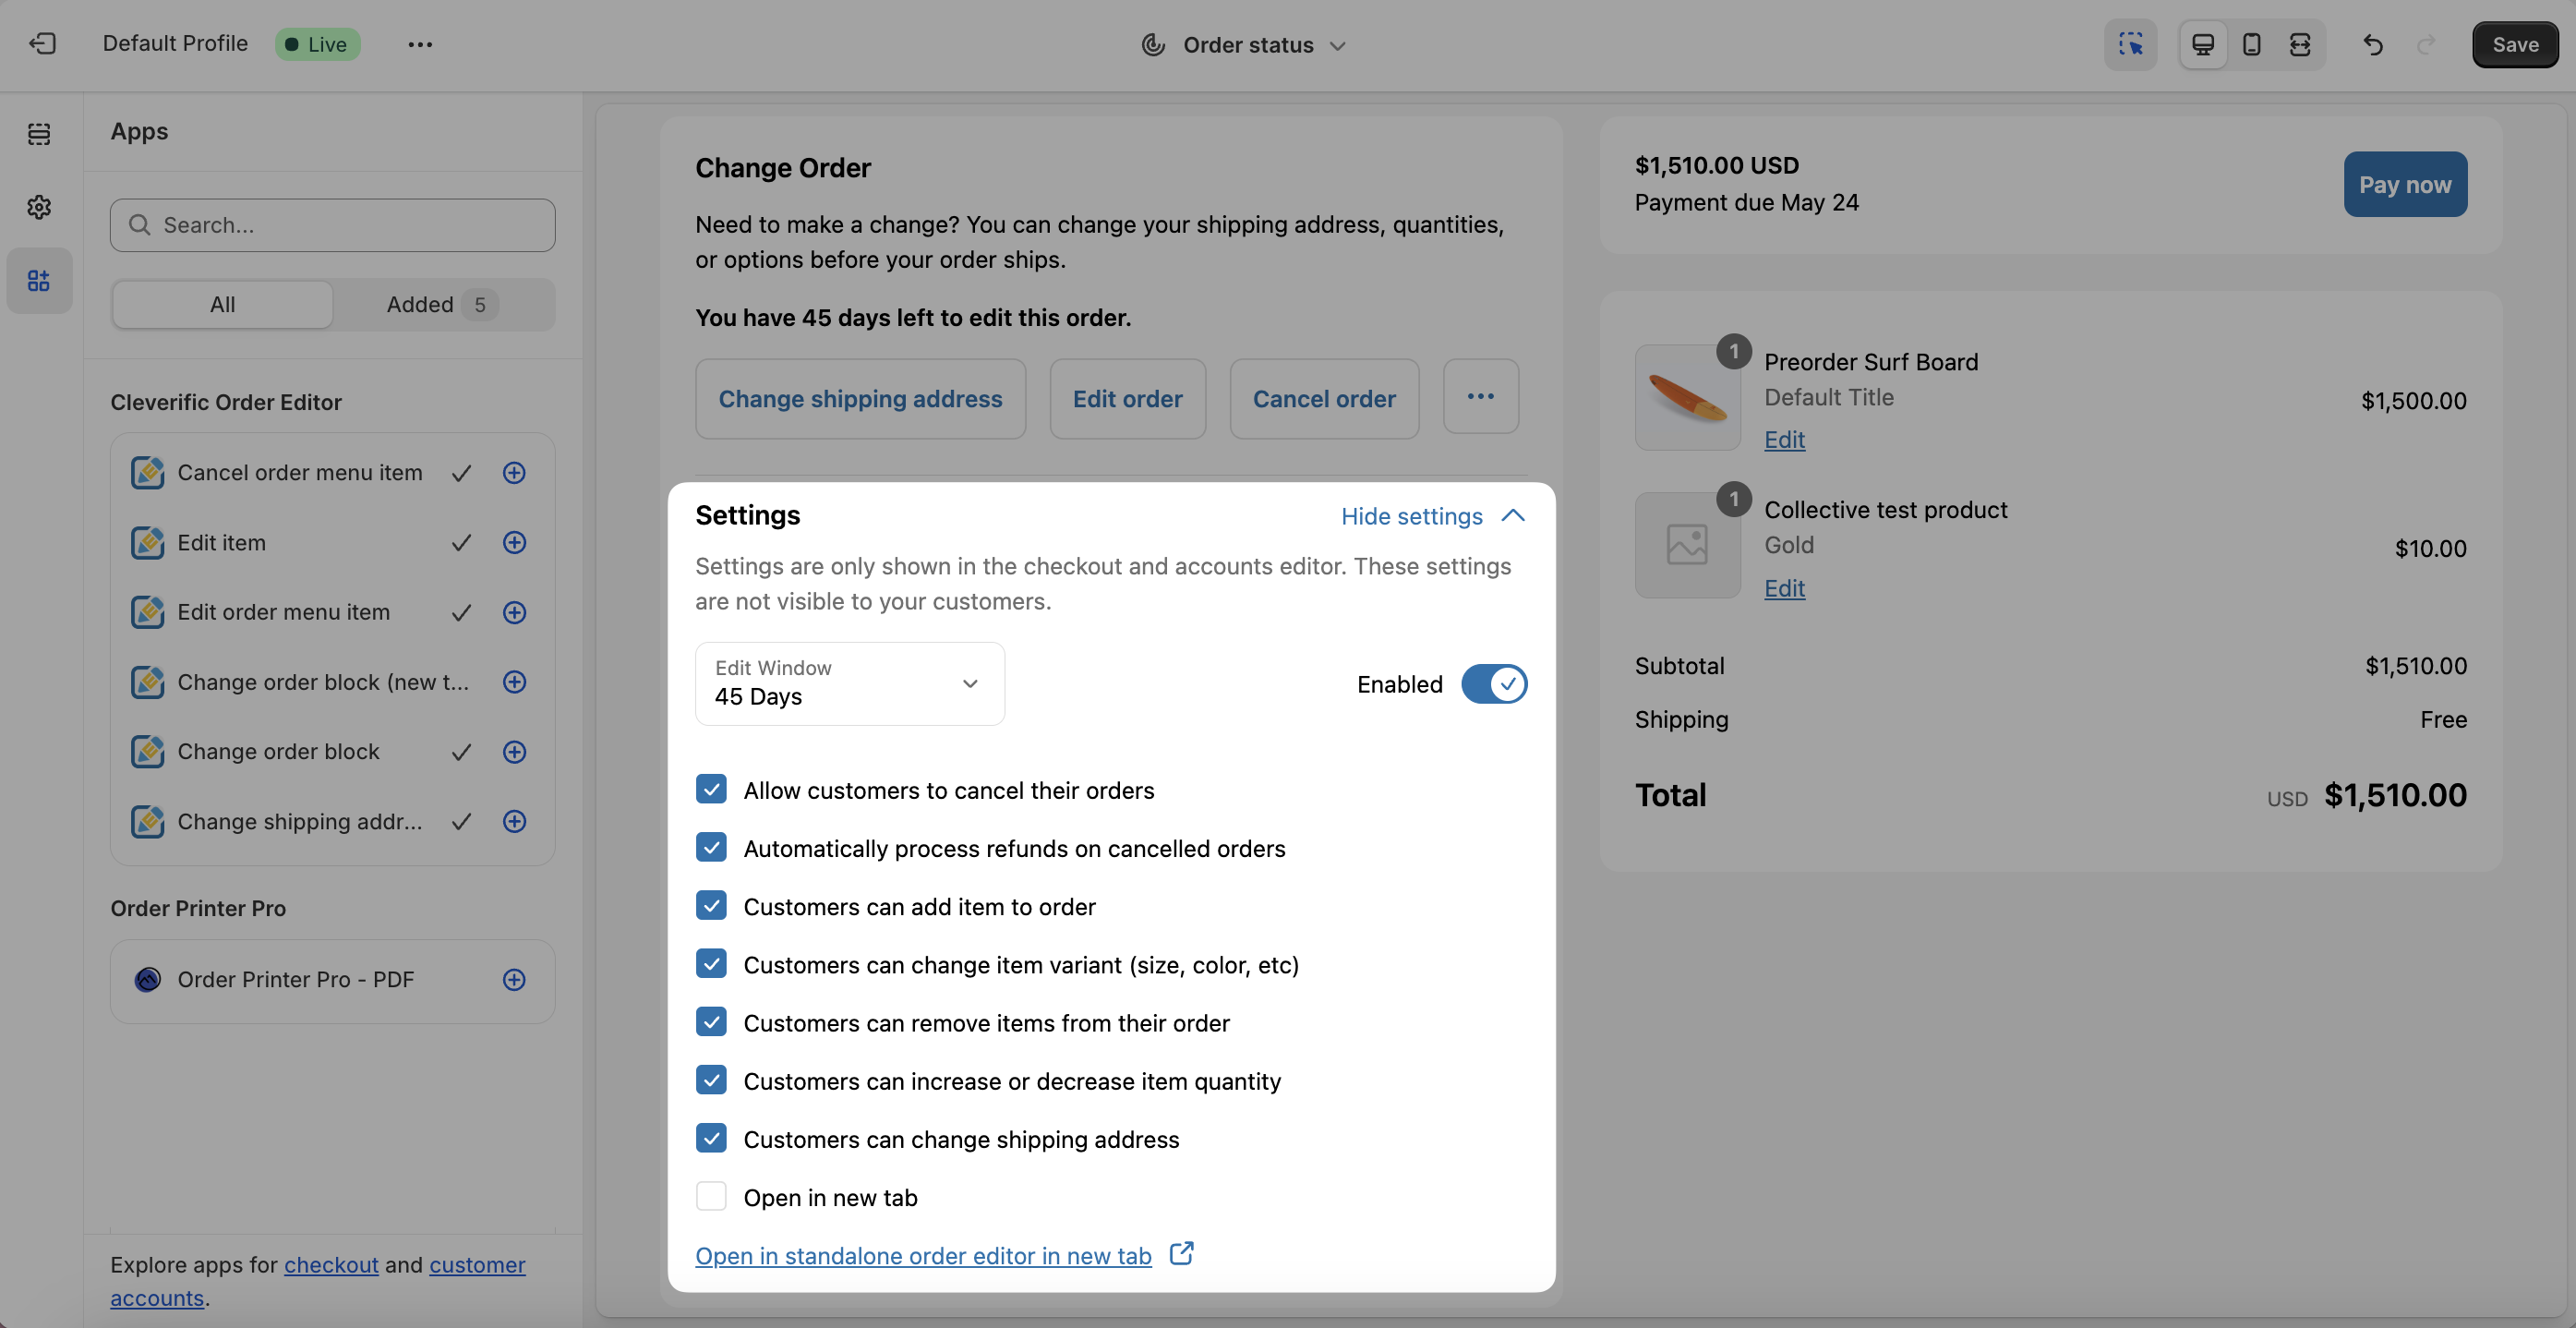
If you disable “Allow customers to cancel their orders” in your Customer Portal settings, "Cancel order" will still be displayed, but your customers won’t be able to cancel their orders. If the order is cancelled, "Cancel order" will also be displayed.
Edit item: This option allows your customers to edit each item directly from the order summary. This includes changing the quantity, variant, or entirely removing the item.
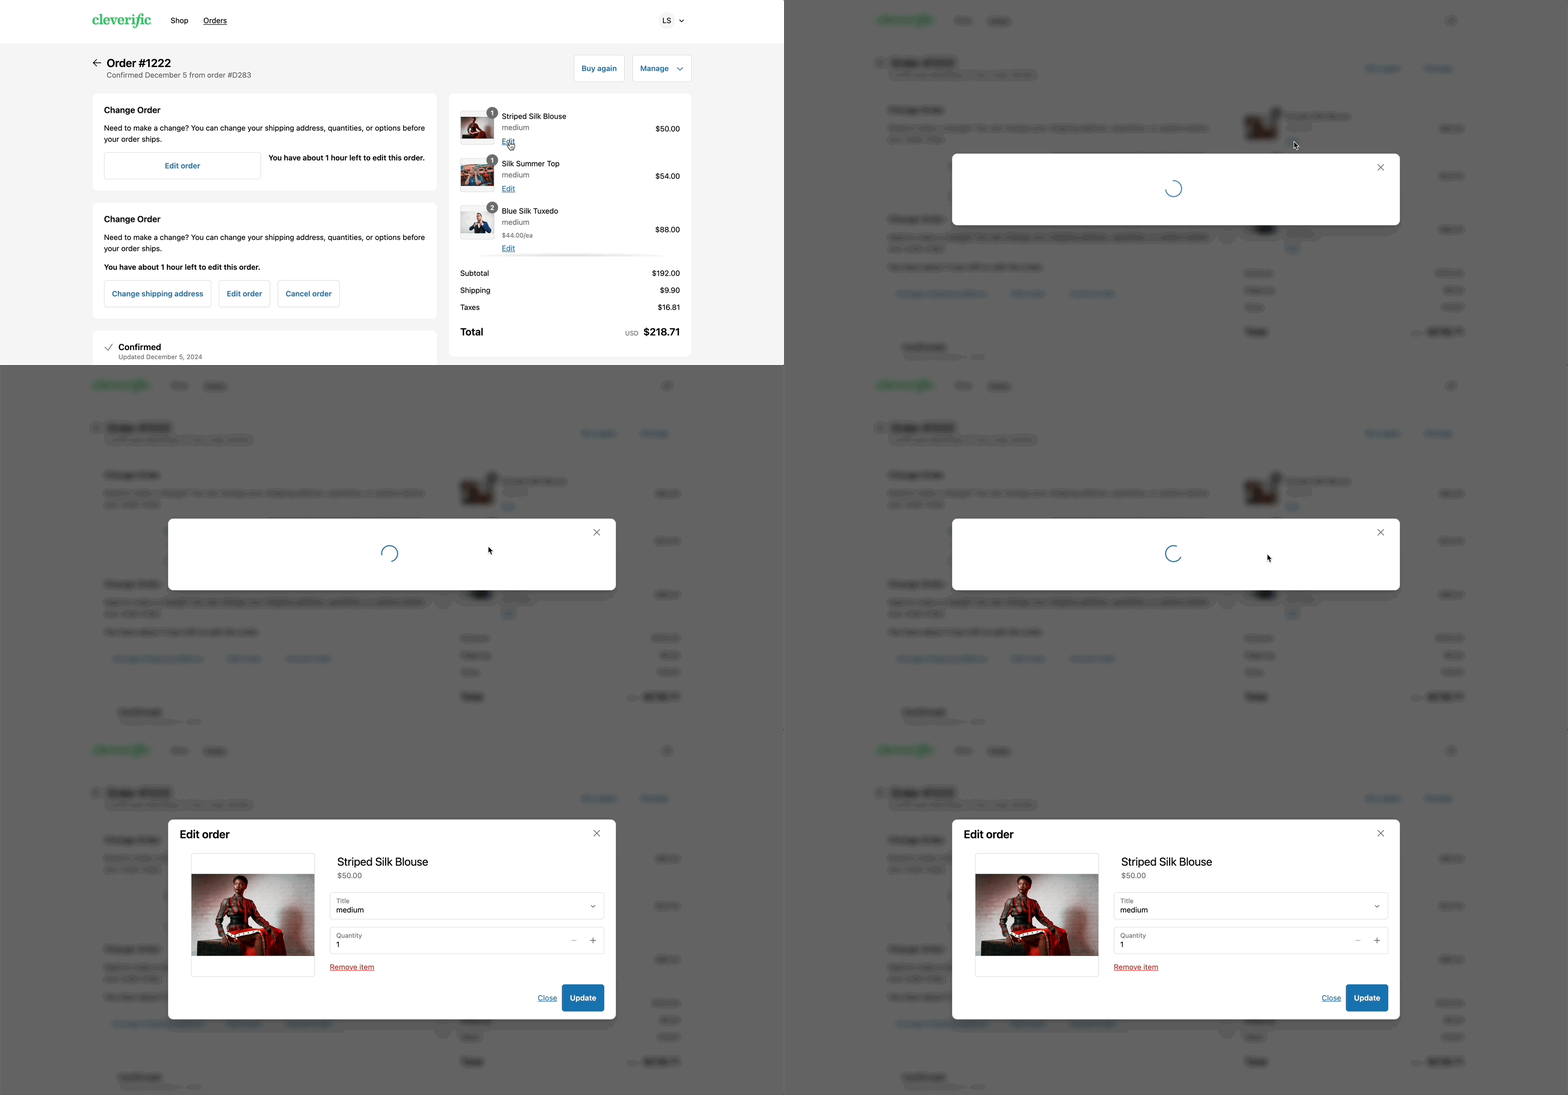
Change order block (new tab): Adds a “Change order” section to the order status page, allowing customer to access Customer Portal and edit their orders in a new window.
This new tab version won't inherit your store's UI and can't be customized.
Requirements
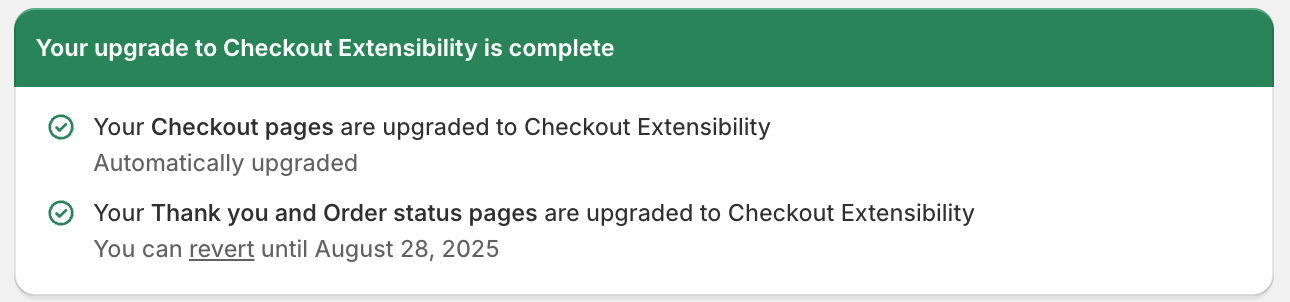
Your store must be fully upgraded to Shopify's Checkout Extensibility. This includes Checkout pages, Thank you, and Order status pages.
Your store should not be password-protected. The nature of a customer account extension requires a specific login and authentication mechanism, which is not possible if your entire store is password-protected.
Add Customer Portal extensions via your Checkout editor
The Checkout editor looks slightly different on stores that aren't on Shopify Plus, but the steps are similar.
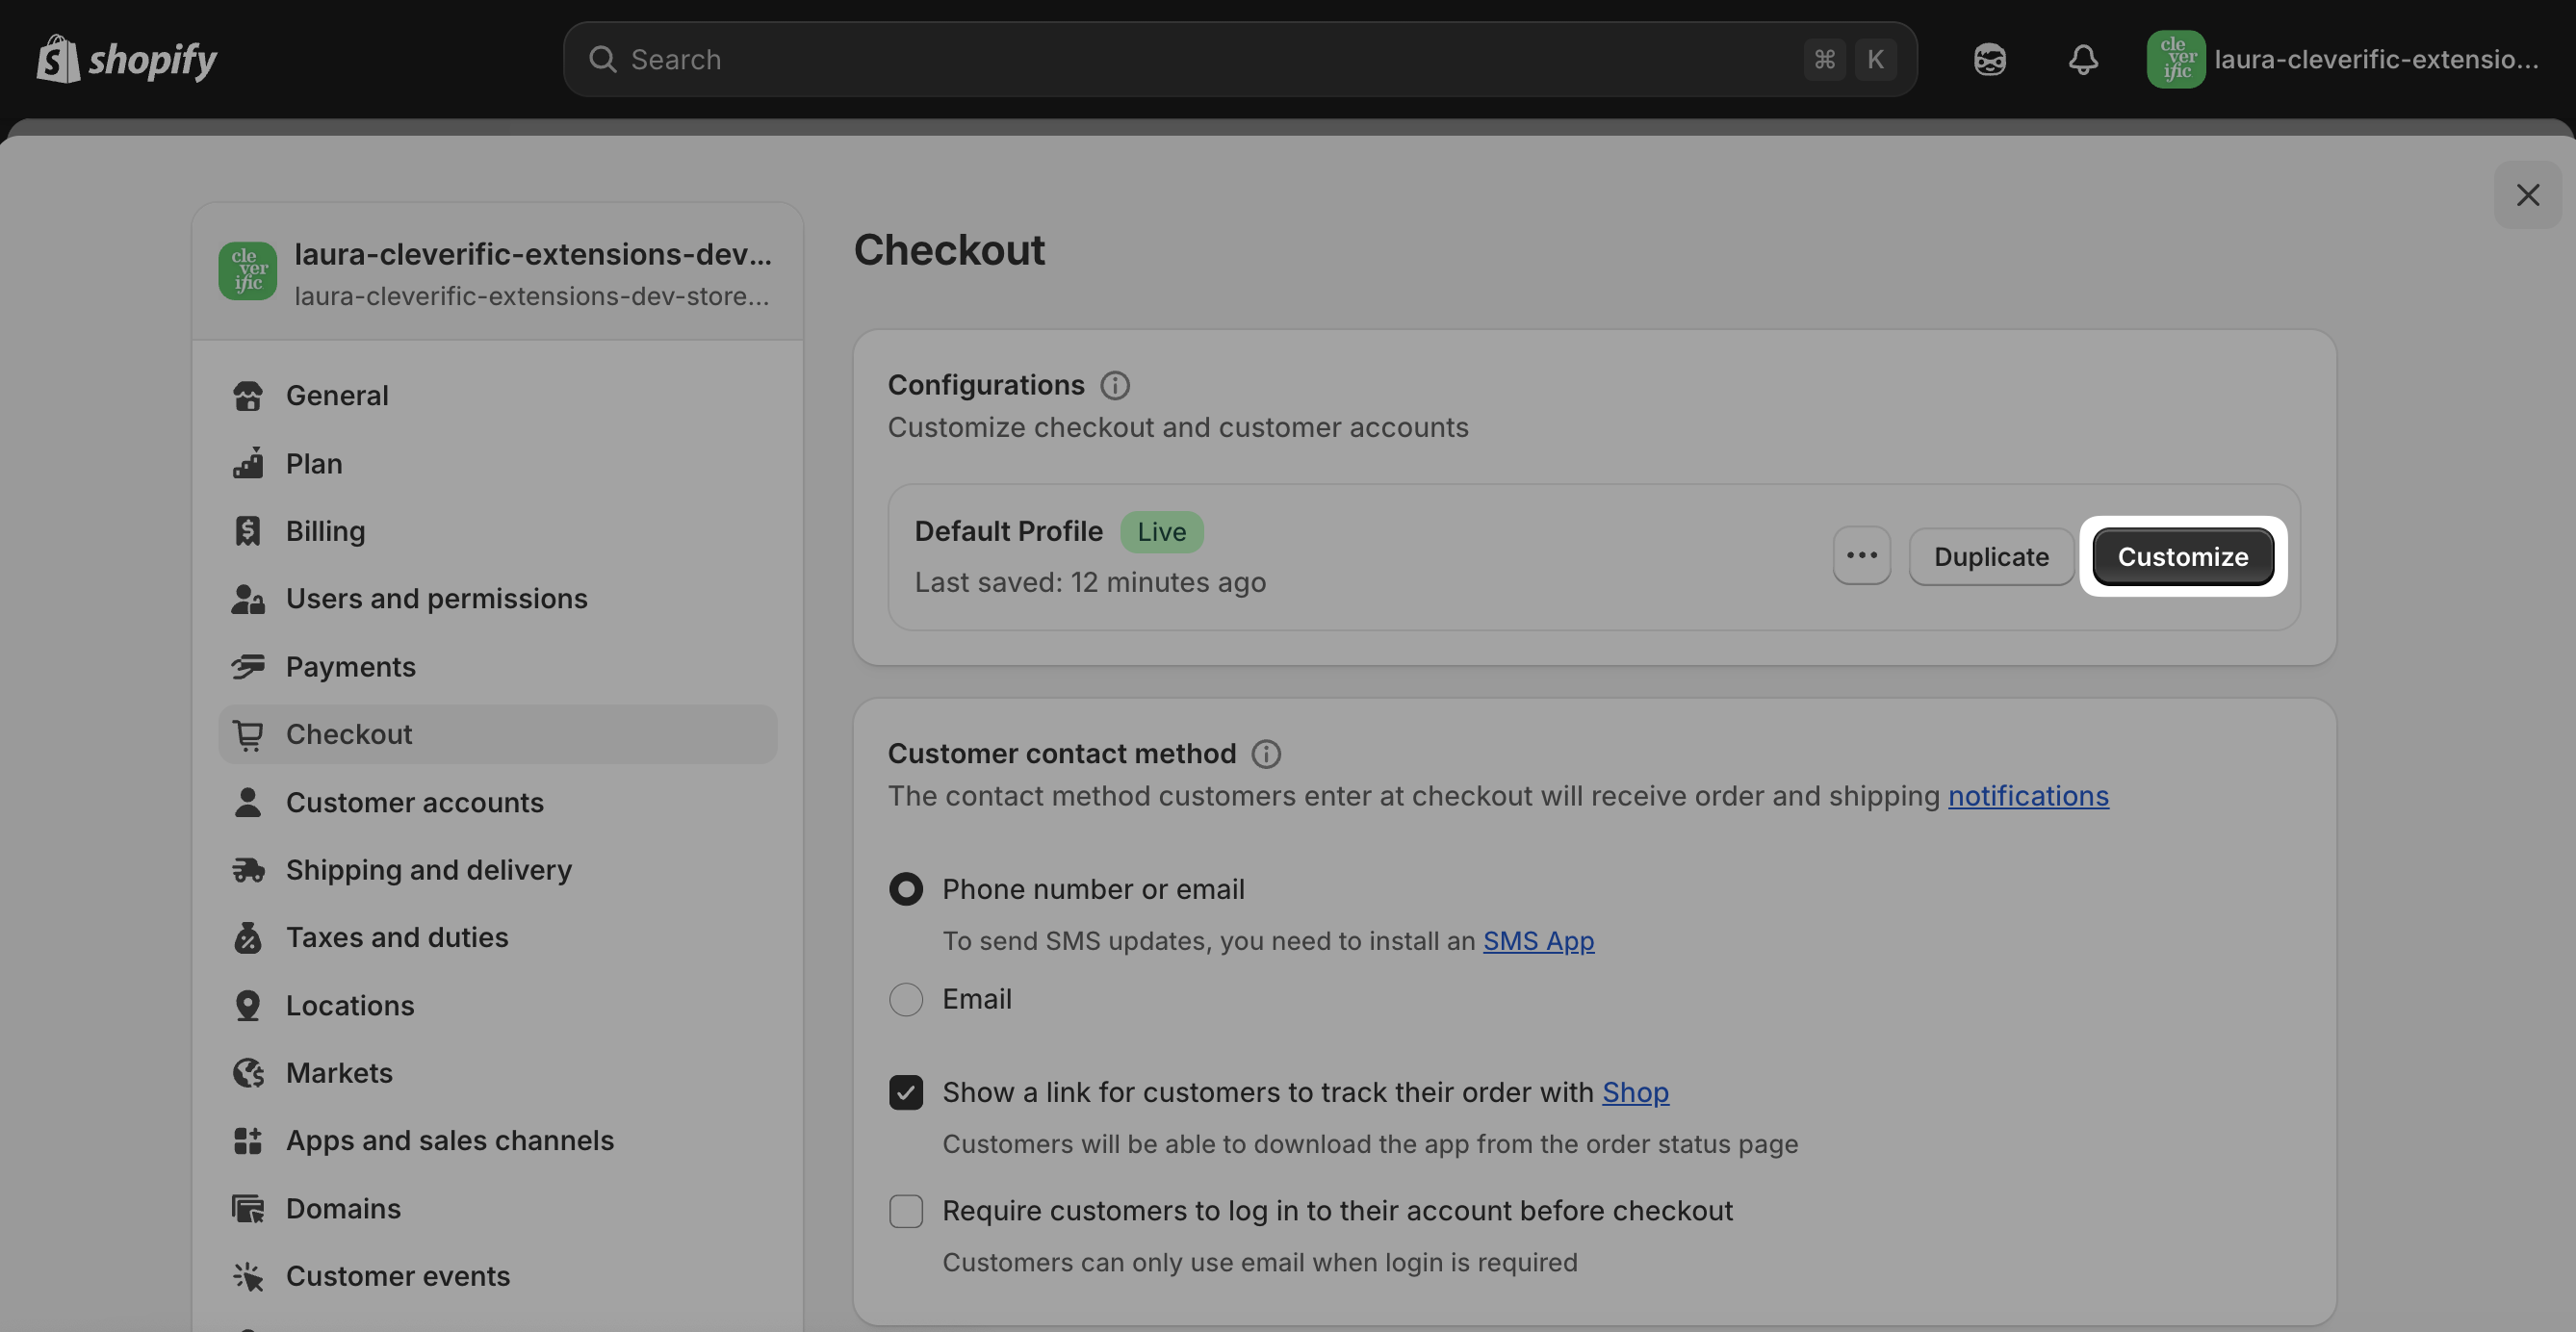
In your Shopify admin, go to Settings > Checkout > Configurations.
Click Customize.
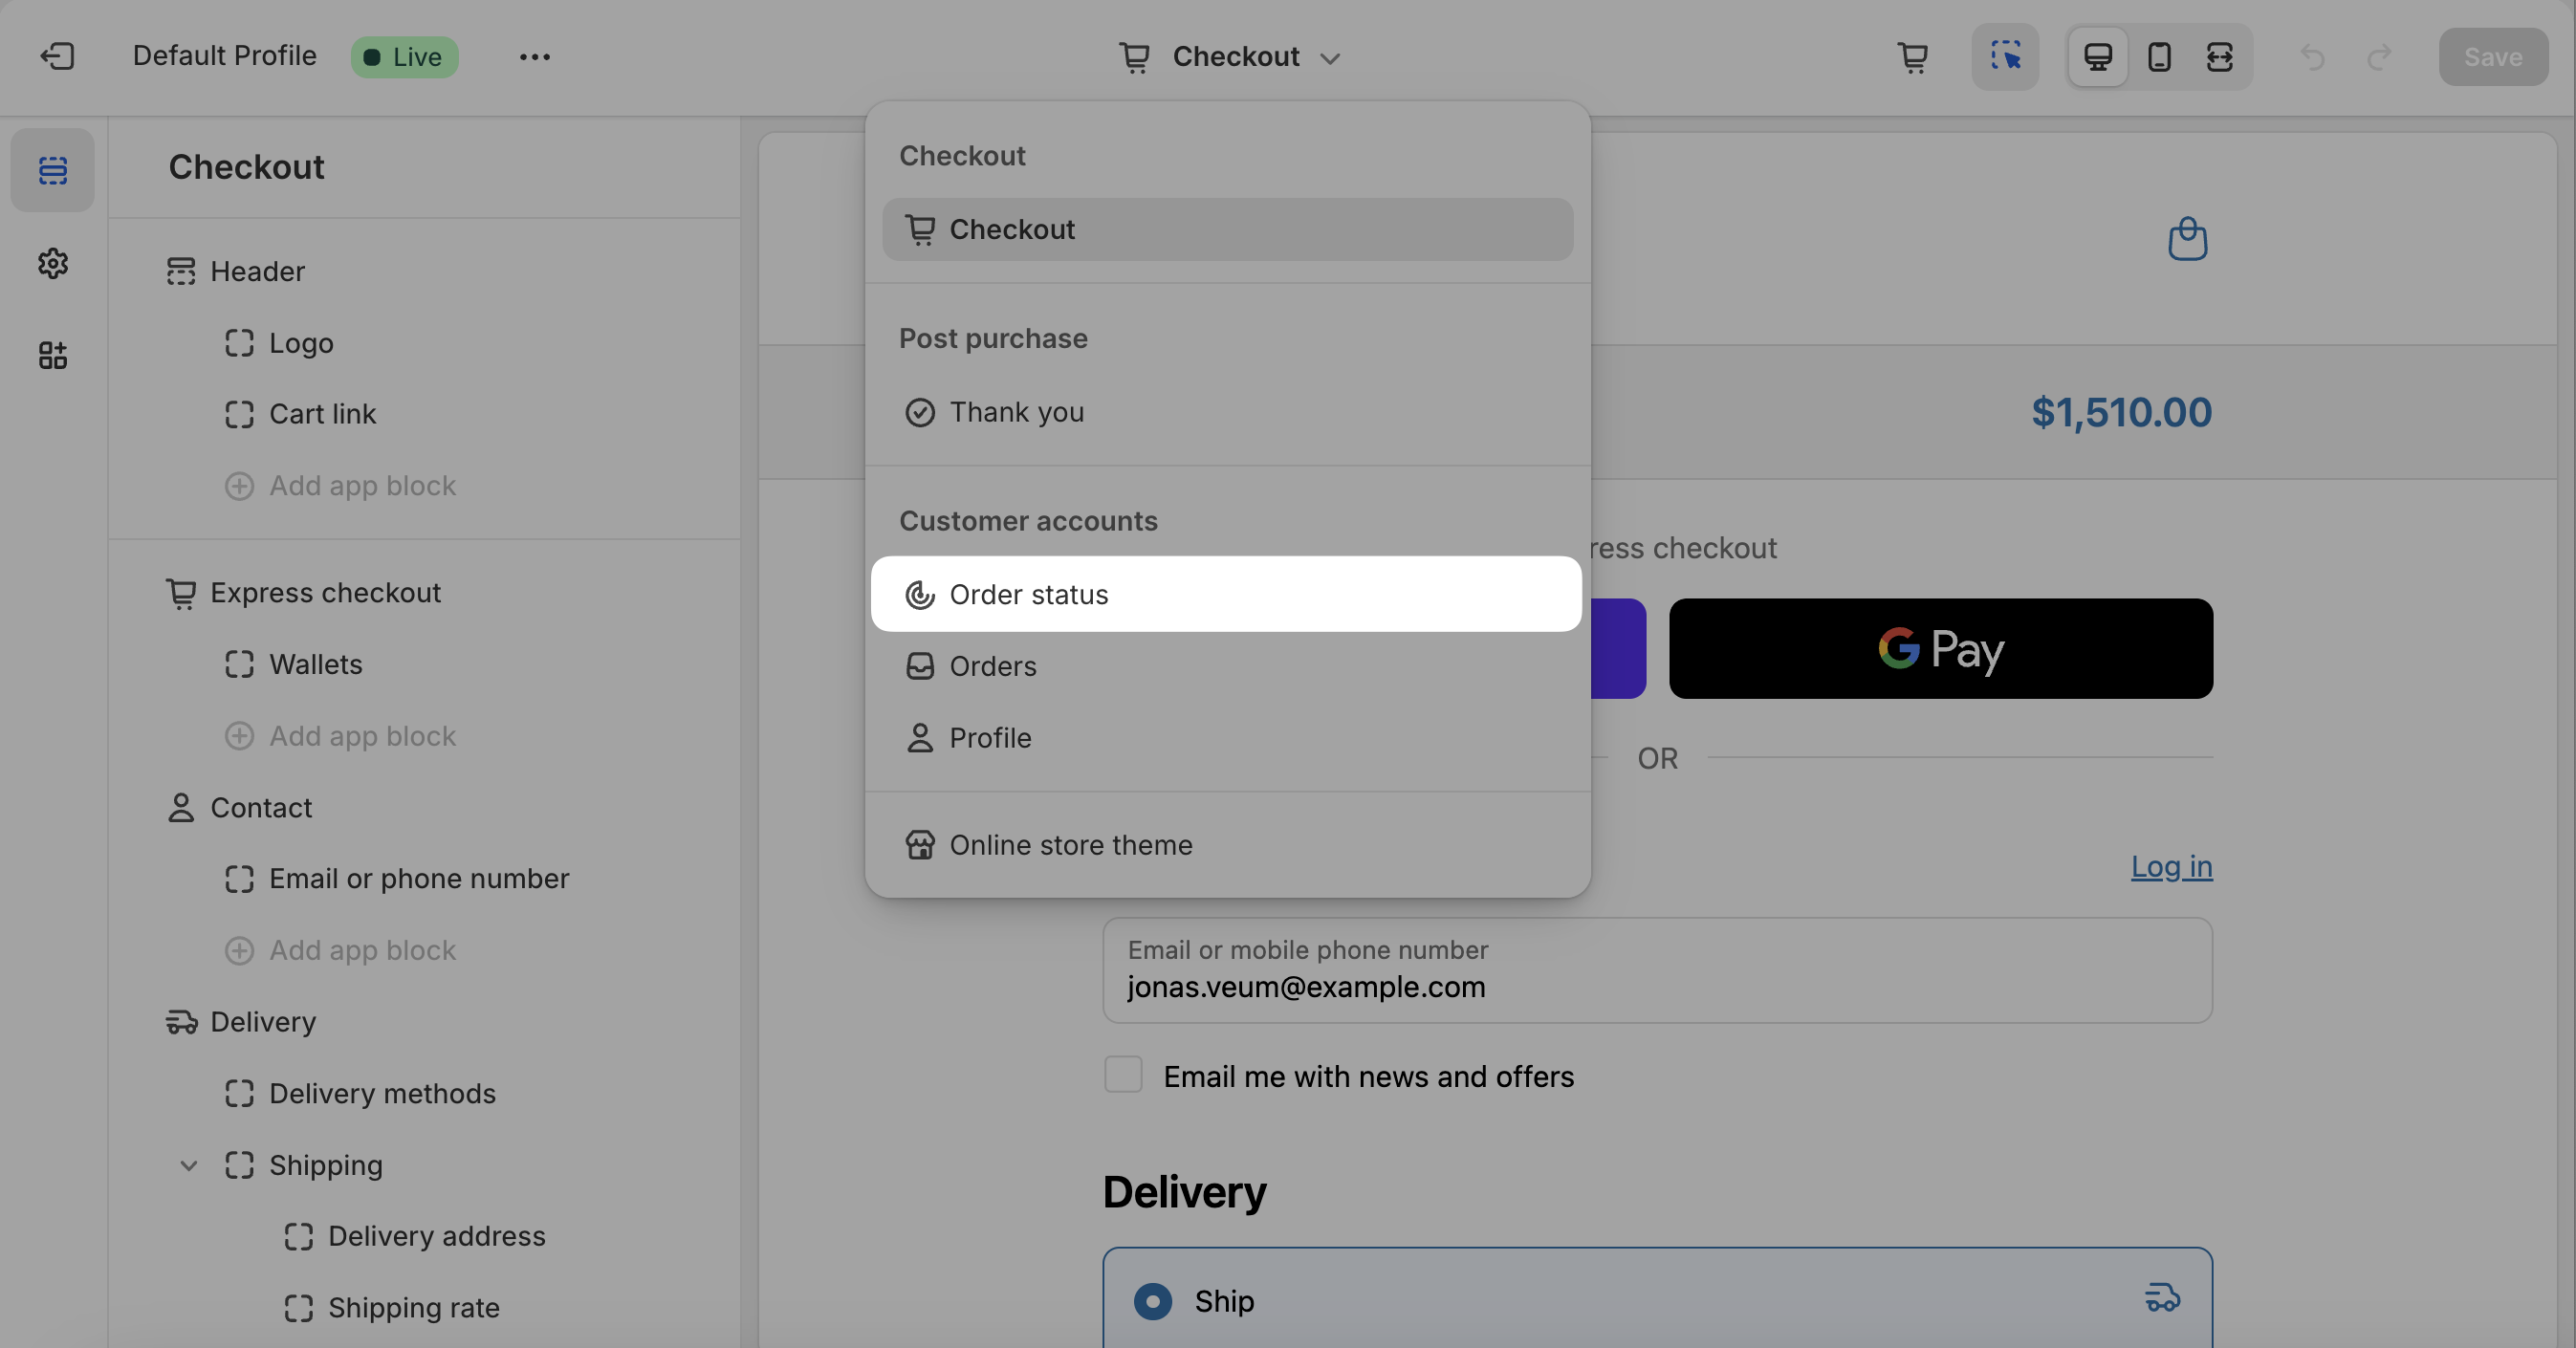
Click the dropdown at the top of the page and select Order Status.
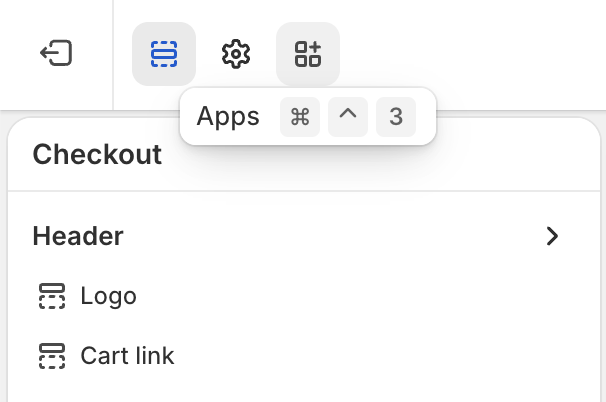
In the top left corner, click the Apps icon.
Under Cleverific Order Editor, you will see the Customer Portal extensions that can be added.
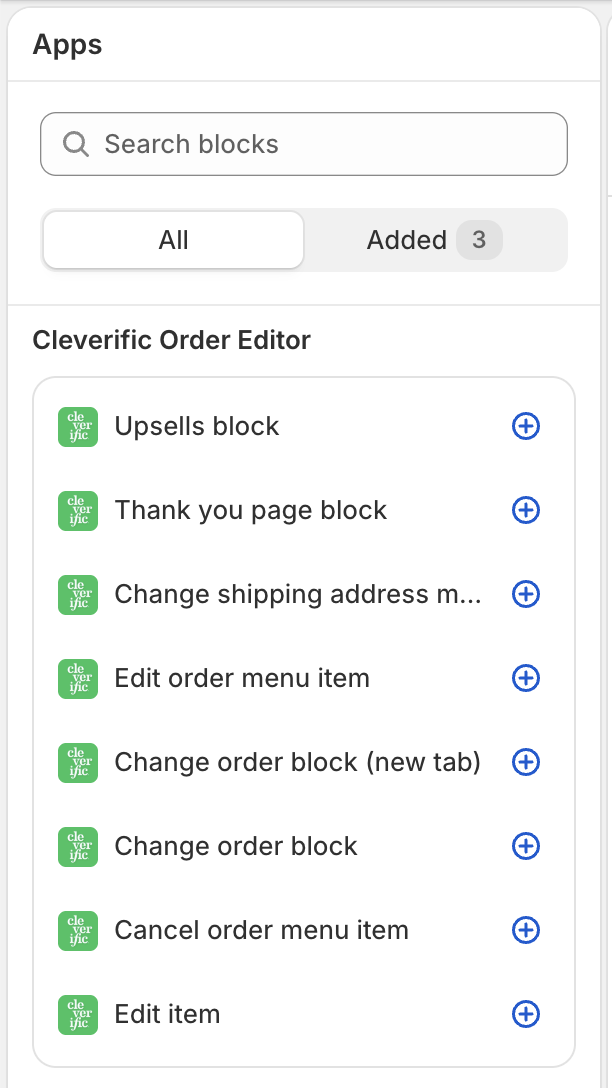
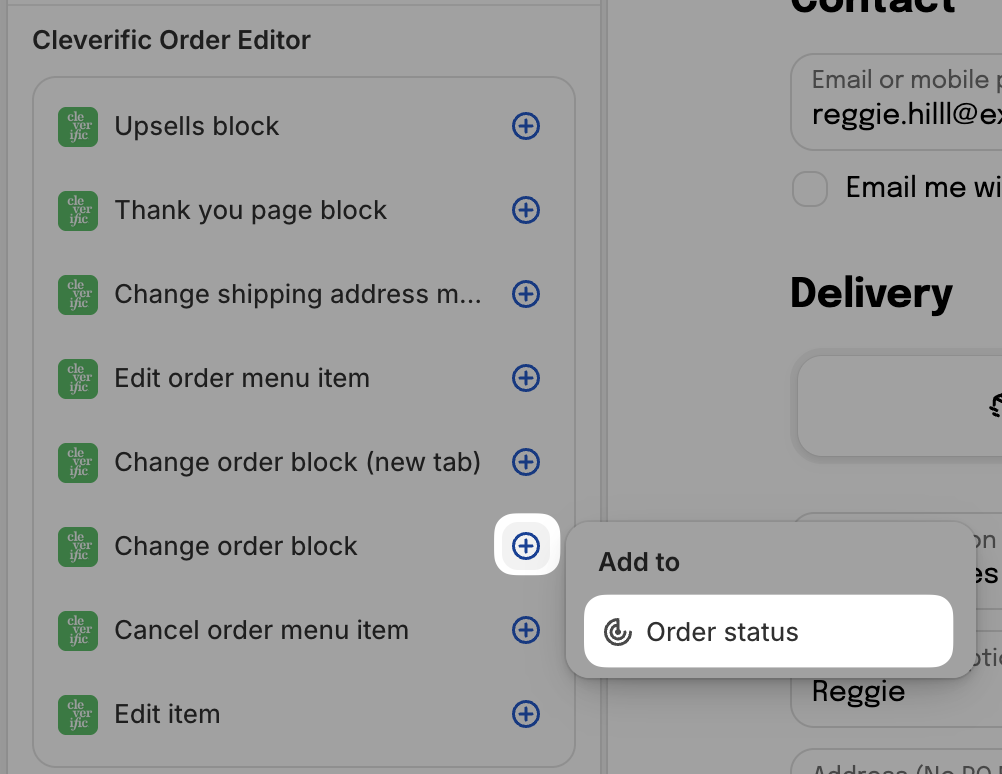
Click the + icon to add the Customer Portal extensions and select the action(s) available under "Add to" or "Add action to" for each extension.
You will see a preview of each extension on your checkout editor page.
You can also access combined Customer Portal settings directly from your Checkout editor via the Change order block extension.
Click Save.
Once you've tested your setup, return to your Customer Portal settings and click the Enable button.
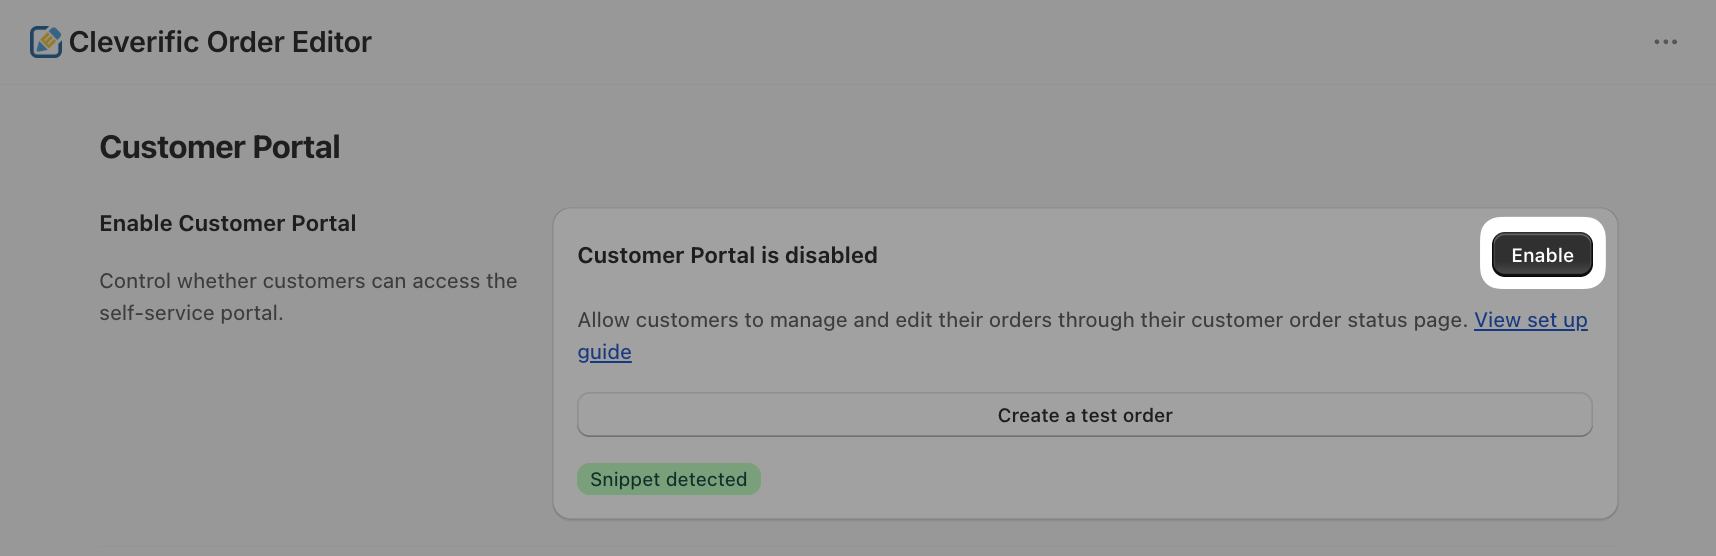
This final step enables customers to start editing their orders. Without this step, the extensions will show on the order status page but won't be active.
Tips to boost your Customer Portal usage
These simple adjustments can help drive more customers to Customer Portal:
Change the copy of your "View your order" button in your order confirmation email
Change the text to “View or edit your order” to make it more straightforward for customers to take action.
Clarify what changes customers can make
Edit the copy in your order confirmation email to briefly explain what customers can update, like shipping address, order items, etc.
Update your FAQ
Let customers know they can manage certain order changes on their own, without needing to reach out to support.
Read next: