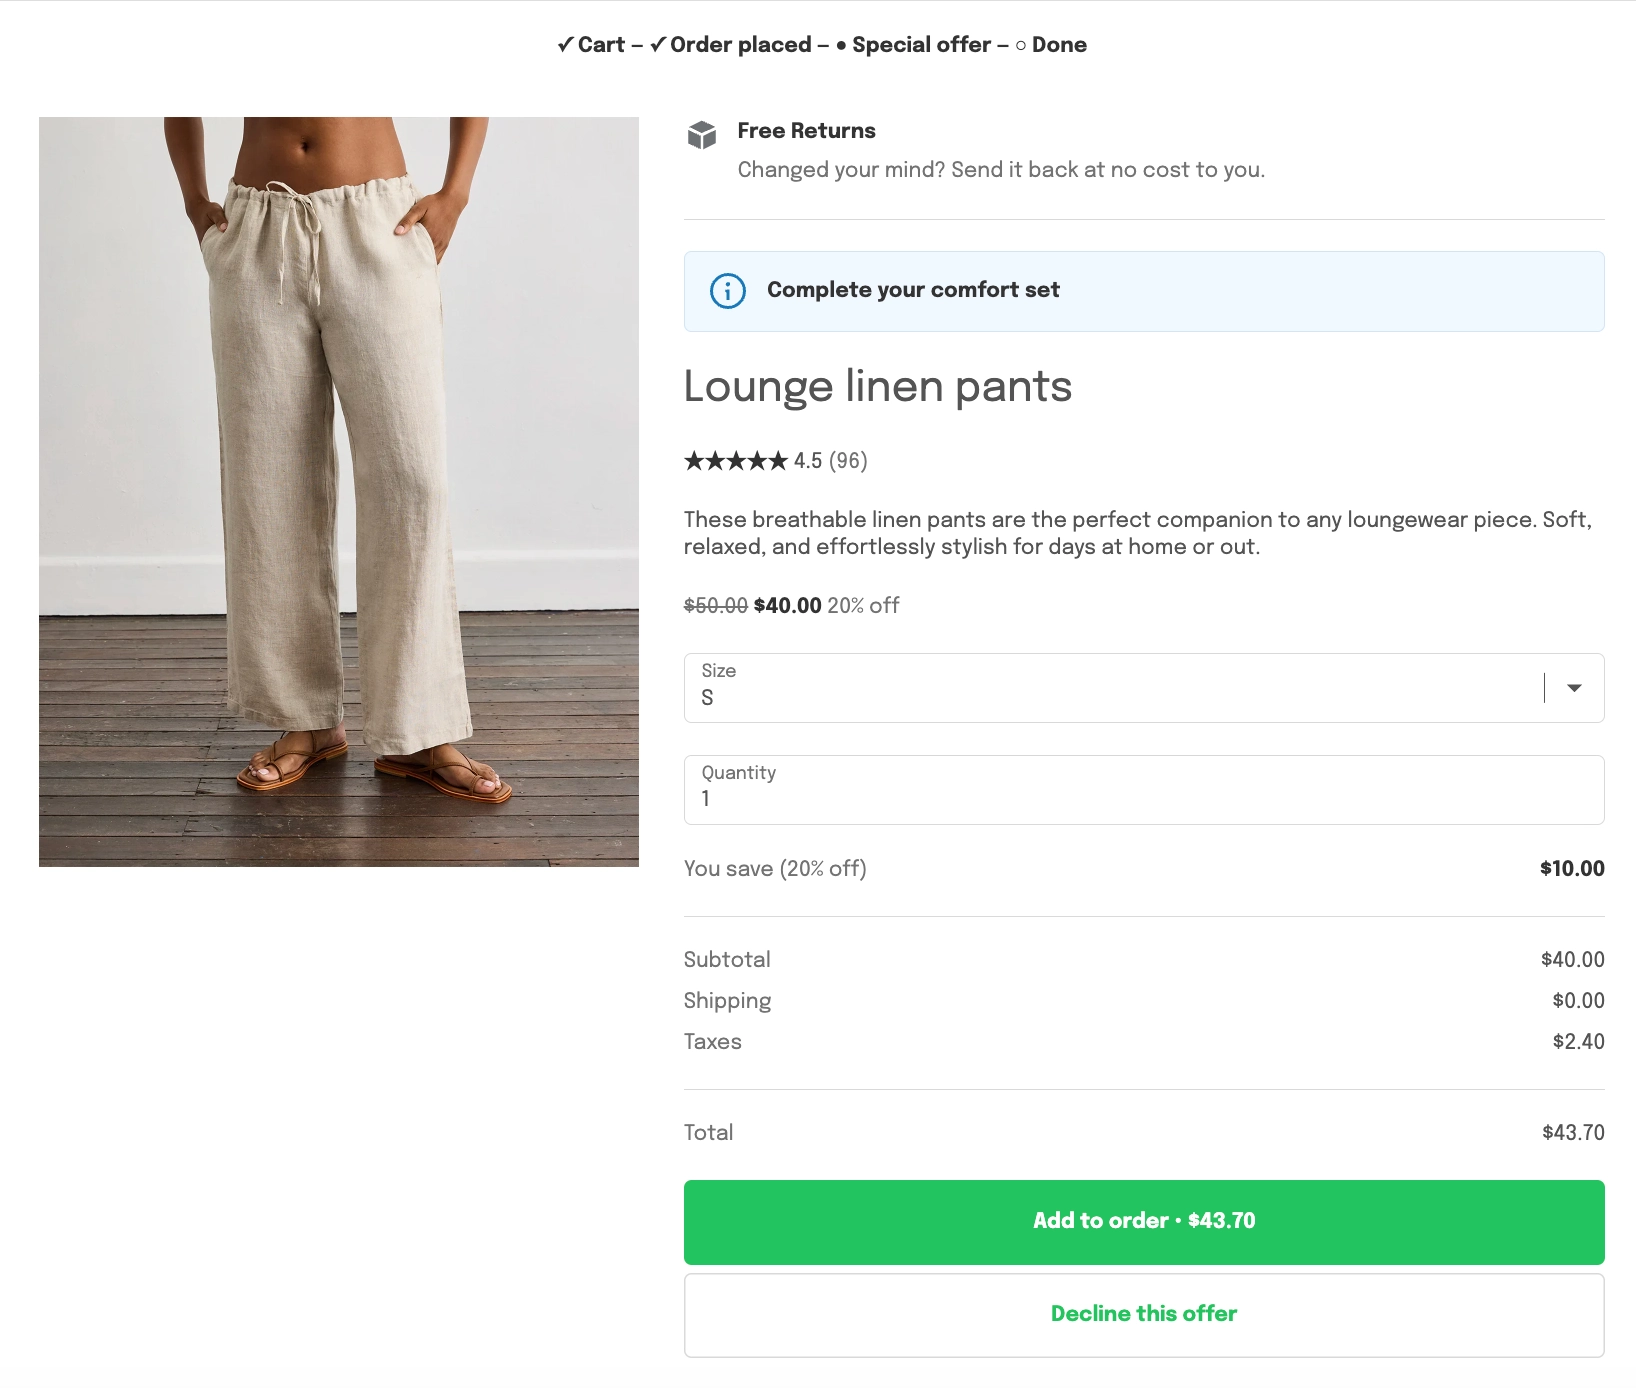

Adding trust badges to a post-purchase offer
Updated 5 days ago
In Cleverific, you can add up to 3 trust badges to a product offer, such as a guarantee, secure payments, or free returns, so customers feel confident tapping Add on the post-purchase page. Each badge has an icon, a short title, and an optional sentence. Trust badges are empty by default, so existing offers look the same until you add one.
This article explains how to add and arrange trust badges, and what customers see.
Add trust badges to an offer
Go to Apps > Cleverific.
From the nav menu, click Upsells.
Open the funnel, then click Design. For an overview of the funnel editor, see Building and previewing an upsell funnel.
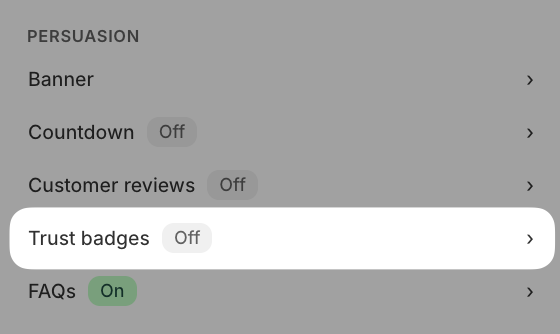
In the left panel, under Persuasion, click Trust badges
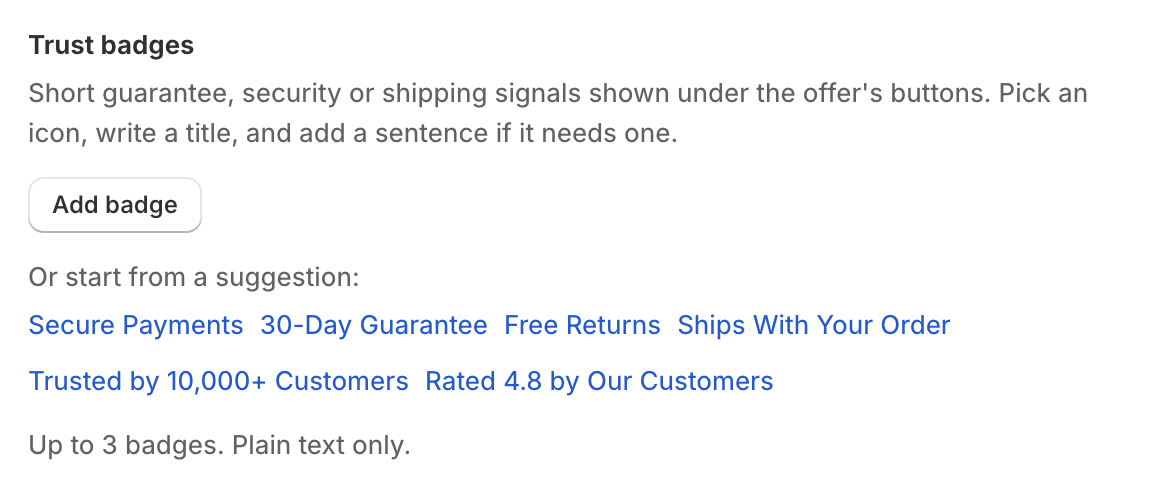
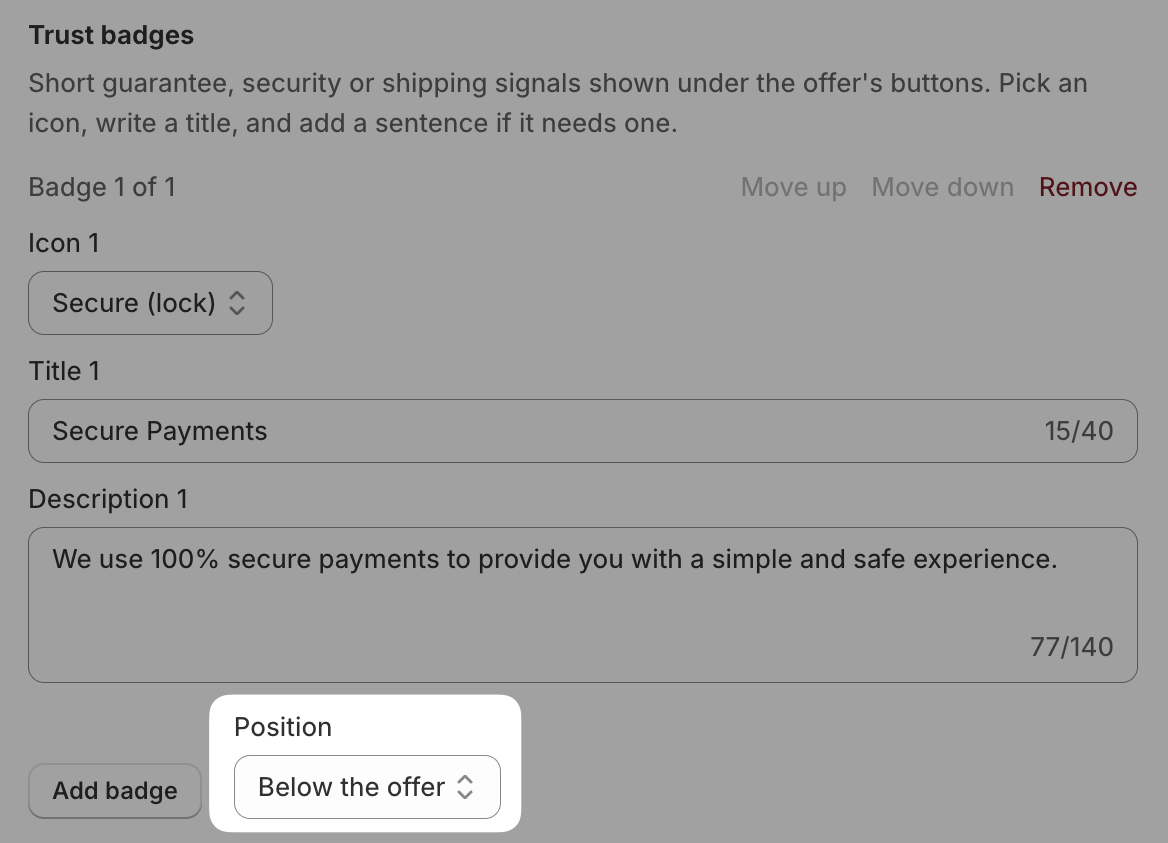
Click Add badge, or click one of the suggestions below it, such as Secure Payments or 30-Day Guarantee, to start from ready-made text.
Pick an Icon, then enter a Title and, if needed, a Description. Repeat for each badge you want to add (up to 3).
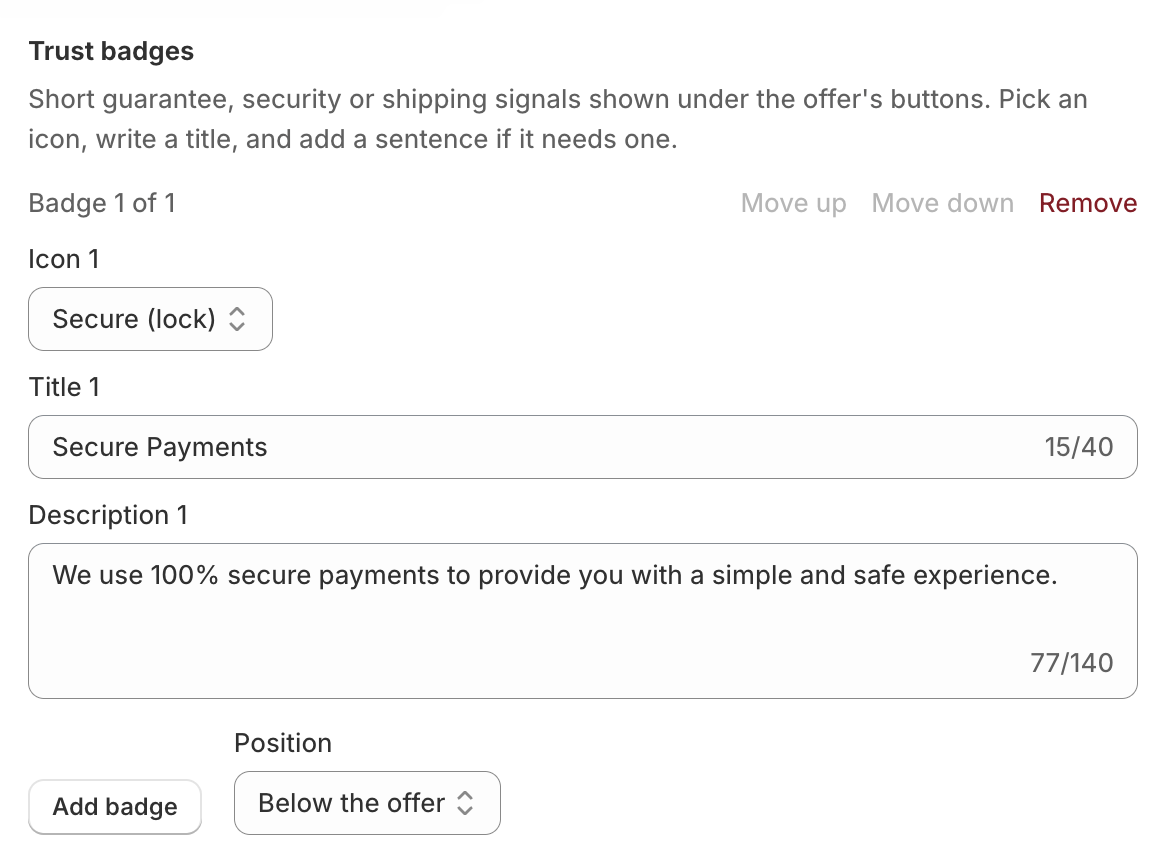
Choose a Position: Below the offer or Above the offer.
Click Save in the top bar.
Trust badges are only available on product offers. Grid and Carousel funnels, which show a collection, don't have a Trust badges section.
Edit, reorder, or remove badges
Use Move up and Move down to change the order customers see.
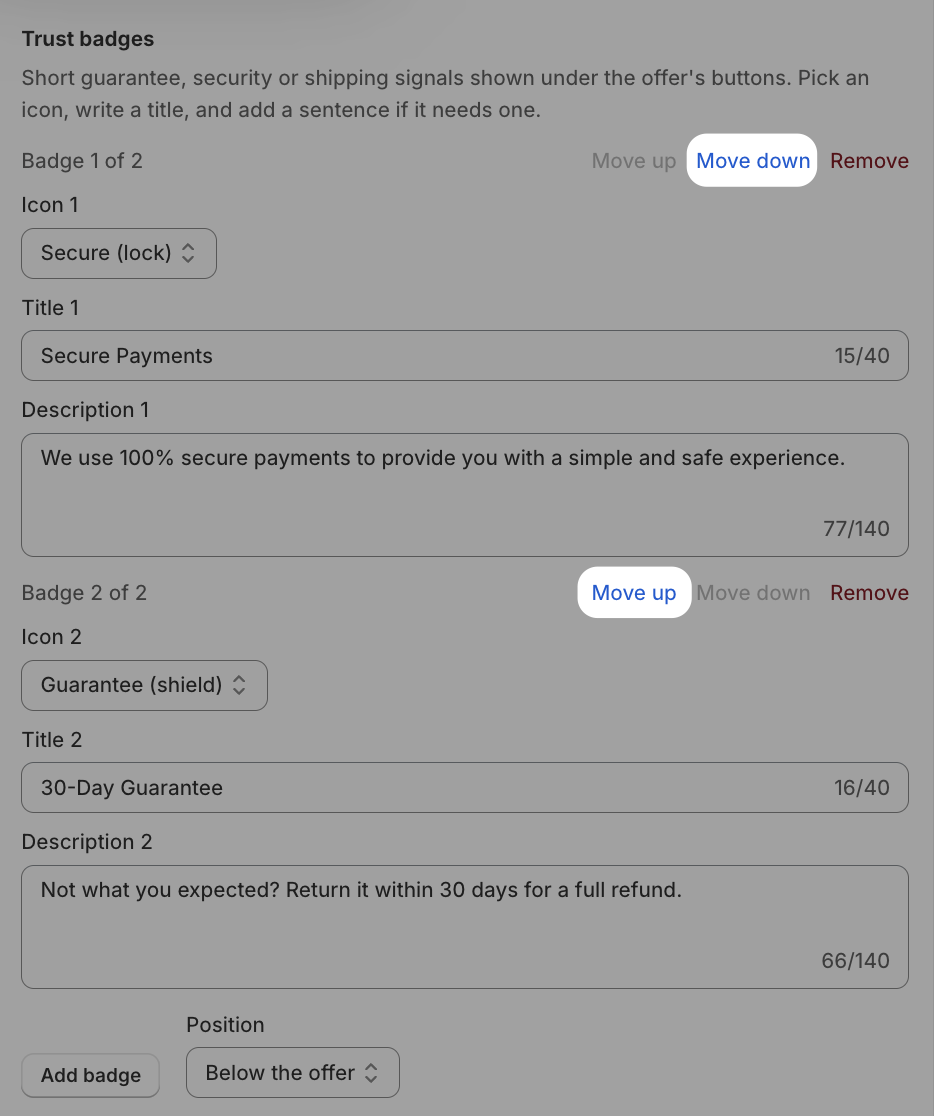
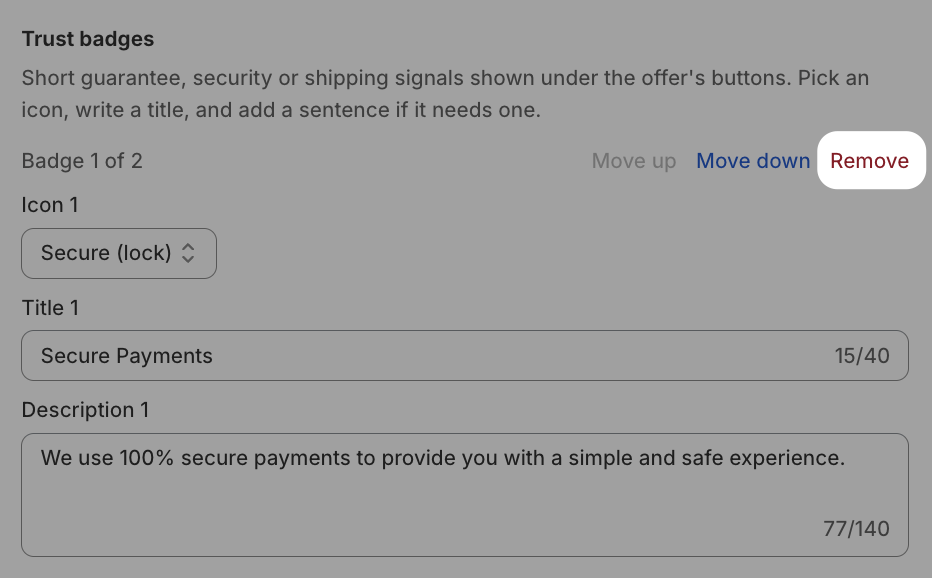
Click Remove to delete a badge. Removing every badge hides the block from the offer.
Every badge needs a title before you can save. The description is optional, so a badge can be a title only.

Titles can be up to 40 characters and descriptions up to 140 characters, in plain text. The Add badge button is disabled once an offer has 3 badges.
What your customers see
With Below the offer selected, the badges appear directly under the accept and decline buttons, one per line, with the icon beside a bold title and the description in grey underneath.
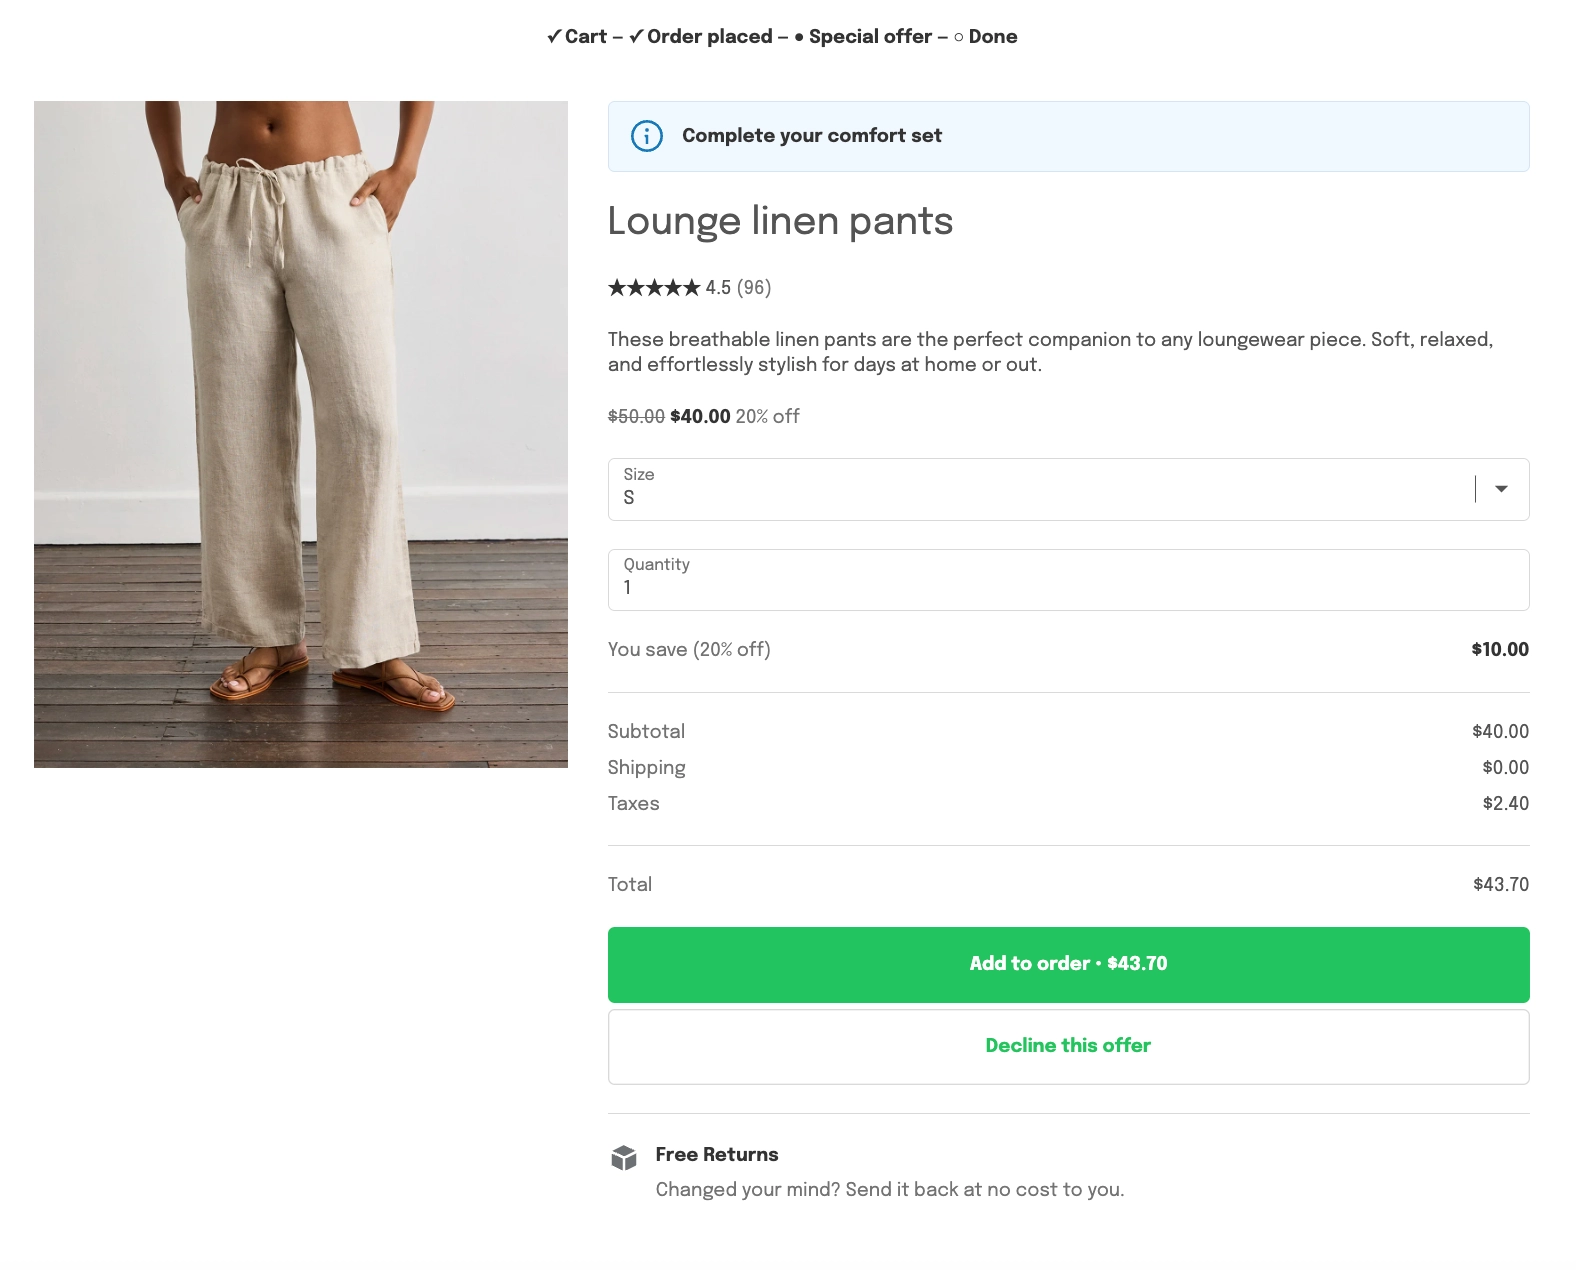
With Above the offer selected, they appear above the offer instead, and the buttons and pricing stay where they are.